This post may contain affiliate links. Please read our disclosure policy.
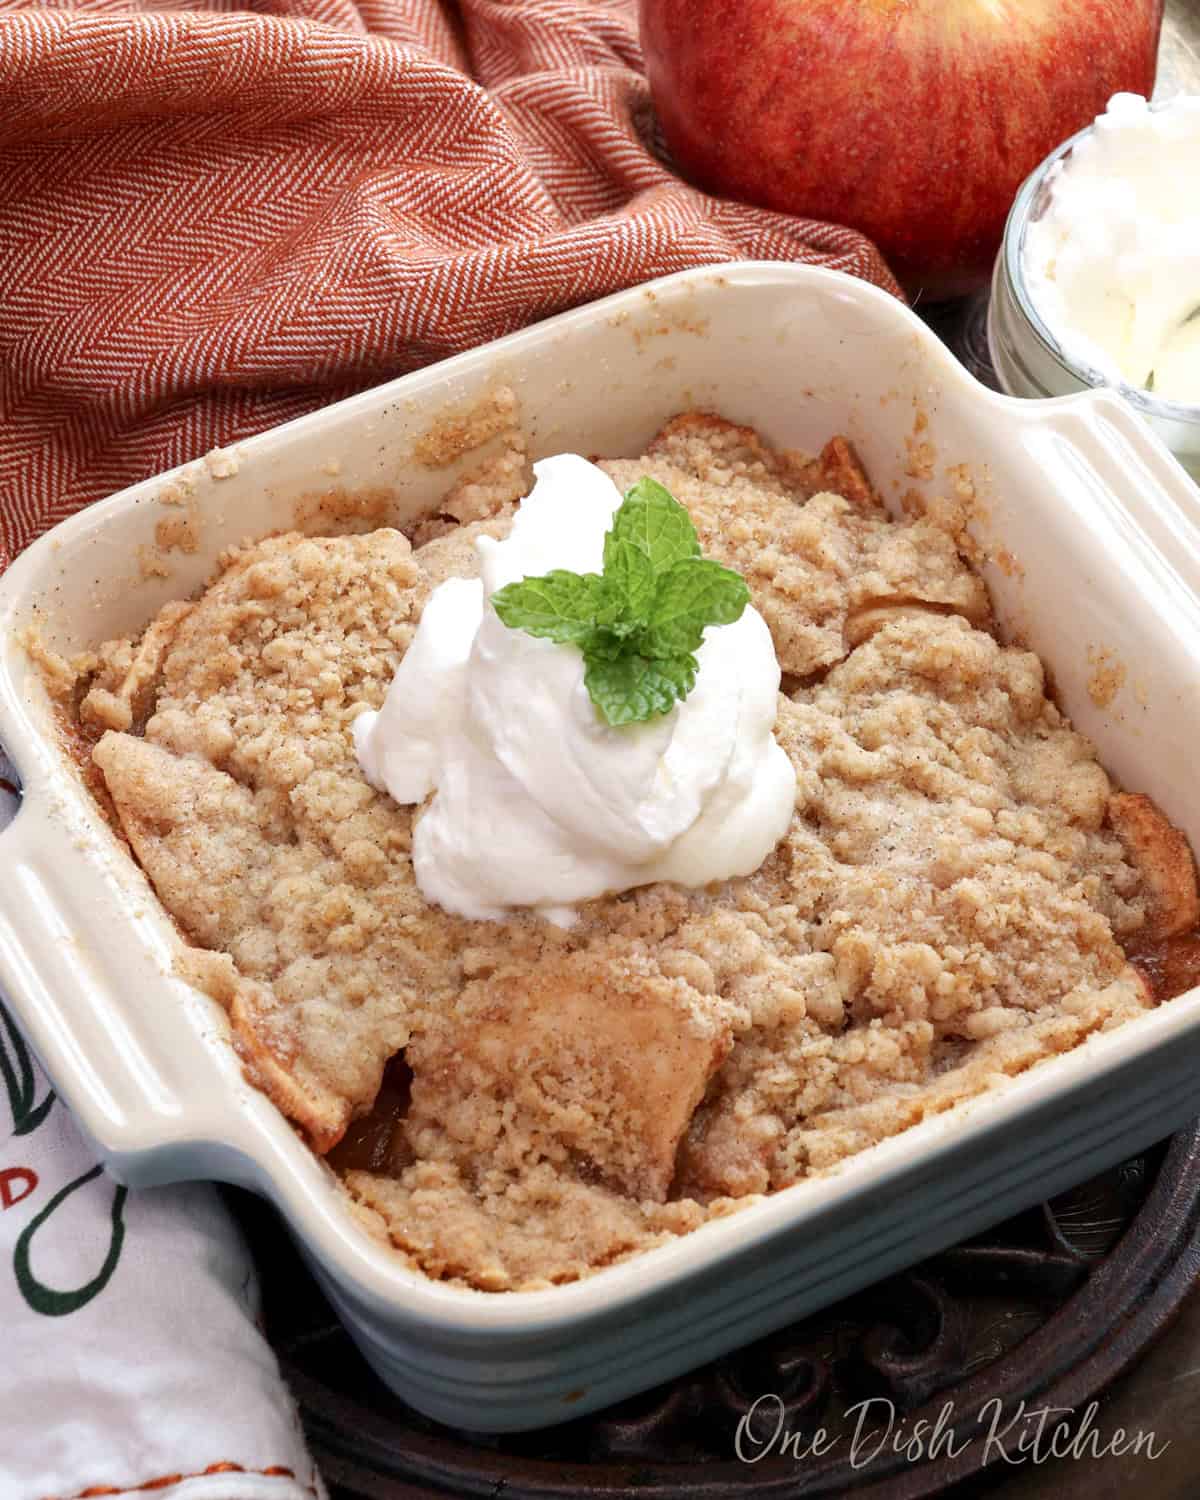
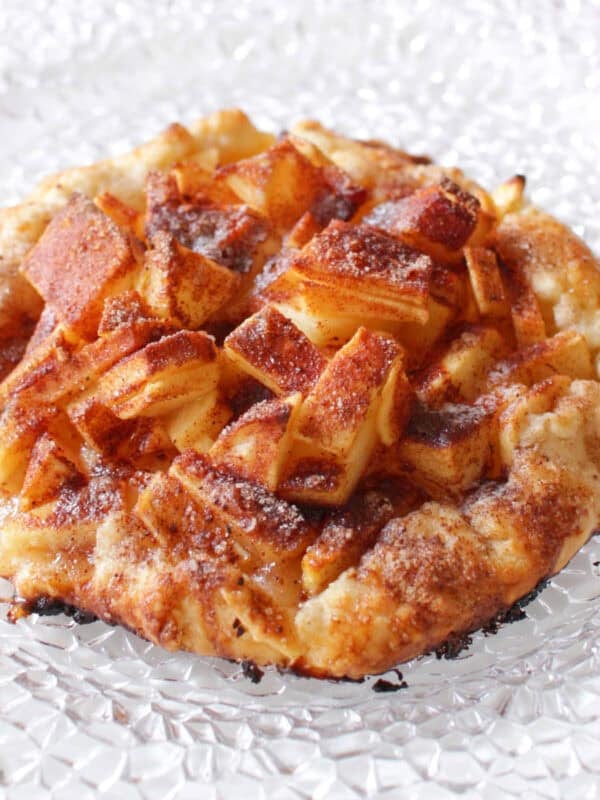
This Mini Dutch Apple Pie is made with tender spiced apples, a buttery shortbread crust, and a sweet, crumbly streusel topping. It’s easy to make and perfectly sized for one or two people.
Featured Comment
“Made this for the first time tonight and it was AMAZING!…The buttery crust on the bottom and the crumb topping were delicious…We will definitely be making this again soon!
– Nancy
Why You’ll Love This Recipe
- Buttery Shortbread Crust: Made with our signature shortbread crust used in favorites like mini pecan pie and small batch lemon bars. Soft, rich, and the perfect base for the apple filling.
- Simple Ingredients: Uses common pantry staples.
- Perfect Portion: Just the right size for one or two people.
- Anytime Dessert: Great for a weeknight treat or a small celebration.
If you’re a fan of warm, spiced apples and love a good crumb topping, this Mini Dutch Apple Pie is calling your name.
I’ve always loved the contrast between the soft, juicy apples and that crisp, buttery streusel on top, it’s what makes Dutch Apple Pie stand out. This mini version brings all that comforting flavor together in a smaller dish, which means no leftovers and no waste.
It’s simple to make, bakes beautifully, and is the kind of dessert that makes the whole kitchen smell like something special is happening.
This mini apple pie is one of my favorite single serving desserts. If you enjoy fruit-filled pies, try our mini cherry pie, mini blueberry pie, or single serve pumpkin pie (yes, pumpkin is a fruit!).

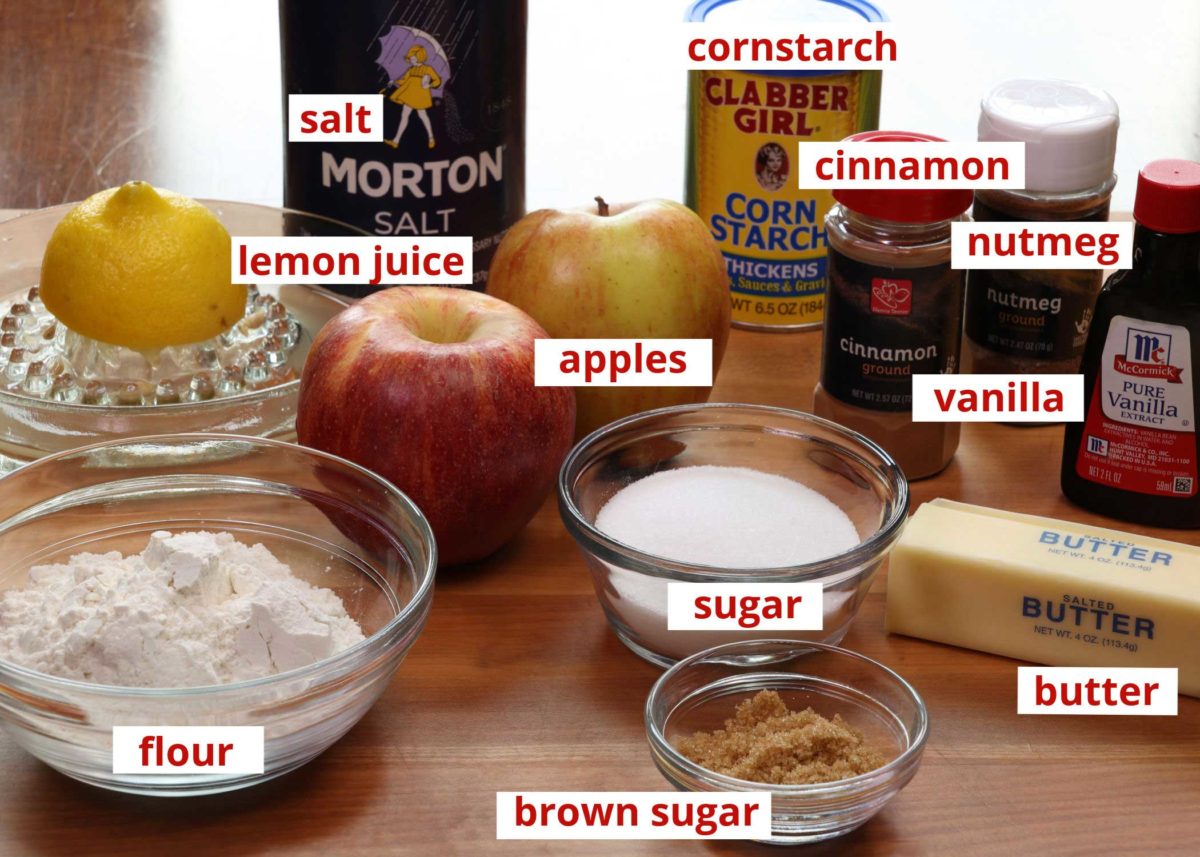
Ingredients
If you have any ingredients leftover from this mini apple pie recipe, check out our Leftover Ingredients Recipe Finder.
- Butter: Use softened, salted butter for both the crust and the streusel topping. It should be soft enough to press with your finger but not melted.
- Apples: Choose firm, flavorful apples like Gala, Honeycrisp, Fuji, or Granny Smith. You’ll need about 2 medium apples, sliced 1/4-inch thick. Use extra apples in a small apple cake, small batch apple granola, or apple cobbler for one.
- Flour: All-purpose flour is used in the crust, filling, and topping to provide structure and thickness.
- Sugar: Granulated sugar sweetens the crust and filling. A mix of granulated and brown sugar is used in the streusel for added depth.
- Spices: Ground cinnamon and a touch of nutmeg add warmth to the filling and topping.
- Lemon Juice & Vanilla: Lemon juice keeps the apples bright, and a splash of vanilla enhances the flavor.
- Cornstarch & Salt: Cornstarch helps soften the crust, and a pinch of salt balances the sweetness.
See recipe card below for a full list of ingredients and measurements.
Recipe Variations
Customize your small Dutch apple pie with these simple ideas:
- Apple-Pear Filling: Use a 50/50 mix of apples and pears for a sweet, lightly floral flavor.
- Nutty Streusel: Add chopped pecans, walnuts, or almonds to the topping for crunch and richness.
- Citrus Zest: Stir in 1 teaspoon of lemon or orange zest to brighten the filling.
- Spiced Crust: Mix a pinch of cinnamon or nutmeg into the crust for extra warmth.
How To Make A Dutch Apple Pie
These photos and instructions help you visualize how to make a Dutch apple pie with two apples. See the recipe box below for ingredient amounts and full recipe instructions.
- Make the Pie Crust
Par-baking the crust helps it stay firm and prevents it from getting soggy.
- In a medium bowl, use a hand mixer to beat the butter and sugar until smooth. Add the flour, cornstarch, and salt, and mix until fully combined. Press the dough firmly into a lightly buttered 5×5-inch baking dish using your fingers or the back of a spoon. Bake at 350°F (177°C) for 18–20 minutes, until lightly golden. Set aside to cool.

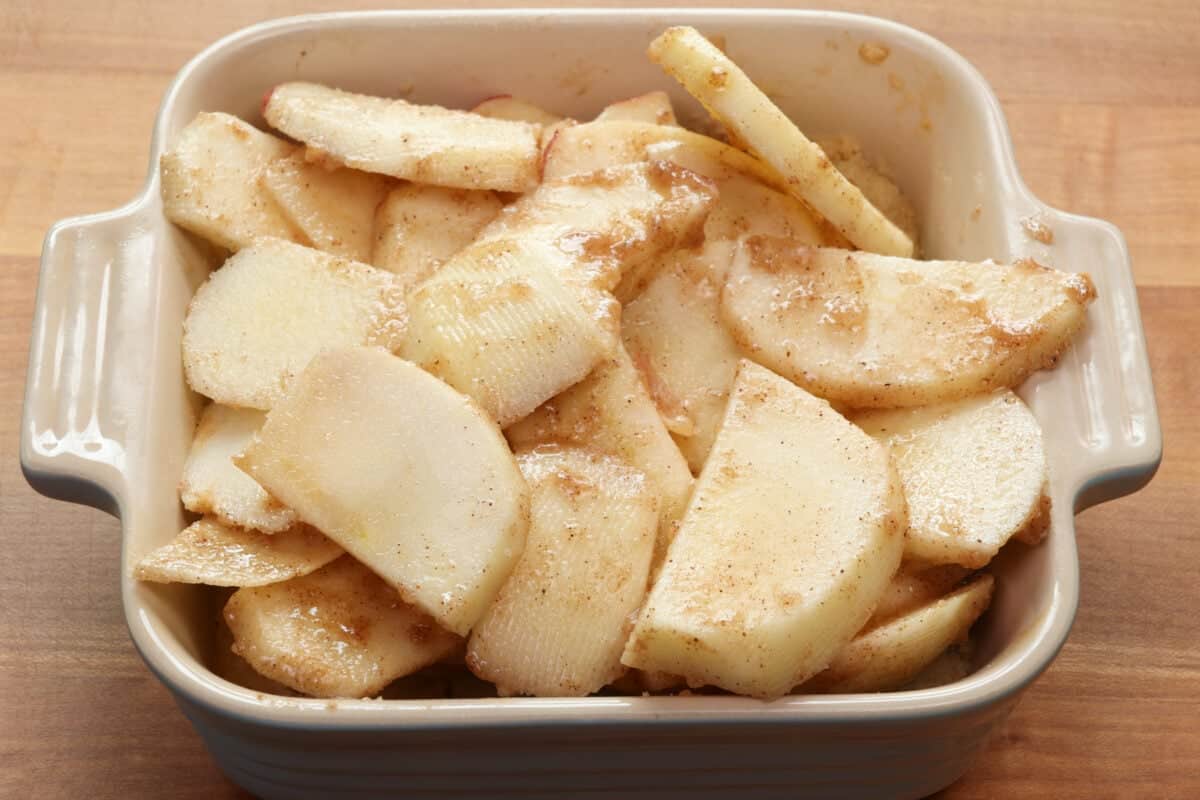
- Prepare the Apple Filling
Peel, core, and slice the apples into 1/4-inch thick slices or chunks. Place them in a bowl and toss with lemon juice to prevent browning.
In a separate bowl, stir together the sugar, flour, cinnamon, and nutmeg. Add this mixture to the apples and stir until the apples are well coated, then mix in the vanilla extract. Spoon the filling evenly over the baked crust.
- Make the Streusel Topping
In a bowl, stir together flour, granulated sugar, brown sugar, and cinnamon. Add softened butter and mix with a fork until crumbly.
Sprinkle the topping evenly over the apples.

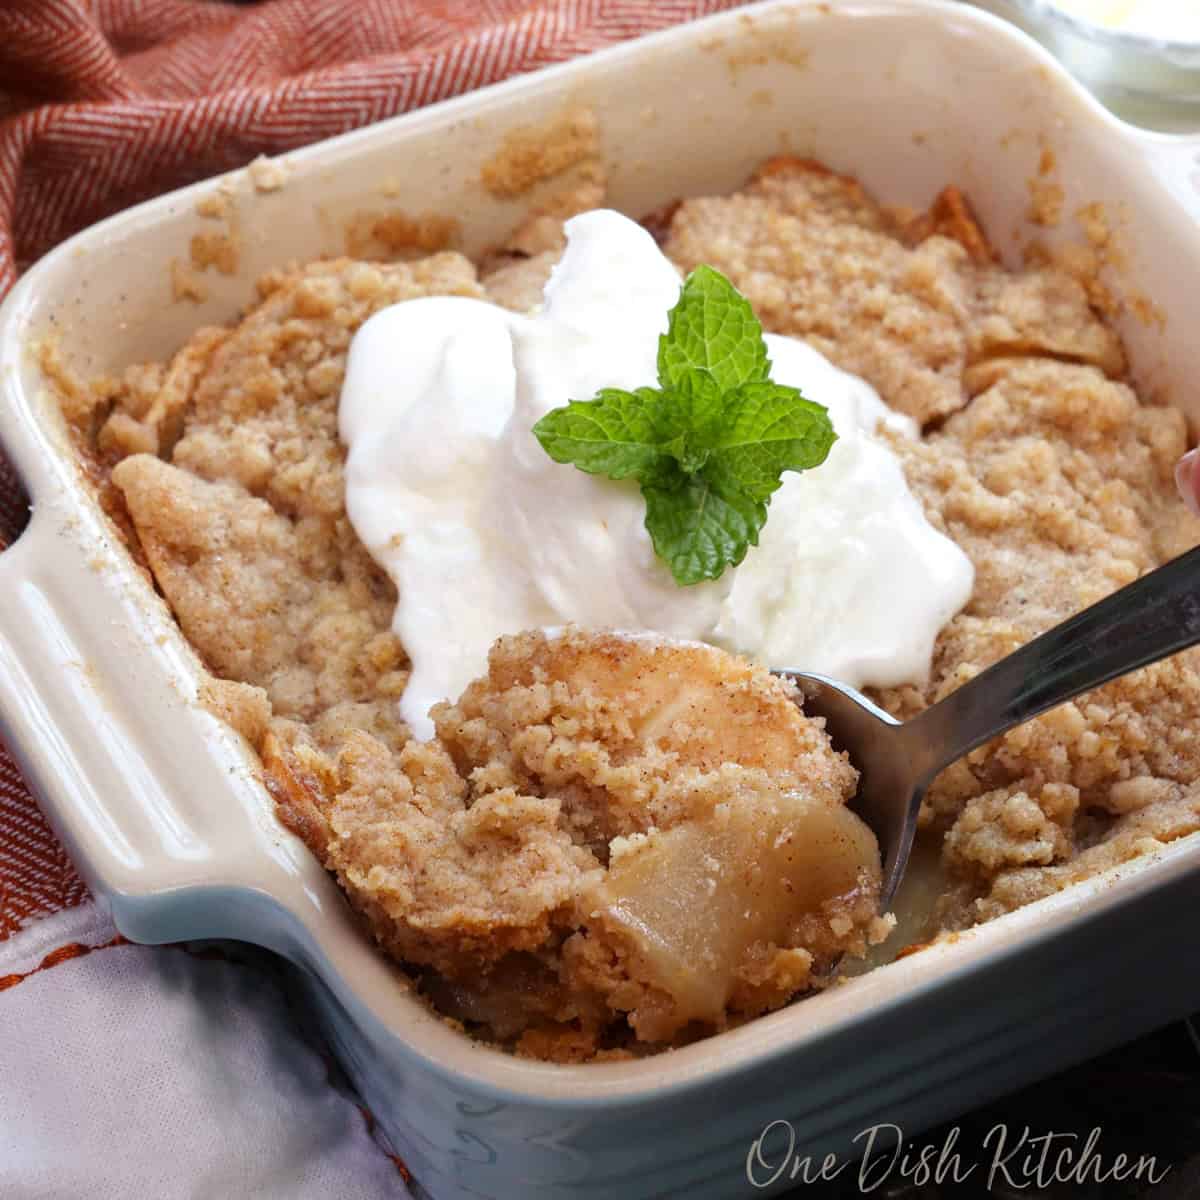
- Bake
Place the baking dish on a baking sheet. Bake at 350°F (177°C) for 55–60 minutes, until the filling is bubbly and the topping is golden.
Let the pie cool to room temperature before serving.
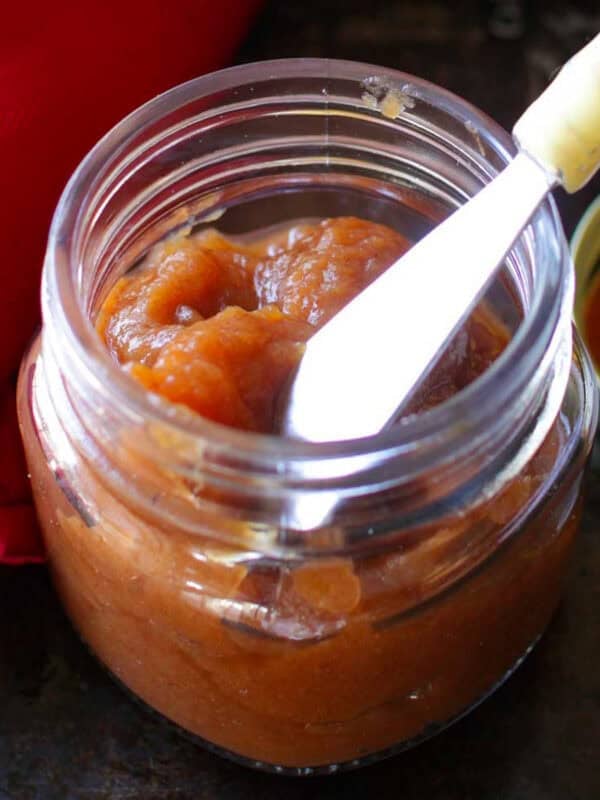
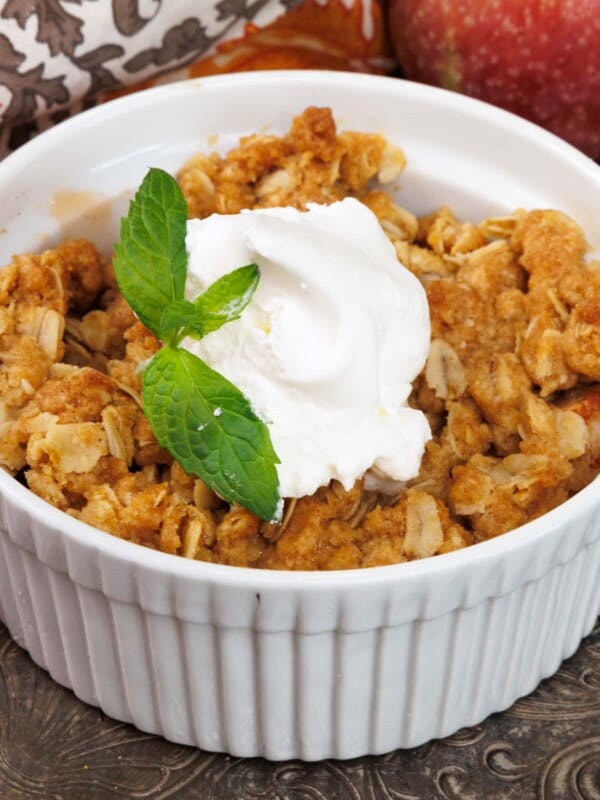
Serve with homemade whipped cream, a scoop of vanilla ice cream, or homemade caramel sauce.
Expert Tips
- Read Before You Start: Review the full recipe, including notes and photos, so you know what to expect.
- Cut Evenly: Slice apples into 1/4-inch thick, uniform pieces for even cooking and the best filling texture.
- Pick the Right Dish: A 5×5-inch baking dish works best. Other good options include 4×6, 5×7, or 6.5×5 inches.
- Easily Scale the Recipe: Double the ingredients for a larger pie or two minis. Use two 5-inch dishes, one 6.5-inch square dish, or a 6×8-inch dish. Keep the oven temperature and baking time the same.
How To Make A Mini Dutch Apple Pie Ahead
Save time by prepping parts of the pie in advance:
- Crust: Make up to 3 days ahead. Store in the fridge or press into the baking dish, cover, and refrigerate until ready to bake.
- Streusel: Mix and refrigerate up to 1 day in advance.
- Baked Pie: Cover and keep at room temperature for up to 1 day or refrigerate for up to 3 days.
- To Reheat: Warm in the microwave for 30 seconds or in a 325°F oven for about 10 minutes.
Frequently Asked Questions
Dutch apple pie has a crumbly streusel topping instead of a traditional pie crust on top. It adds a sweet, buttery layer over the spiced apple filling.
Firm apples like Gala, Honeycrisp, Fuji, or Granny Smith hold their shape and provide great flavor. Avoid soft apples like Red or Golden Delicious.
Yes, you can substitute our shortbread crust with a small round of store-bought pie dough or use our mini pie crust for a classic option?
Cover the cooled pie and store it at room temperature for up to 1 day or refrigerate for up to 3 days.
More Single Serving and Small Batch Holiday Desserts
Celebrate the season with these festive desserts, perfectly portioned for one or two people:
Ways To Use Leftover Ingredients
If you have any ingredients leftover from this recipe, check out our Leftover Ingredients Recipe Finder or you might like to consider using them in any of these single serving and small batch recipes:

If you’ve tried this Mini Dutch Apple Pie or any recipe on One Dish Kitchen please let me know how you liked it by rating the recipe and telling me about it in the comment section below.
If you take a picture please tag us on Instagram (@onedishkitchen) we’d love to see it!
Mini Dutch Apple Pie

Watch How To Make This
Equipment
Ingredients
For the Crust
- 2 ½ tablespoons salted butter -softened
- 2 tablespoons granulated sugar
- ¼ cup all-purpose flour
- 1 tablespoon cornstarch
- ⅛ teaspoon salt
For the Filling
- 2 – 3 medium-sized apples (2 to 2 ½-cups of sliced apples) Use gala, honeycrisp, fuji, or granny smith.
- 2 teaspoons lemon juice
- 2 tablespoons granulated sugar
- 1 tablespoon all-purpose flour
- ¼ teaspoon ground cinnamon
- ⅛ teaspoon ground nutmeg
- ½ teaspoon vanilla extract
For the Streusel Topping
- ¼ cup all-purpose flour
- 1 teaspoon granulated sugar
- 1 teaspoon brown sugar
- ¼ teaspoon ground cinnamon
- 3 tablespoons salted butter -softened
Instructions
Make the Crust
- Preheat the oven to 350° F (177° C).
- In a medium bowl, use a hand mixer to beat the butter and sugar until smooth. Add the flour, cornstarch, and salt, and mix until fully combined.
- Press the dough firmly into a lightly buttered 5×5-inch baking dish using your fingers or the back of a spoon.
- Bake for 18-20 minutes, until lightly golden. Set aside to cool.
Make the Filling
- Peel, core, and slice the apples into 1/4-inch thick slices or chunks. Place them in a bowl and toss with lemon juice to prevent browning.
- In a separate bowl, stir together the sugar, flour, cinnamon, and nutmeg. Add this mixture to the apples and stir until the apples are well coated, then mix in the vanilla extract. Spoon the filling evenly over the baked crust.
Make the Streusel Topping
- In a bowl, stir together flour, granulated sugar, brown sugar, and cinnamon. Add softened butter and mix with a fork until crumbly. Sprinkle the topping evenly over the apples.
Bake
- Place the baking dish on a baking sheet. Bake at 350°F (177°C) for 55–60 minutes, until the filling is bubbly and the topping is golden.
- Let the pie cool to room temperature before serving.
Notes
- Read Before You Start: Review the full recipe, including notes and photos, so you know what to expect.
- Cut Evenly: Slice apples into 1/4-inch thick, uniform pieces for even cooking and the best filling texture.
- Pick the Right Dish: A 5×5-inch baking dish works best. Other good options include 4×6, 5×7, or 6.5×5 inches.
- Easily Scale the Recipe: Double the ingredients for a larger pie or two minis. Use two 5×5-inch dishes, one 6.5-inch square dish, or a 6×8-inch dish. Keep the oven temperature and baking time the same.
Nutrition
The information shown is an estimate provided by an online nutrition calculator. It should not be considered a substitute for a professional nutritionist’s advice.


I love this dish. I make it quite often. The biscuit and the Apple mix are wonderful. After three times I did change the crumble because I had issues with it. Thank you for sharing.
If I wanted to use a 9×9 dish would I have to double the recipe. Would love to make this for the holidays.
A 9×9 inch dish would be too large for doubling this recipe. For doubling, I recommend using either two 5 inch square baking dishes or one 6.5 inch square baking dish, or a 6×8 inch baking dish.
If I were to make this recipe with your single serving pie crust, would the baking time remain the same?
If you’re using my single serving pie crust for this mini Dutch apple pie, there’s no need to pre-bake the crust. The baking time for the pie should remain the same as stated in the recipe.
Tastes delicious!!! And I won’t eat an entire pie in a few days , thanks!
Excellent recipe.
Thank you!
Came out great! The small size is less intimidating to make. I have not done a lot of baking but the small size seems easier to manage. Gone in a couple of hours.
I’m so happy you enjoyed the pie!
Have you tried this gluten-free and dairy free? I’m allergic to both.
Kathy, I’ve been experimenting with gluten-free flours in our recipes and like using King Arthur’s brand Gluten Free 1:1 Flour. Although I haven’t tested gf flour in this particular recipe, based on others I’ve tested I believe you can use it without a problem. You can make a vegan apple pie by using vegan butter. I like Earth Balance Vegan Buttery Sticks and Miyoko’s brands best.
Do you think you could make this without the bottom crust to save calories, or would the apples burn on the bottom. Looks delicious.
Yes, you can make a crustless apple pie. I recommend buttering the bottom and sides of the baking dish well to keep the apples from sticking.