This post may contain affiliate links. Please read our disclosure policy.
This easy mini pie crust recipe is buttery, flaky, and perfectly sized for one small pie or tart. Made with simple ingredients, it’s ideal for sweet or savory fillings and includes tips for gluten-free and dairy-free options.
Featured Comment
“I love the crust! It was easy to make and it is indeed very flaky and tasty!”
– Terry
Why You’ll Love This Recipe
- Quick and Easy: Simple steps make this small batch crust easy for any baker to master.
- Buttery and Flaky Texture: Cold butter creates a tender, golden crust with a light sweetness.
- Versatile Use: Perfect for both sweet and savory mini pies or galettes.
- Perfect Size: Designed for one small pie or tart.
- Make Ahead Friendly: The dough can be refrigerated or frozen, making it easy to prep in advance.
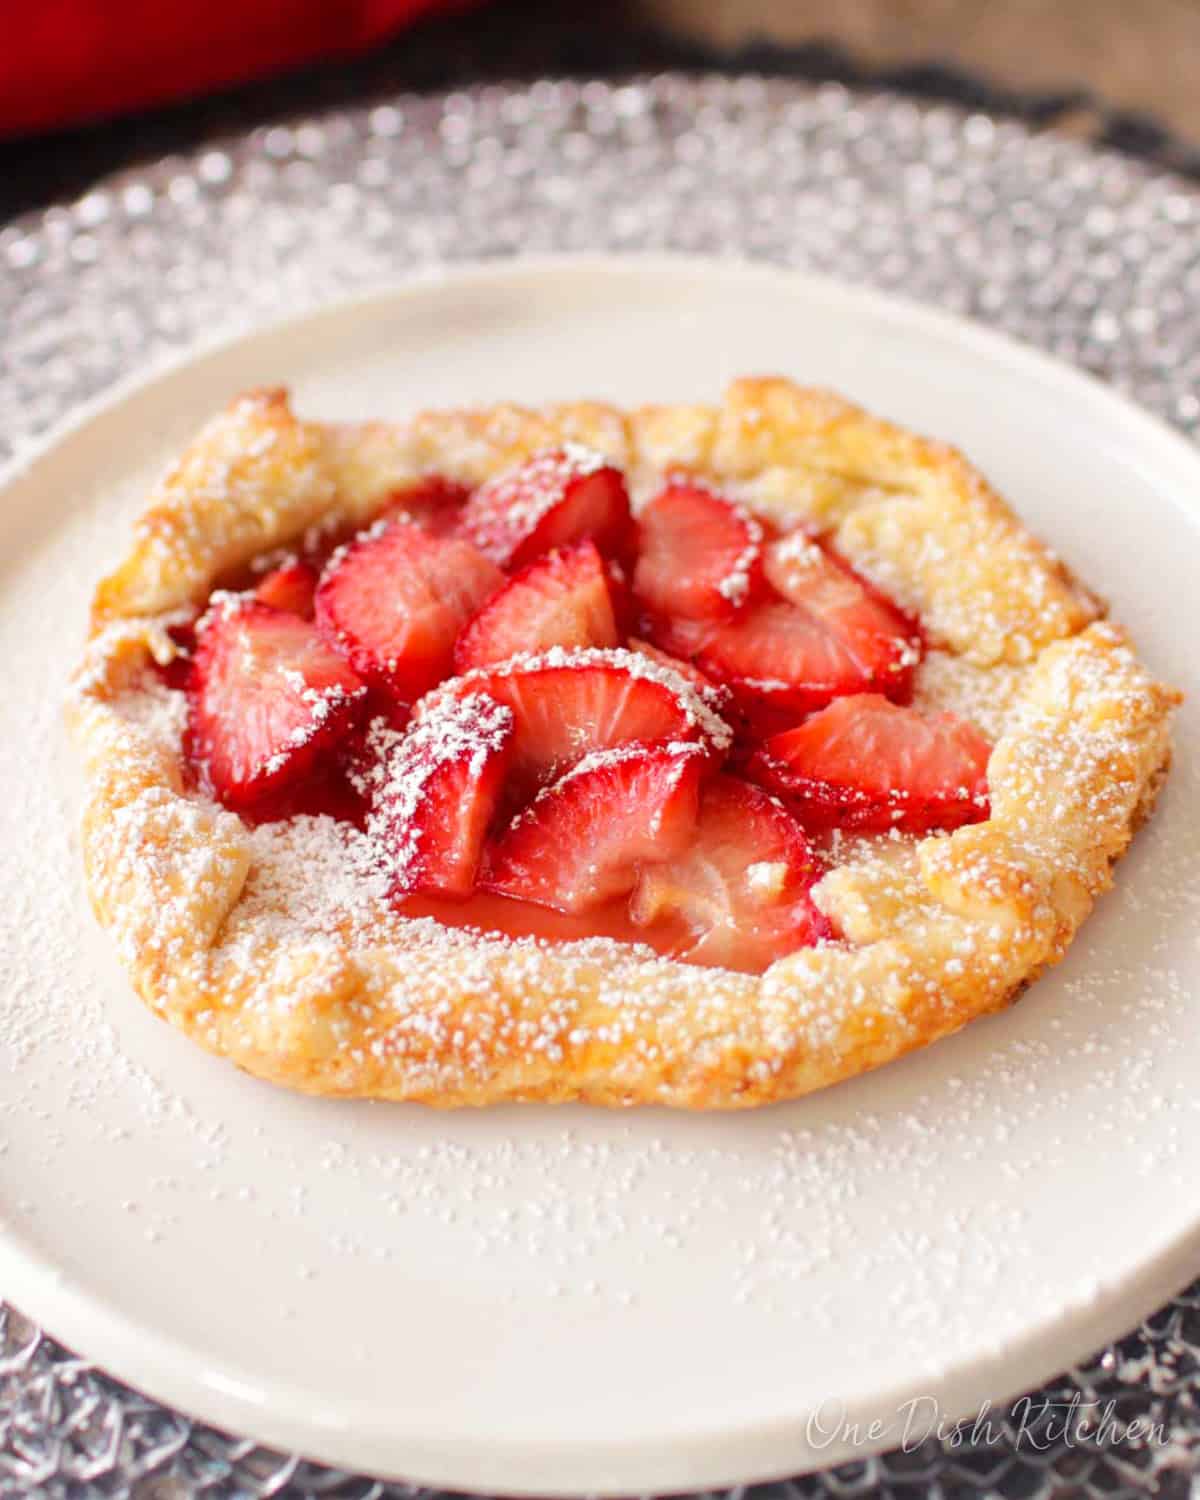
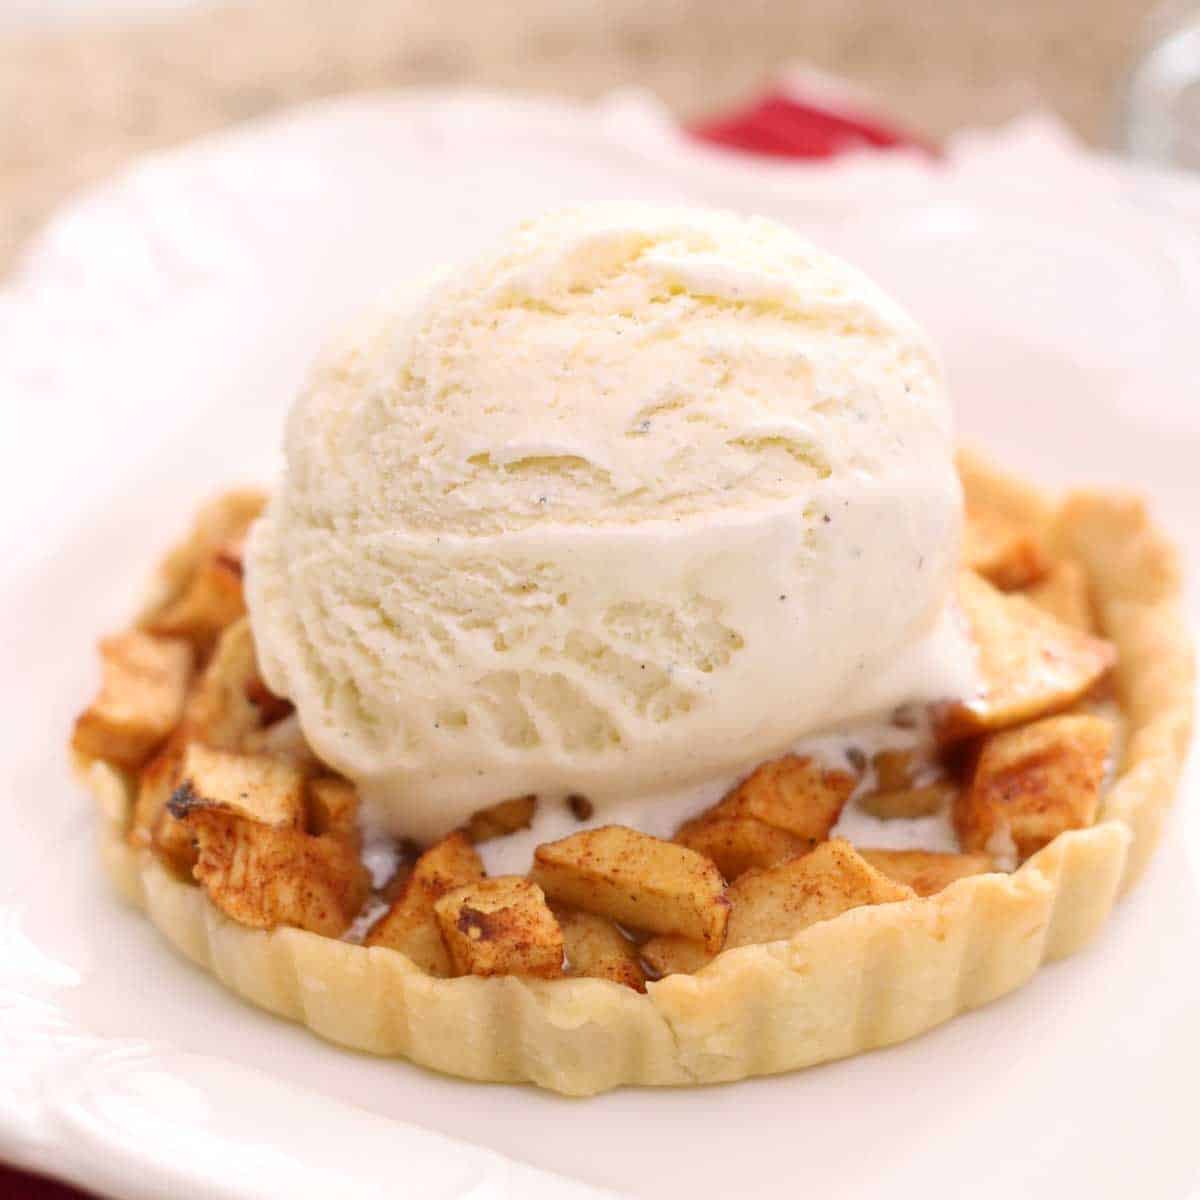
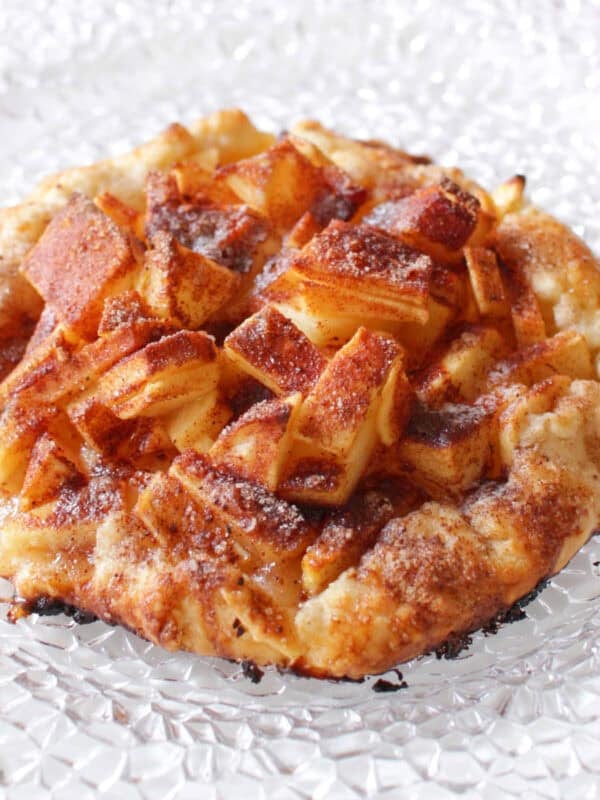
What I love most about this mini pie crust is how simple and reliable it is. Whether I’m baking a mini apple galette or a comforting small chicken pot pie, this buttery, flaky crust always turns out perfectly.
It’s just the right size for one or two small pies, and it reminds me that homemade pie doesn’t need to be complicated, just a few basic ingredients and a little care make something truly special.
If you enjoy making homemade crusts, you might also like our small shortbread crust and small graham cracker crust recipes. Both are easy to make and perfect for mini pies, tarts, or cheesecakes. Each offers a different flavor and texture, giving you great options for pairing with your favorite fillings.

Ingredients
If you have any ingredients leftover from this single serving pie crust recipe, check out our Leftover Ingredients Recipe Finder.
- Flour (for mini crust): The foundation of this mini pie crust, giving the dough structure. For a gluten-free version of this small pie crust use a 1:1 gluten-free flour blend such as King Arthur brand Gluten Free Measure For Measure Flour.
- Granulated sugar: Adds a touch of sweetness and helps the crust brown as it bakes.
- Salt: Brings out the flavor of the crust. You can omit it if you prefer a low-sodium option.
- Cold butter: Key to a flaky, buttery crust. For a dairy-free crust, use plant-based butter instead.
- Ice water: Only about 2 teaspoons are needed to moisten and bind the dough.
How To Make A Mini Pie Crust
These step-by-step photos and instructions help you visualize how to make a single serving pie crust. See the recipe box below for ingredient amounts and full recipe instructions.
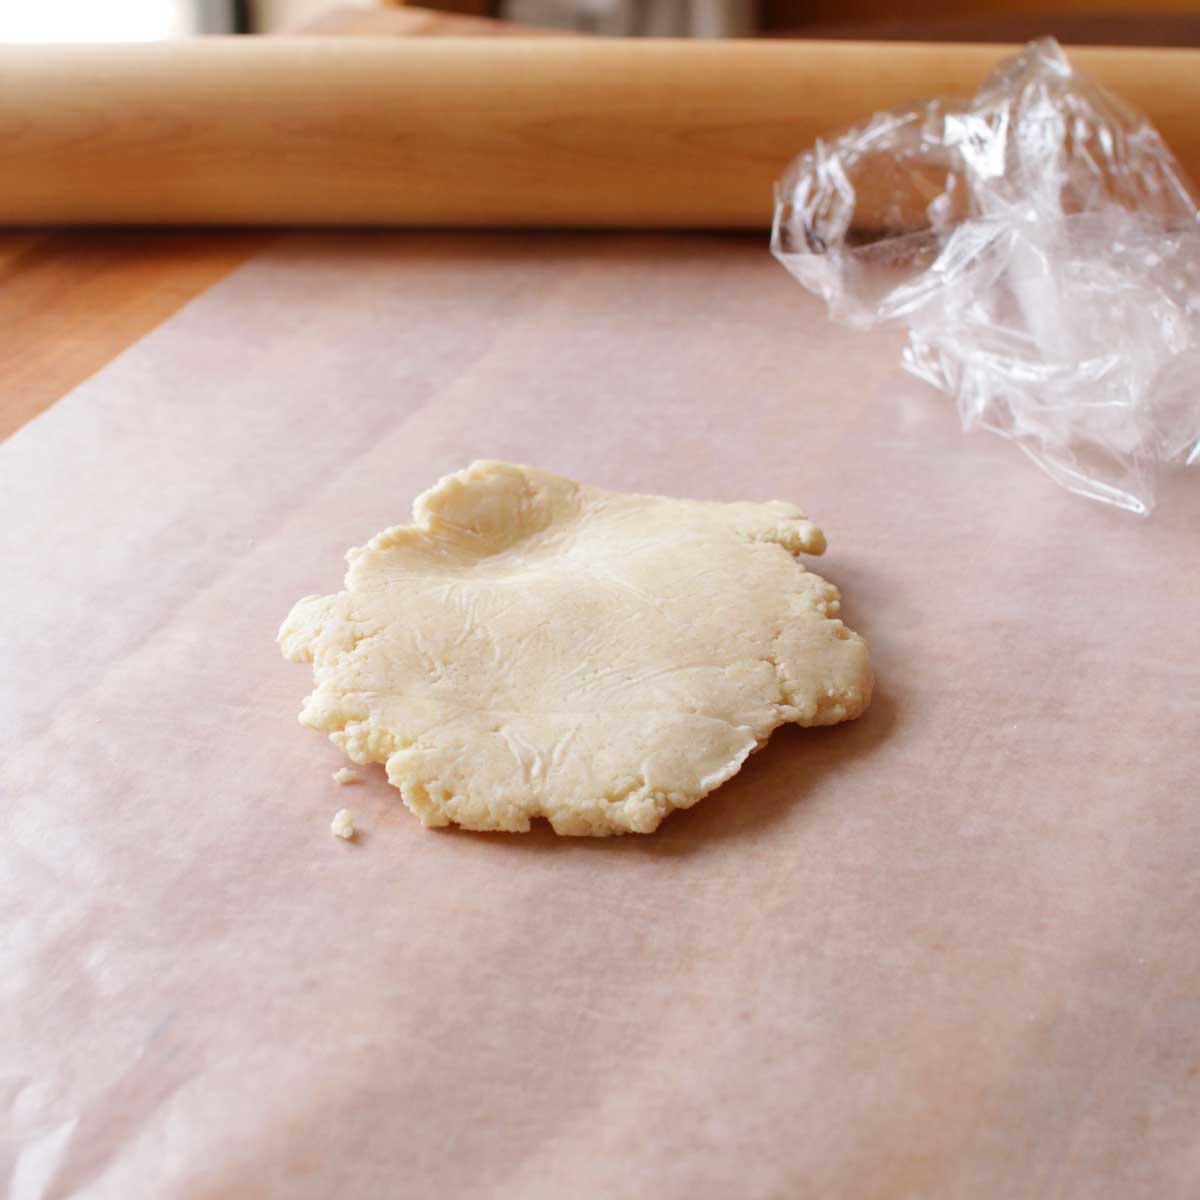
- In a small bowl, mix the ingredients until the dough forms. Transfer it to plastic wrap, shape it into a disc, wrap tightly, and chill for 20 minutes.
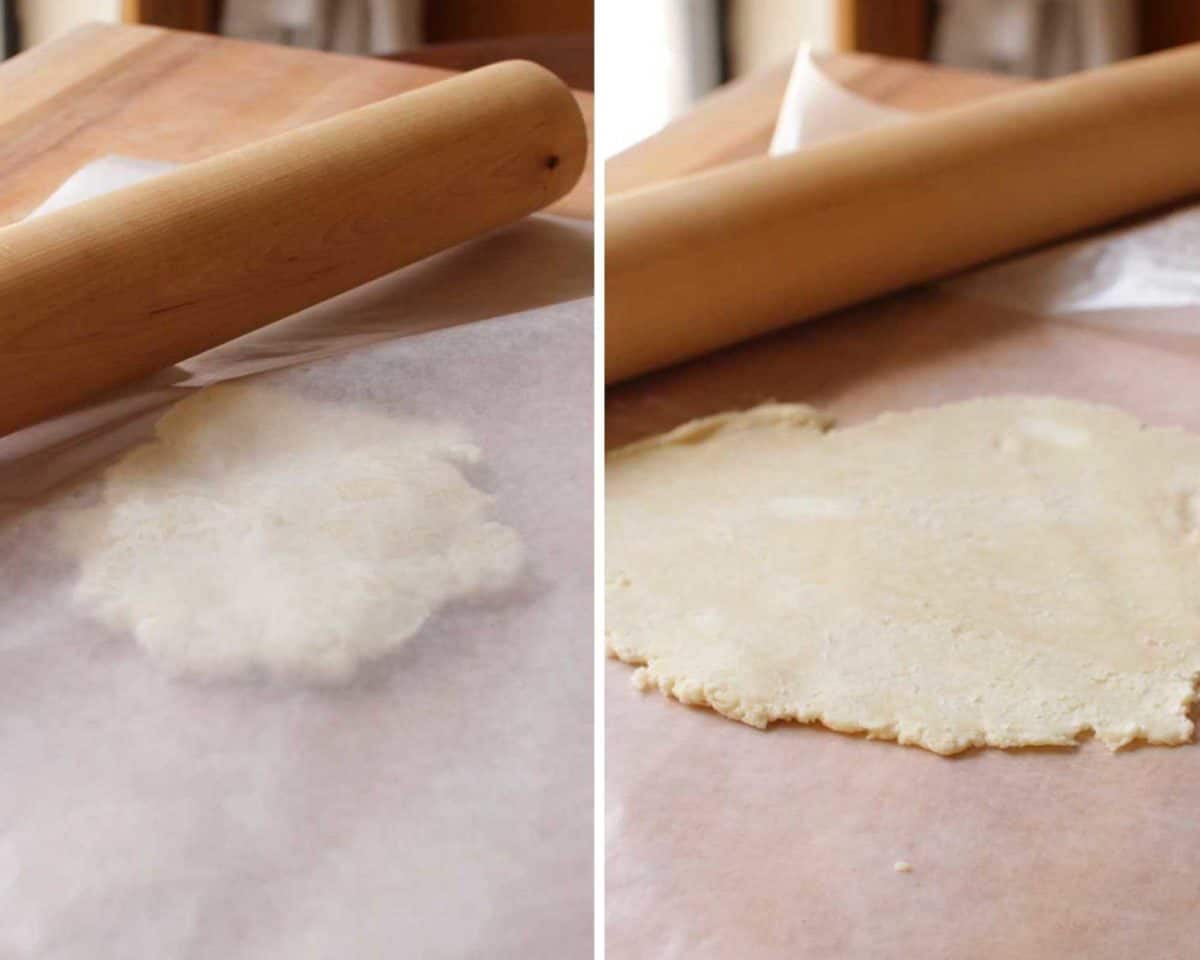
- Unwrap the dough and roll it between two sheets of parchment paper into a small circle.
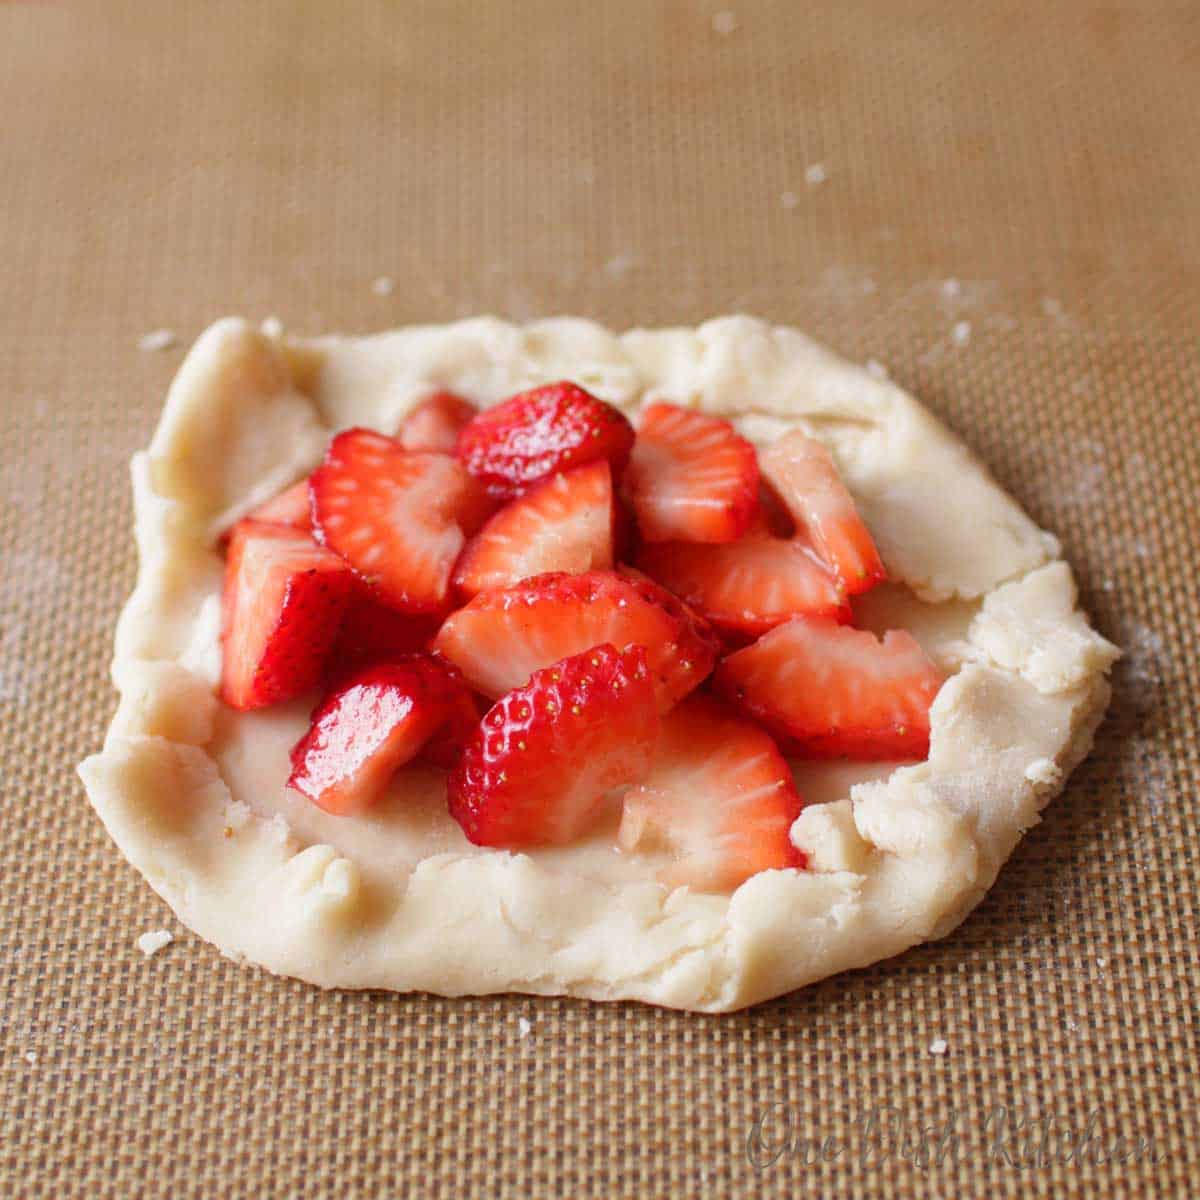
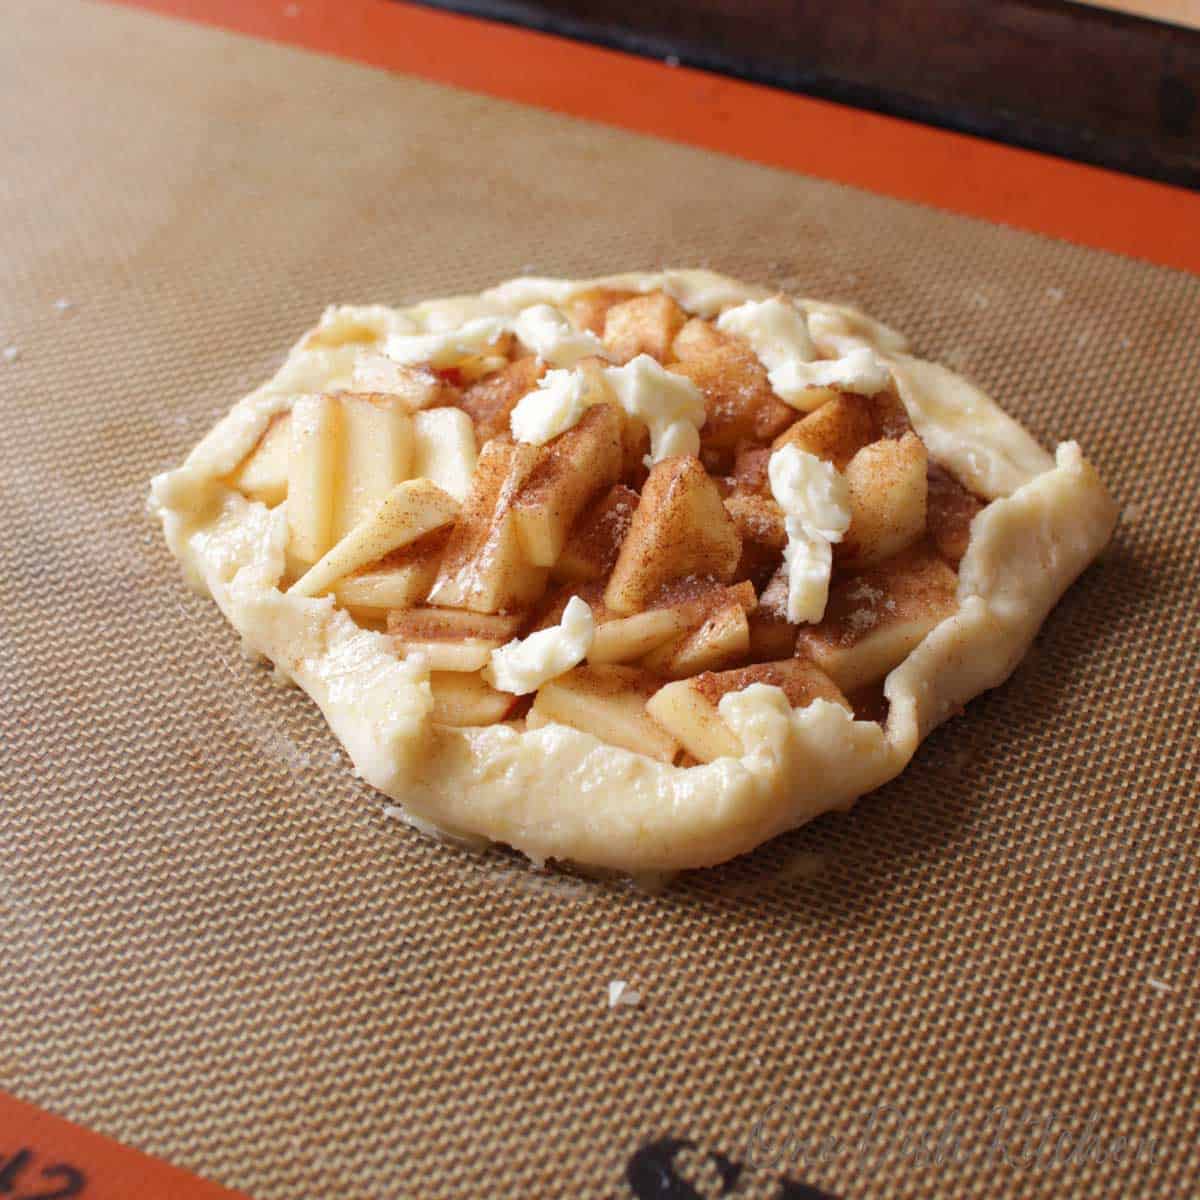
- Galette Tip: Keep the dough on the bottom parchment sheet or a silicone mat, place it on a baking sheet, remove the top layer, and it’s ready to fill.
- For a Mini Pie: Gently transfer the rolled dough to a mini tart pan or small pie pan, pressing it into place.
- Bake according to your pie or galette recipe instructions.
Expert Tips
- Make Ahead: Prepare the dough up to 3 days in advance and refrigerate, or freeze for up to 3 months.
- Use Cold Butter: Cold butter helps create a flaky, tender crust.
- Chill the Dough: Always chill before rolling. Cold dough is easier to handle and bakes up perfectly flaky.
Frequently Asked Questions
Yes, you can refrigerate the dough for up to 3 days or freeze it for up to 3 months.
This recipe makes one small crust, perfect for a 5-inch pie pan, 5-inch tart pan, or a 5×5-inch baking dish.
Use cold butter, handle the dough as little as possible, and chill it before baking.
Add water 1/4 teaspoon at a time until the dough comes together in a ball. Handle it gently to keep the crust tender and flaky.
Keep the dough well-chilled before rolling and baking. Cold dough holds its shape better in the oven.
Yes. Use a 1:1 gluten-free flour blend and substitute plant-based butter for a dairy-free version.
Ways To Use Leftover Ingredients
If you have any ingredients leftover from this recipe, check out our Leftover Ingredients Recipe Finder or you might like to consider using them in any of these single serving and small batch recipes:

If you’ve tried this mini pie crust or any recipe on One Dish Kitchen please let me know how you liked it by rating the recipe and telling me about it in the comment section below.
If you take a picture please tag us on Instagram (@onedishkitchen) we’d love to see!
Mini Pie Crust For One

Equipment
Ingredients
- 5 tablespoons all-purpose flour
- 1 teaspoon granulated sugar
- ⅛ teaspoon salt
- 2 tablespoons cold salted butter -cut into ¼-inch pieces
- 2 teaspoons ice water
Instructions
- In a small bowl, whisk together the flour, sugar, and salt.
- Cut in the cold butter with a fork until the mixture resembles coarse crumbs.
- Add ice water, 1 teaspoon at a time, mixing gently until the dough comes together. Avoid overmixing to keep the crust tender.
- Shape the dough into a disc, wrap it in plastic wrap, and refrigerate for 20 minutes to chill.
- Preheat the oven to 400°F (200°C).
- Roll the chilled dough between two sheets of parchment paper into a 6-inch circle, about ⅛-inch thick.For a Galette: Remove the top sheet and transfer the dough (with the bottom parchment) to a baking sheet.For a Mini Pie: Transfer the dough to a 5-inch pie pan, tart pan, or 5×5-inch baking dish, pressing it into place.
- Bake according to your pie or galette recipe instructions.
Notes
- Make Ahead: Prepare the dough up to 3 days in advance and refrigerate, or freeze for up to 3 months.
- Use Cold Butter: Cold butter helps create a flaky, tender crust.
- Chill the Dough: Always chill before rolling. Cold dough is easier to handle and bakes up perfectly flaky.
Nutrition
The information shown is an estimate provided by an online nutrition calculator. It should not be considered a substitute for a professional nutritionist’s advice.


Can you use like can apple or cherry pie filling. If so what would you do for the top? Thank you
Yes, you can absolutely use canned pie filling — apple, cherry, or any flavor you like will work well with this crust. For the top, you have a few options:
Leave it open-faced (no top crust) — this works great for fruit pies since the filling is already thickened.
Add a simple lattice or full top crust — just make a second batch of the crust and cut strips or roll it out to cover the pie.
Crumble topping option: You could also sprinkle a quick mix of butter, flour, and sugar over the top for an easy streusel-style finish.
Can substitute lard instead of butter.
I haven’t tested this mini pie crust recipe with lard, but you can usually substitute it for butter at a 1:1 ratio by weight. Since this is a small crust, even small differences can affect the texture, so I recommend keeping the lard very cold and handling the dough gently. You may find you need a touch less water, as lard has a higher fat content. The crust will likely be flakier and a bit less buttery in flavor, but it should still bake up nicely if well chilled before baking.
I made a quiche pie. Delicious 😋
I made this with King Arthur’s gf flour and needed lots more water to bring the crust together. I chilled it for 20 mins. And rolled out on silicon pad with more gf flour on rolling pin. I draped it over a ramekin and baked but it literally melted off ramekin so it was good I put it on a cookie sheet. I placed pieces of crust back 😔 n another ramekin as it looks tasty and flaky. This is for my daughter in law for Easter. I have it covered in the freezer. I believe it’s going nf to be tasty with coconut cream filling!
It sounds like you made the best of a tricky situation—gluten-free dough can often be more delicate to work with. I hope it turns out beautifully for your daughter-in-law. The coconut cream filling sounds like a perfect match!
Hello, I am making 4 inch deep dish pies for Thanksgiving. I have your recipe but I’m thinking perhaps I should use 10 tablespoons of flour instead of four to make sure I have enough dough for a aesthetic looking crust. Could you please give me your advice on this thank you so much.
Yes, I would definitely double the ingredient amounts.
I love this recipe because it’s tasty and convenient. I used it for the second time in your sweet potato pie recipe. Divine!
Instead of cutting in cubes of butter, I hand-grated my frozen butter into the flour mixture. That made light work of mixing dough. However, my dough required a lot more than 2 teaspoons of water each time I’ve made it. Is that measurement correct, or could it be 2 tablespoons?
Thank you so much for your kind words! I’m thrilled you’ve been enjoying the recipe and that it worked well for the sweet potato pie—what a delicious choice!
The measurement of 2 teaspoons of water is correct, but sometimes the amount can vary slightly depending on factors like the flour’s moisture content or even the humidity in your kitchen. Grating frozen butter is such a clever idea and can sometimes change how the dough absorbs water, which might explain the difference. If your dough needs a little more water to come together, that’s perfectly fine! Just add it a tiny bit at a time to avoid making the dough too wet. Thanks again for sharing your tips and experiences!
these one dish meal recipes are wonderful and time saving, i can find everything i need. Thank you.
I’m so happy you found us and are enjoying our recipes.
So awesome to be able to make one piece of pie!! The crust is just delicious I used strawberry canned pie filling topped with whipped cream when cool
That sounds wonderful, Jackie! I’m so glad you enjoyed the pie.