This post may contain affiliate links. Please read our disclosure policy.
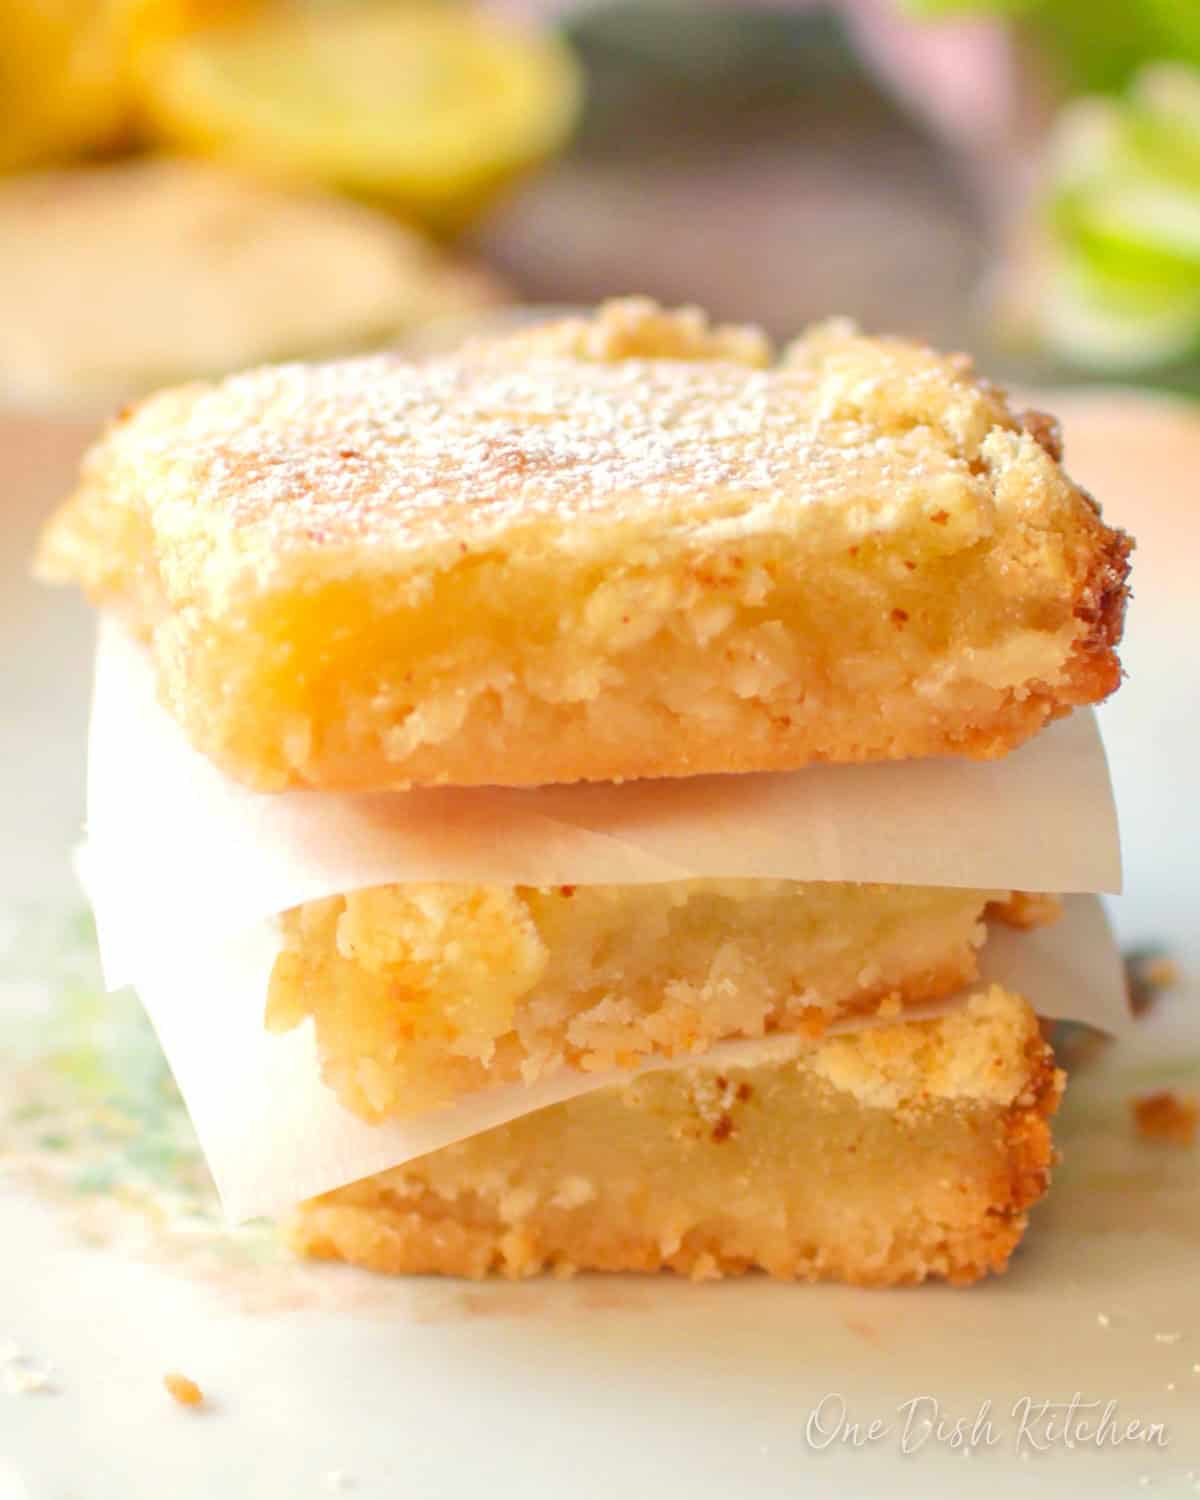
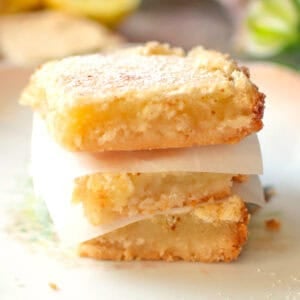
Small batch lemon bars with a tender shortbread crust and a bright, tangy lemon filling that sets soft and creamy. These mini lemon bars bake in 30 minutes and serve one or two.
Featured Comment
“Absolutely delicious lemon bars! They were surprisingly easy to make, used only a few ingredients, and came out perfectly! I will absolutely be making these again. Thank you for my new favorite dessert recipe!”
– Julie
Quick Look
- Prep: 10 minutes
- Cook: 30 minutes (15 min crust + 15 min filling)
- Cool: 1 hour
- Total: 1 hour 40 minutes (includes cooling)
- Equipment: 5×5-inch baking dish
- Cook Method: Baked
- Servings: 4 small bars (serves 1 to 2)
- Difficulty: Easy
This single serving lemon bars recipe is an easy lemon dessert that uses one egg and a 5-inch dish, so you get four lemon bars without committing to a 9×13 pan.
Why I Make This Small Batch Lemon Bars Recipe

Making lemon bars from scratch used to be something I’d skip entirely. Baking a full 9×13 pan for one or two people meant I’d be eating lemon bars for a week, and by day three the crust would lose its snap and the filling would start to weep.
So I scaled it down. This version makes four lemon bars in a 5-inch dish using just one egg, half a lemon, and a little butter.
Getting the recipe right took a few rounds. The first batch had too much filling for the crust; the second was the opposite. I adjusted the cornstarch in the crust, dialed in the egg-to-lemon ratio for a single egg, and tested the bake time across both glass and ceramic dishes until I had a version that holds up the way I wanted.
After 35 years of making lemon bars, I’ve learned the recipe doesn’t need to be complicated. It needs the right ratio of crust to filling, fresh lemon juice, and a crust that holds up without going soggy.
This is a true small batch. Four bars from a 5-inch dish, one egg, no leftovers sitting in the fridge for days. The crust is buttery and tender, with cornstarch added for that fine, sandy texture good shortbread should have. The filling is bright and tangy, set just enough to hold a clean slice but still soft in the middle.
If you love small lemon desserts, try our lemon meringue pie for one, single serving lemon posset, small batch lemon scones, or homemade lemon curd.
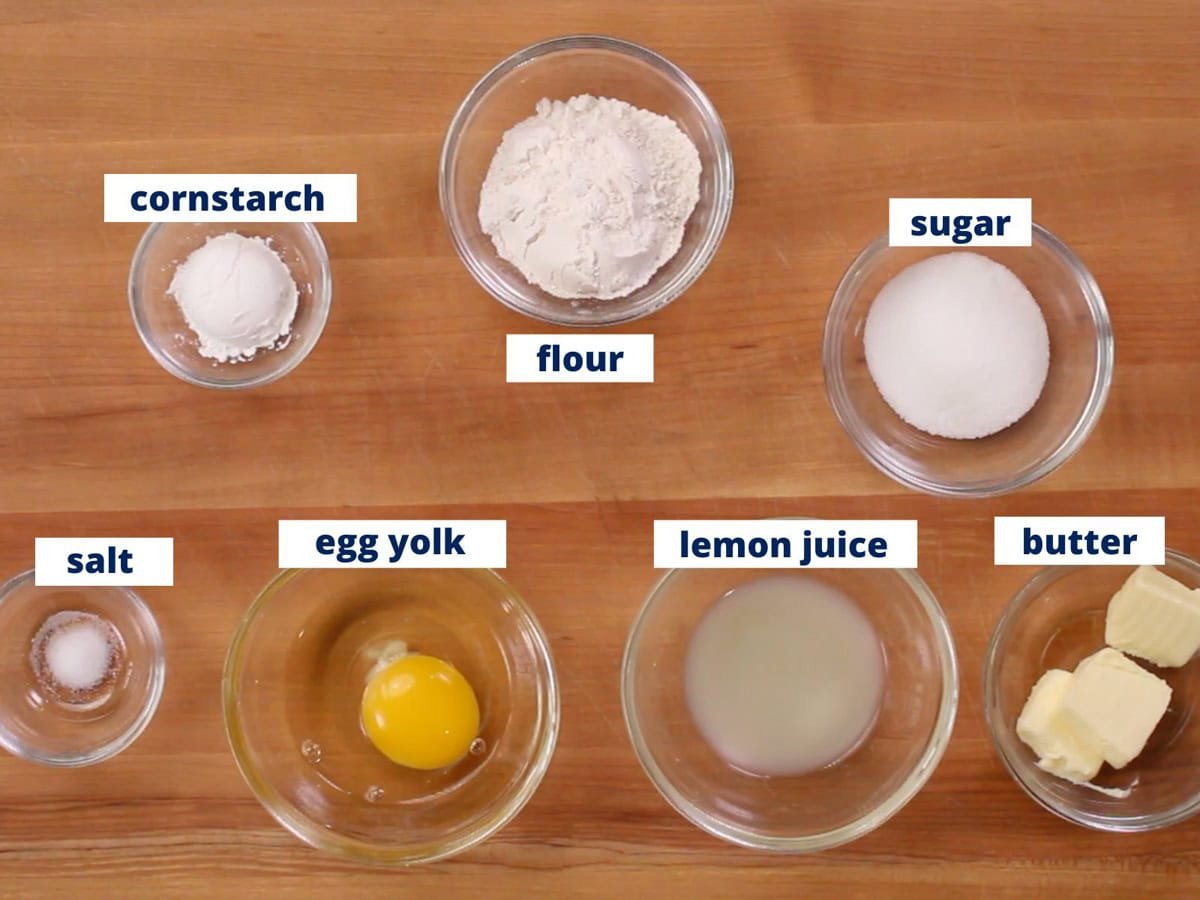
Ingredient Notes
If you have ingredients leftover from this mini lemon bars recipe, our Leftover Ingredients Recipe Finder is the easiest way to use them in another single serving or small batch dessert.
Butter: I use salted butter, softened to room temperature. Soft butter creams smoothly with sugar and gives the shortbread crust its tender, even texture. If your kitchen is cool, set the butter on the counter for 30 minutes before starting, or microwave it for 8 to 10 seconds. It should give easily when pressed with a finger but not look greasy.
Sugar: Granulated sugar sweetens both layers and helps the filling set. As the bars bake, the sugar dissolves into the egg and lemon juice. The filling then thickens as the bars cool on the counter, which is why a lemon bar that comes out of the oven slightly jiggly will firm up beautifully.
All purpose flour: Flour gives the crust its structure and helps thicken the filling. In the filling, a tablespoon and a half is enough to bind the egg and juice into a soft, sliceable layer. A 1:1 gluten free flour works well in place of all purpose flour for both the crust and the filling.
Cornstarch: A tablespoon of cornstarch in the crust is the small detail that makes a real difference. It softens the protein structure of the flour, which gives the shortbread that fine, sandy crumb you want under a wet filling.
Salt: Salt does more than season. It lets the rich, creamy flavor of the butter come forward and keeps the filling from tasting overly sweet. Without it, both layers taste flat.
Egg: One large egg is all you need for a small batch. It binds the filling and gives it that custardy, set texture once baked. Use a fresh egg straight from the fridge, no need to bring it to room temperature for this recipe.
Lemon juice: Fresh lemon juice gives the filling its bright, clean flavor. Half of a medium lemon is usually enough for the 1½ tablespoons you need. If you want a stronger citrus note, stir in ½ teaspoon of finely grated lemon zest. The zest holds the essential oils that carry most of a lemon’s aroma, so even a small amount makes a noticeable difference.
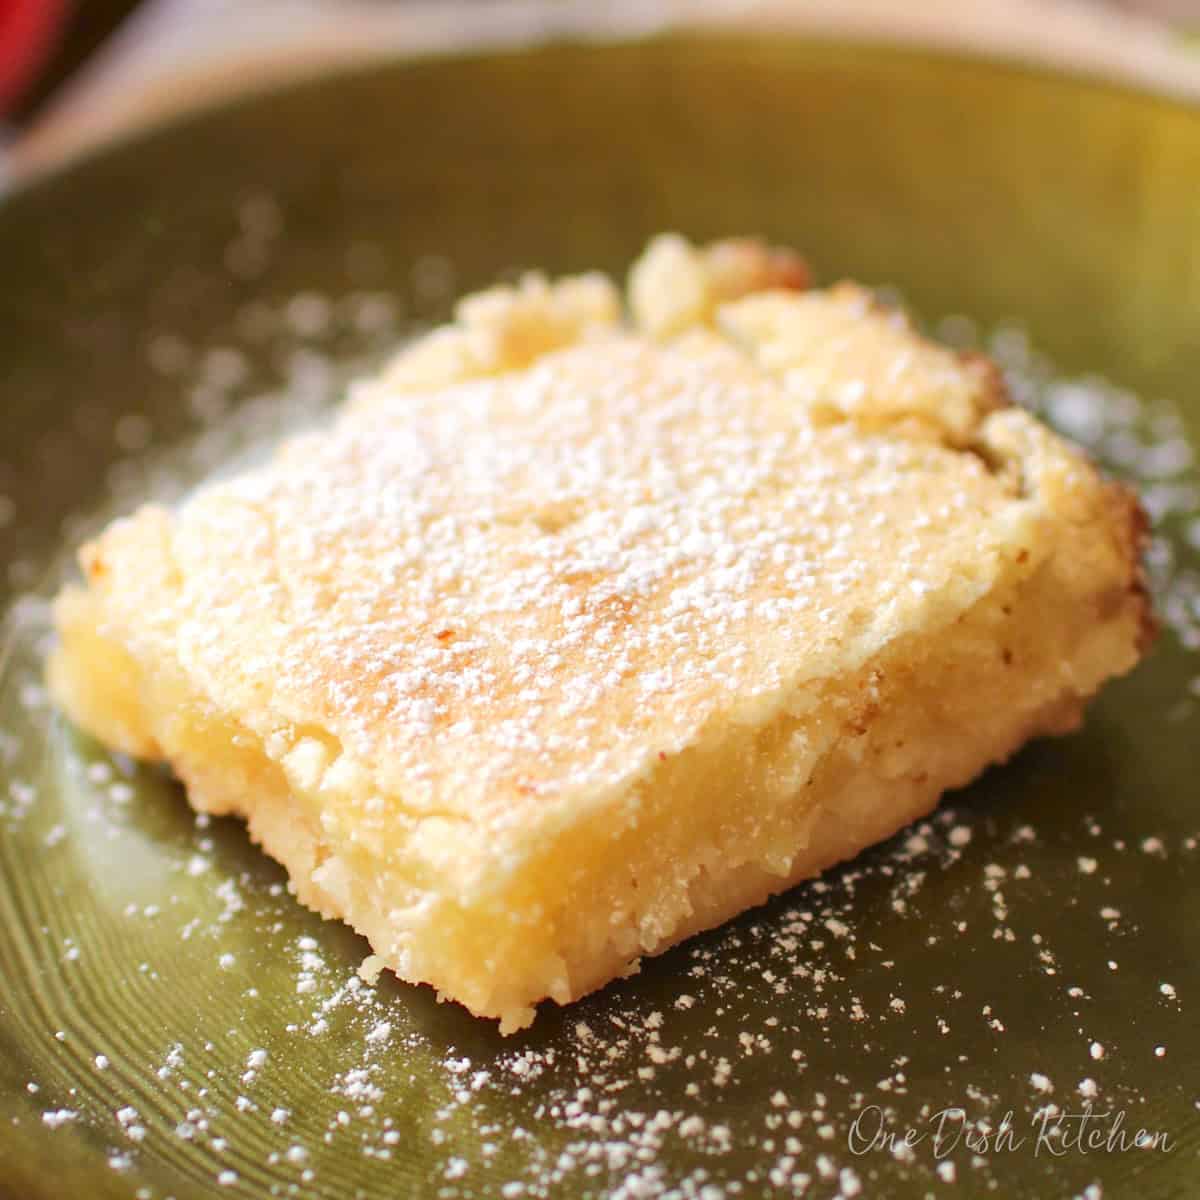
Powdered sugar: Optional, for dusting. A light shower over the top right before serving gives the bars their classic finish and softens the look of any cracks or air bubbles on the surface.
Recipe Variations
Here are a few variations on this small batch lemon bars recipe when you want to change the flavor without changing the method.
Lime bars for one. Replace the lemon juice with an equal amount of fresh lime juice. The filling will set the same way and the bars come out a little less tart and a touch more floral. Add ½ teaspoon of finely grated lime zest to the filling for a stronger citrus note.
Meyer lemon bars. Swap regular lemon juice for fresh Meyer lemon juice. Meyer lemons are sweeter and more fragrant than standard lemons, which gives the filling a softer, more honeyed citrus flavor. No other adjustments needed.
Blueberry lemon bars. Scatter a small handful of fresh blueberries (about 12 to 15) over the filling just before baking. The berries soften and bleed a little color into the lemon, and the contrast in flavor is one of my favorite ways to make these feel different.
Lemon poppy seed bars. Stir 1/2 teaspoon of poppy seeds into the filling. They give the bars a soft visual flecking and a subtle nuttiness that pairs cleanly with lemon.
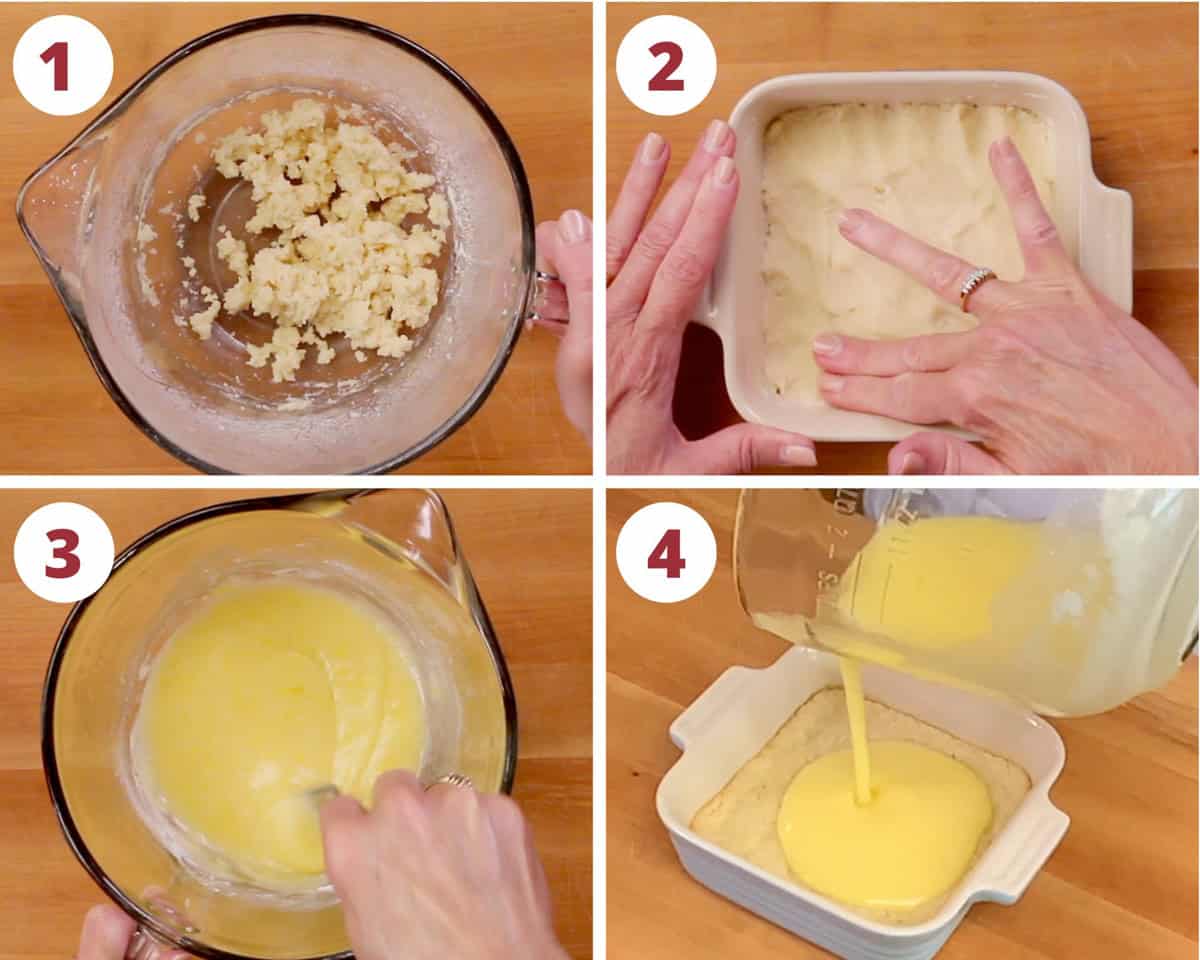
How To Make Small Batch Lemon Bars
These step-by-step photos walk you through how to make easy lemon bars in a 5×5-inch dish. See the recipe card below for ingredient amounts and full instructions.
Before You Begin: Heat your oven to 350°F (177°C). Grease a 5×5-inch baking dish, a 4×6-inch dish, or two 10-ounce ramekins, then set it aside.
- Make the crust. In a medium bowl, beat the softened butter and sugar with an electric mixer on medium speed until smooth. Add the flour, cornstarch, and salt, then mix until fully combined and a soft dough forms.
- Bake the crust. Press the dough evenly into the prepared dish using your fingertips or the back of a spoon. Bake for 15 to 18 minutes, until the edges are pale gold and the surface looks dry. Remove from the oven and set aside.
- Make the filling. In a small bowl, whisk together the egg, sugar, flour, and lemon juice until smooth and no streaks of flour remain.
- Pour and bake. Pour the filling over the warm crust right after it comes out of the oven. The heat from the crust helps the filling start to set as it bakes, which gives you a cleaner layer between the two. Bake for 15 to 17 minutes, until the edges are lightly browned and the center has a slight jiggle when the pan is gently moved.
- Cool completely. Set the pan on a wire rack and let the bars cool fully. The filling continues to set as the bars cool, so don’t be tempted to cut early.
- Slice and serve. Once cooled, cut into squares. Dust with powdered sugar just before serving if you like.
Pro Tip: For clean slices, dip a sharp knife into warm water, wipe it dry, and cut. Repeat between slices.
Expert Tips
Pick the right pan. I use a 5×5-inch baking dish for these because the bars come out at the proper thickness. A 4×6-inch dish works the same way. If you want to make them as mini lemon bars, two 10-ounce ramekins divide the recipe evenly and bake in the same time. A pan that’s too large gives you thin, dry bars; one that’s too small lets the filling spill over.
Use glass or ceramic, not metal. Glass and ceramic give you a more even bake for a small batch. Metal pans run hot and can over-brown the crust before the filling sets.
Bake the crust until pale gold, not brown. The crust gets a second round in the oven once the filling is on, so you want to underbake it slightly the first time. Pull it when the edges look pale gold and the surface looks dry.
Pour the filling on a warm crust. This is the small detail that separates a good lemon bar from a great one. The residual heat from the crust starts to set the bottom of the filling on contact, which gives you a clean layer between the two. A fully cooled crust can lead to a soft, soggy bottom.
Use fresh lemon juice when you can. Bottled juice works in a pinch, but fresh gives the filling a brighter, cleaner flavor. Half of a medium lemon is enough.
Troubleshooting
Here’s what to do if something doesn’t go quite right.
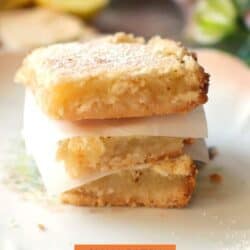
Why is there a thin white layer on top of my lemon bars?
A thin white layer on top of lemon bars is air from the egg rising to the surface as the filling bakes and sets. It doesn’t affect the flavor or texture, and a light dusting of powdered sugar covers it cleanly before serving.
Why are my lemon bars still runny after baking?
Let them cool completely. Lemon bars continue to set as they reach room temperature. If they are still runny after an hour on a wire rack, they likely needed 2 to 3 more minutes in the oven.
Why is the bottom crust of my lemon bars soggy?
A soggy bottom crust usually means the filling went onto a fully cooled crust instead of a warm one. The residual heat from the crust helps set the bottom of the filling on contact, so have the filling whisked and ready before the crust comes out of the oven.
Make Ahead and Storage
These small batch lemon bars hold up well in the fridge, which makes them an easy make-ahead dessert.
To store: Cover and refrigerate the bars for up to 4 days. The flavor actually deepens by the second day.
At room temperature: Lemon bars can sit out for 2 to 3 hours while serving but should be refrigerated for longer storage. The egg-based filling spoils faster at room temperature.
To freeze: Wrap each bar individually in plastic wrap, then store in an airtight container in the freezer for up to 3 months. Thaw overnight in the refrigerator. Dust with powdered sugar after thawing, not before freezing.
To make ahead: Bake the bars up to 1 day in advance, refrigerate uncovered until cool, then cover. Dust with powdered sugar just before serving.
Frequently Asked Questions
Lemon bars are done when the edges are lightly browned and the center has a slight jiggle when the pan is gently shaken. The filling will continue to set as the bars cool. A center that looks fully firm in the oven is overbaked.
A finished lemon bar should be soft and custardy in the center, not gooey or wet. The filling sets to a sliceable, slightly tender texture once cooled. If the middle still moves like liquid after cooling, the bars need more bake time.
Yes. The recipe as written uses only lemon juice; zest is optional and listed as an add-in for stronger citrus flavor. The bars set the same and taste bright and tangy without it.
Half of one medium lemon is enough for this small batch lemon bars recipe. The filling needs 1½ tablespoons of fresh lemon juice, which half a lemon will give you. If you’re adding the optional zest, zest the whole lemon before juicing. Use the juice from the other half in a lemon meringue pie for one.
Lemon bars and lemon squares are the same dessert. Both terms refer to a baked shortbread crust topped with a tangy lemon filling. The names are used interchangeably depending on the region or recipe.
Yes. Double all of the ingredients and bake in either two 5×5-inch dishes or one 6×8-inch dish. The bake time stays the same.
Ways To Use Leftover Ingredients
If you have any ingredients leftover from this recipe, check out our Leftover Ingredients Recipe Finder or you might like to consider using them in any of these single serving and small batch recipes:

If you’ve tried this small batch lemon bars recipe, please let me know how you liked it by rating the recipe and leaving a comment below. I love hearing whether you made it as bars for two or as mini lemon bars. If you take a picture, tag us on Instagram (@onedishkitchen).
Small Batch Lemon Bars
Watch How To Make This
Equipment
- 5-inch baking dish or a 4×6-inch baking dish
Ingredients
For the Crust
- 2 ½ tablespoons salted butter -softened to room temperature
- 2 tablespoons sugar
- ¼ cup all purpose flour
- 1 tablespoon cornstarch
- ⅛ teaspoon salt
For the Filling
- 1 large egg
- ½ cup sugar
- 1 ½ tablespoons all purpose flour
- 1 ½ tablespoons lemon juice
- powdered sugar, optional for dusting
Instructions
- Heat oven to 350°F (177°C). Grease a 5×5-inch baking dish.
- In a medium bowl, beat the butter and sugar with an electric mixer on medium speed until smooth and creamy. Add the flour, cornstarch, and salt. Mix until a soft dough forms.
- Press the dough evenly into the prepared dish. Bake for 15 to 18 minutes, until the edges are pale gold and the surface looks dry. Leave the oven on.
- While the crust bakes, whisk the egg, sugar, flour, and lemon juice in a small bowl until smooth and well combined.
- Pour the filling over the warm crust as soon as it comes out of the oven.
- Return to the oven and bake for 15 to 17 minutes, until the edges are lightly browned and the center has a slight jiggle when the pan is gently shaken.
- Cool the bars completely in the pan on a wire rack, about 1 hour. Cut into squares and dust with powdered sugar before serving if desired.Pro Tip: For clean slices, dip a sharp knife in warm water and wipe it dry between cuts.
Notes
Nutrition
The information shown is an estimate provided by an online nutrition calculator. It should not be considered a substitute for a professional nutritionist’s advice.


Perfection with Gluten Free 1:1 flour! Thank you for the wonderful recipe. I made in a glass 4 X 6ish pan. Thank you for allowing me to enjoy a favorite again.
So glad you enjoyed these!
Can the recipe be done in an air fryer. That could save electricity.
I haven’t tested this recipe in an air fryer, so I can’t say for sure how it would turn out. Lemon bars are a delicate two step bake. The shortbread crust needs even heat to set without burning, and the filling needs gentle even heat to set smoothly without curdling. Air fryers circulate intense top heat, which can cause the crust to brown too quickly while the center is still undercooked, and the filling can crack or curdle.
What size baking dish should I use if I double the recipe?
If making a double batch, bake in either two 5×5 inch baking dishes or one 6×8 inch baking dish.
Delicious recipe. I did tweak the filling using 1/3 cup sugar in the raw plus 1 tablespoon honey and one tablespoon agave instead of the 1/2 cup sugar.
This was easy and came out so yummy! I only had Pyrex ramekins about 3 and half inches across. I baked the crust about 17 minutes then the lemon layer about 14. Having small batch means I won’t be eating a pan of lemon bars far faster than I should! Just right, thanks so much.
These turned out great!! Used lime juice instead of lemon juice.
I make many of your recipes…..
Thank you!!
I’m so happy you enjoyed them – thank you.
Okay, for some reason I bought a jar of lemon curd. I usually use your recipe and love it. My question is this. Can I replace the lemon curd in your recipe for the premade lemon curd? I would like to use it up.
Thank you
Deb
Yes, you can use jarred lemon curd in place of homemade for the lemon bars, but it may require a few extra steps to ensure the bars set properly. Make sure the lemon curd you purchased was made with real eggs, if not it makes the curd harder to set.
It also might be helpful to mix in a cornstarch slurry (about 1/2 teaspoon of cornstarch mixed with a small amount of water) before baking to help it set. Additionally, allowing the bars to chill longer in the refrigerator can also help them firm up.
I hope this helps, and I’d love to hear how they turn out if you give it a try!
Why are you guys talking about lemon curd? I don’t see lemon curd in the recipe. Am I missing something? Am hoping to make these but now I’m concerned I don’t have the entire recipe.
You’re not missing anything — lemon curd is not part of this recipe. A reader had asked if she could use her jar of lemon curd in place of the lemon filling, which is why you see it mentioned in the comments. If you follow the recipe as written, you’ll have everything you need to make the lemon bars.
Absolutely delicious lemon bars! They were surprisingly easy to make, used only a few ingredients, and came out perfectly! I will absolutely be making these again. Thank you for my new favorite dessert recipe!
You are most welcome. I’m so happy you enjoyed the bars.