This post may contain affiliate links. Please read our disclosure policy.
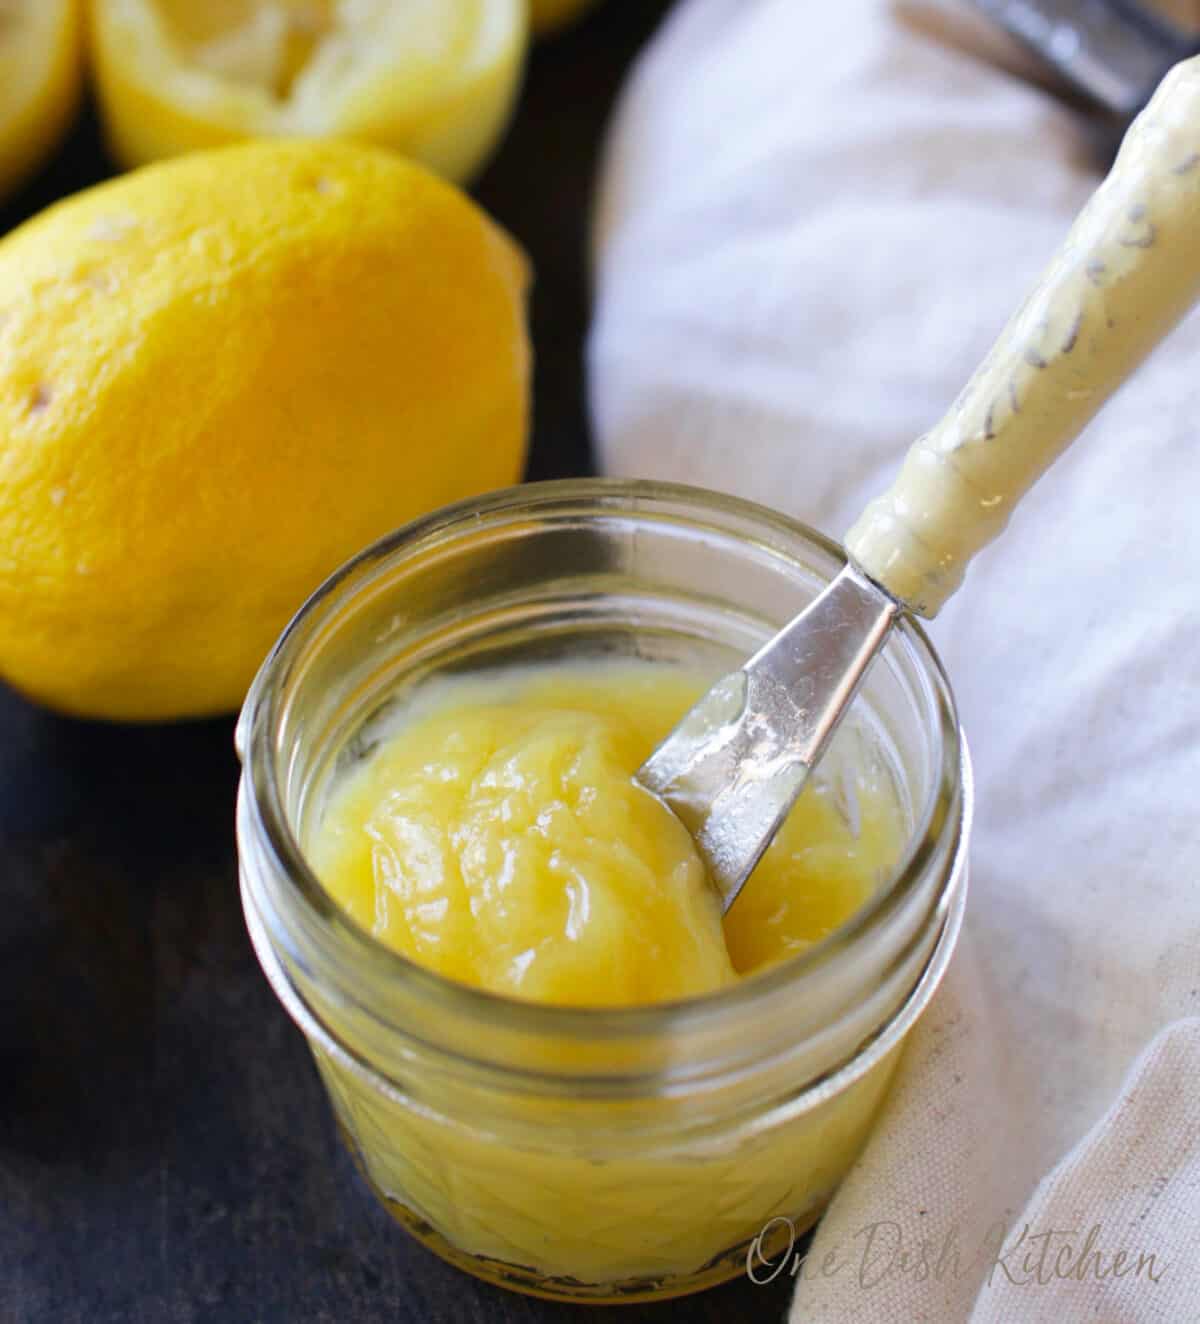
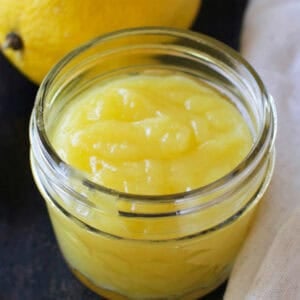
Small batch lemon curd made from scratch with fresh lemon, butter, and one egg. It cooks on the stove in minutes, just enough thick, glossy curd to spread on toast or spoon over desserts.
Featured Comment
“Wonderful recipe! I made a double batch and can’t get enough of it.”
– Sylvia
Quick Look
- Prep Time: 5 minutes
- Cook Time: 12 minutes
- Chill Time: 1 hour
- Total Time: 1 hour 17 minutes
- Equipment: 1-quart saucepan, electric hand mixer
- Cook Method: Stovetop
- Servings: About ¼ cup (4 tablespoons)
- Difficulty: Easy
- Flavor Profile: Bright and intensely lemony, with fresh citrus tang from the juice and zest, balanced by just enough sugar to round out the sharpness.
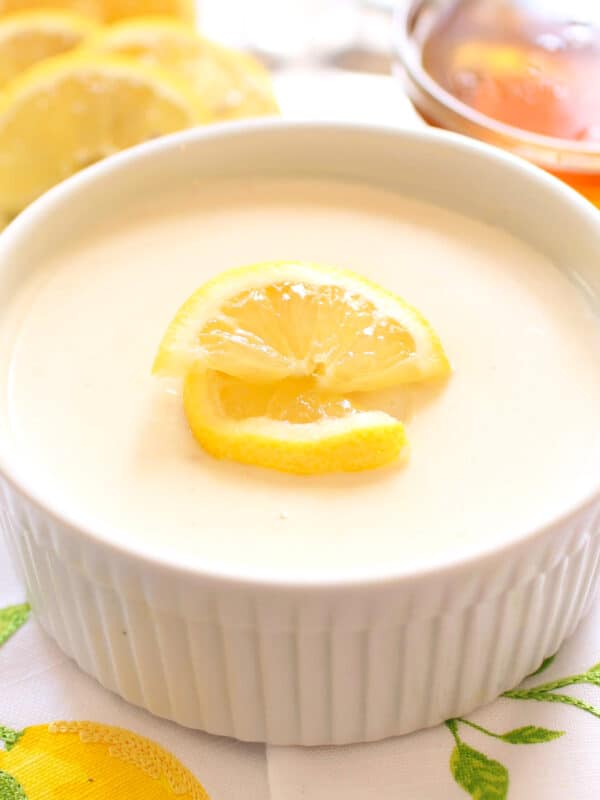
This homemade lemon curd chills into a smooth, spoonable layer you can spread on toast or swirl into Greek yogurt and granola.
Why You’ll Love This Easy Lemon Curd Recipe

I almost always keep a small jar of lemon curd in my refrigerator, and a small batch is the right amount to use while it’s still fresh.
Keeping it small took some testing. Most curd recipes use several egg yolks and make a full cup or more, so I worked out this small batch lemon curd recipe from the ground up to yield just a quarter cup with a single whole egg.
I also handle the butter differently. I cream it with the sugar first, then beat in the egg before the lemon juice and zest go in, rather than stirring the butter in at the end. Creaming it at the start whips in a little air and spreads the zest evenly, so the lemon flavor carries through every spoonful and the curd cooks up smooth.
Spoon this curd over my small batch lemon scones for double the lemon. And if you’re looking for other easy lemon recipes, try my mini lemon meringue pie and small batch lemon bars.
Ingredient Notes
You need just 5 simple ingredients to make this lemon curd. If you have any left over from this recipe, check out our Leftover Ingredients Recipe Finder.
Salted butter: Soften it to room temperature first so it creams easily with the sugar. The butter builds the base of the curd and gives it a rich body once it cooks.
Granulated sugar: Sugar balances the sharp lemon and helps the egg set gently as it cooks, for a smooth, silky curd.
Egg: One whole egg thickens the curd on its own as it heats, with no cornstarch or extra thickeners, and sets it into a soft, custard-like texture.
Fresh lemon juice: Freshly squeezed juice brings the sharp citrus flavor and acidity that make lemon curd what it is. Bottled juice tastes flat, so squeeze it fresh.
Lemon zest: Most of the lemon’s flavor lives in the oils in its zest, so it deepens the citrus taste. Grate only the yellow part and leave the bitter white pith behind.
Recipe Variations
Swap the lemon for another citrus and you change the flavor of the curd while keeping the same method and amounts.
Lime Curd: Replace the lemon juice and zest with ¼ cup fresh lime juice and 1 teaspoon lime zest for a sharp, tangy lime curd.
Orange Curd: Use ¼ cup fresh orange juice and 1 teaspoon orange zest in place of the lemon for a sweeter, milder curd.
Meyer Lemon Curd: Swap in ¼ cup fresh Meyer lemon juice and 1 teaspoon Meyer lemon zest. Meyer lemons are sweeter and more floral than regular lemons, so the curd is more mellow with a light floral note.
Ginger Lemon Curd: Stir ¼ teaspoon finely grated fresh ginger into the curd for a little warmth.
How To Make Lemon Curd
Here’s how to make lemon curd on the stove, step by step. For exact amounts, see the recipe card below.
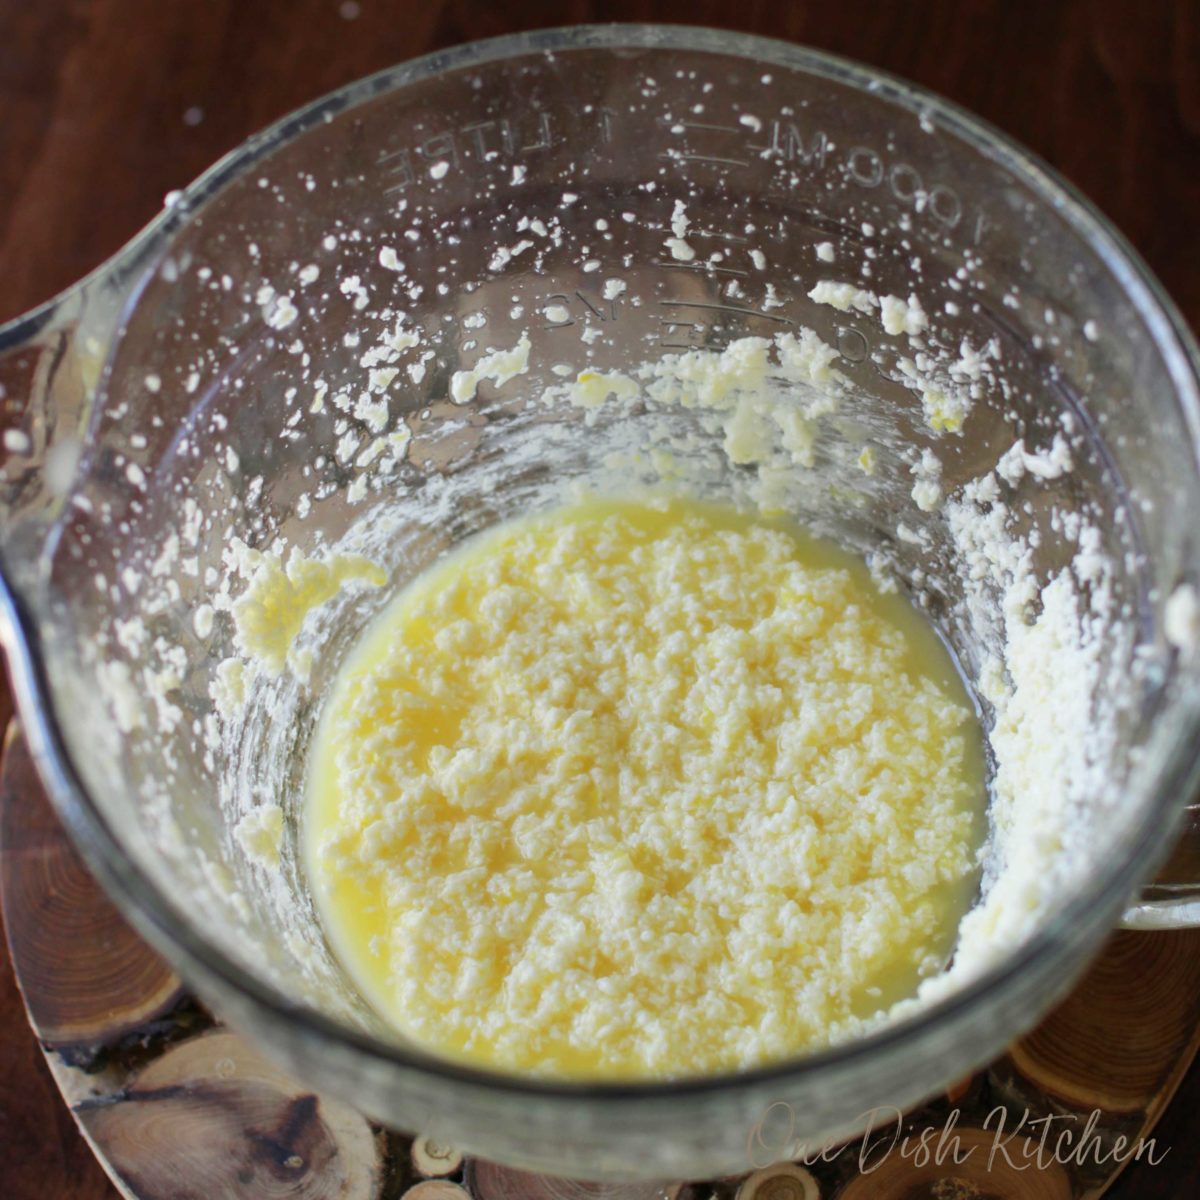
- Cream the Butter and Sugar: With an electric mixer, beat the softened butter and sugar for about 2 minutes, until light and fluffy.
- Add the Egg and Lemon: Beat in the egg until combined, then stir in the lemon juice and zest. The mixture may look curdled here, which is normal and smooths out as it cooks.
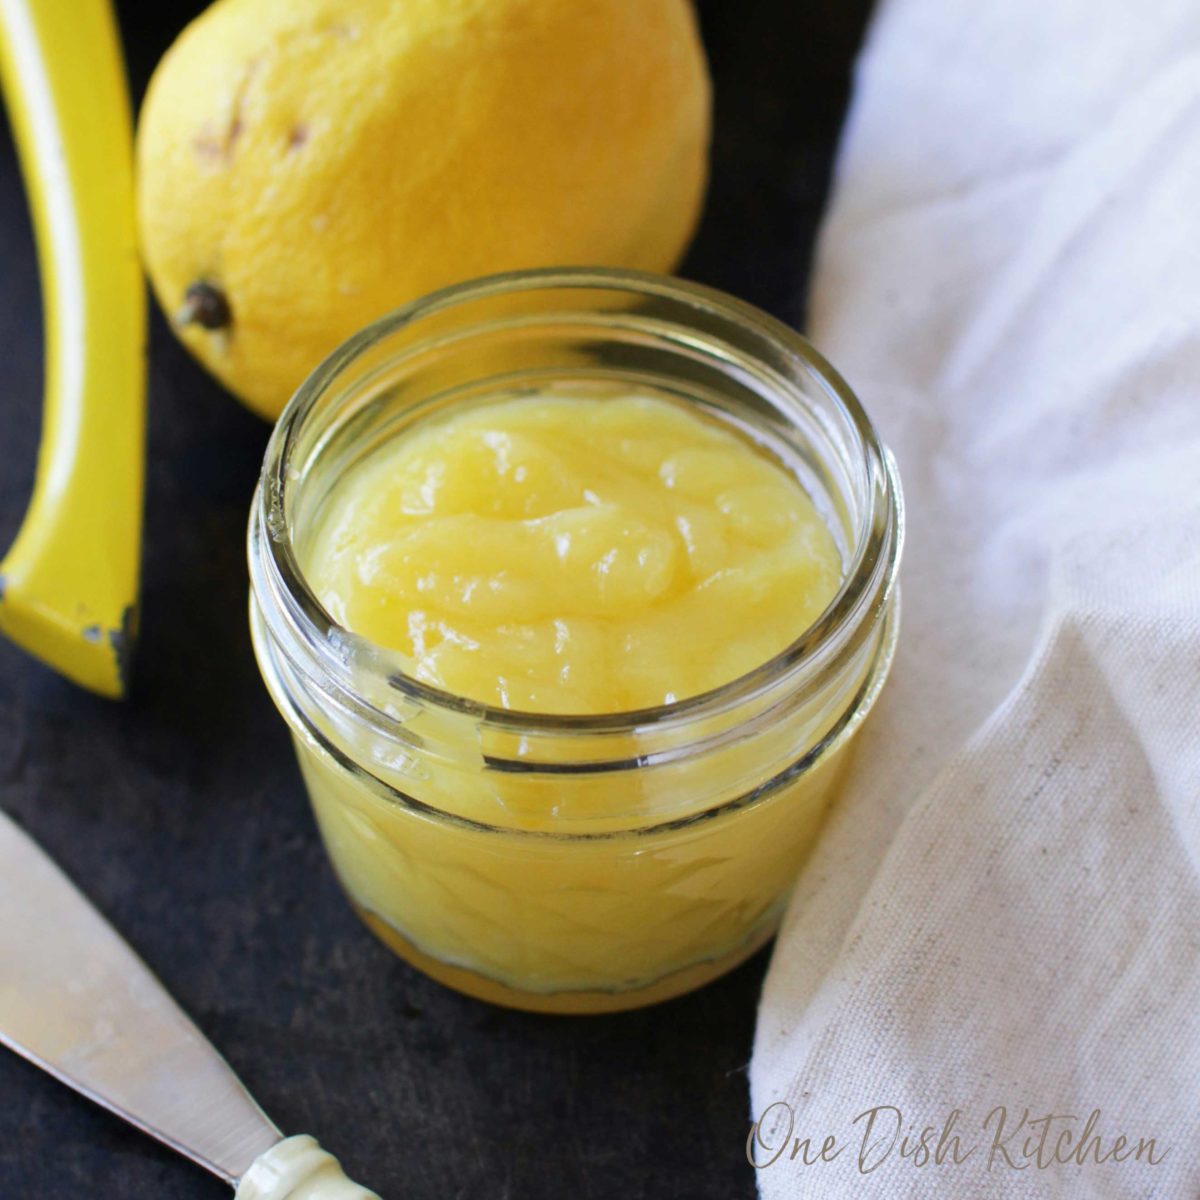
- Cook the Curd: Pour the mixture into a 1 quart saucepan and cook over medium-low heat, whisking constantly, for 8 to 10 minutes. It’s ready when it coats the back of a spoon and looks smooth and glossy.
- Chill Until Set: Take it off the heat, transfer to a bowl or jar, and press plastic wrap onto the surface. Chill for at least 1 hour, and it will thicken more as it cools.
Expert Tips
Cook Low and Slow: Keep the heat at medium-low and don’t rush it. High heat scrambles the egg and turns the curd grainy.
Whisk the Whole Time: Stir constantly and watch the edges of the pan, where the curd heats fastest and can overcook before the center thickens.
Use a Fine Zester: Zest the lemon with a Microplane or other fine grater so the zest blends into the curd instead of leaving noticeable bits.
Strain for the Smoothest Curd: Pour the warm curd through a fine-mesh sieve to catch any bits of cooked egg or zest before it chills.
Troubleshooting
If your lemon curd isn’t turning out quite right, here is how to fix common issues like a curdled texture, a curd that won’t thicken, or a skin forming on top.
Why did my lemon curd curdle?
Curdled lemon curd happens when the egg cooks too fast and scrambles. Strain the warm curd through a fine-mesh sieve to remove the cooked bits and smooth it back out.
Why is my lemon curd not thickening?
Lemon curd thickens as it cools, so a thin curd straight off the stove is normal and will set in the refrigerator. If it is still runny after chilling, it was undercooked, so return it to medium-low heat and cook a few minutes more until it coats the back of a spoon.
Why did a skin form on my lemon curd?
A skin forms when the surface of the curd is left exposed as it cools. Press a piece of plastic wrap directly onto the surface of the warm curd so no air reaches it, and a skin will not form.
Ways To Use Lemon Curd
Lemon curd works as a topping or a filling for all kinds of desserts and breakfasts.
- Spoon it over warm small batch cream scones.
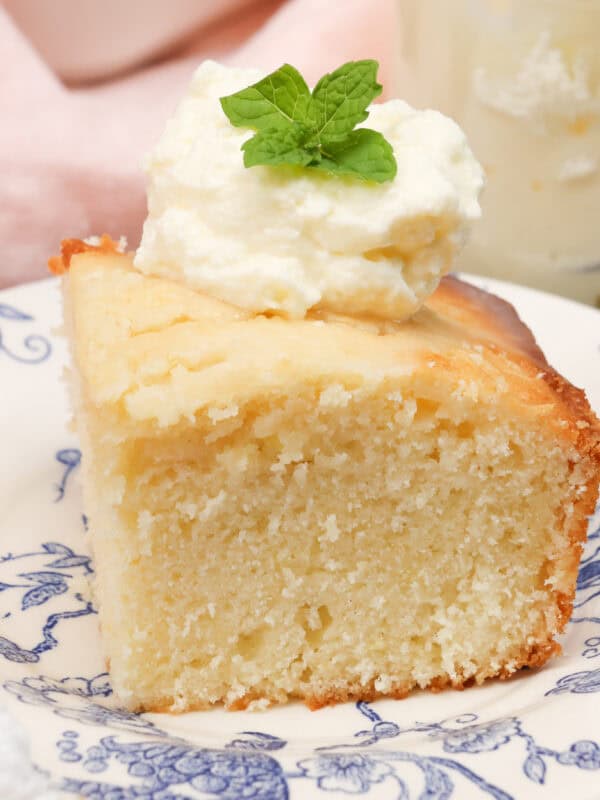
- Spread it between the layers of a small white cake.
- Fill a mini graham cracker crust for a quick lemon tart.
- Swirl it into yogurt and add butter pecan granola for crunch.
Frequently Asked Questions
Lemon curd is a smooth, creamy spread made from lemon juice, lemon zest, sugar, butter, and egg, cooked gently on the stove until thick.
Homemade lemon curd lasts up to 1 week when stored in an airtight container in the refrigerator.
Yes, you can double this lemon curd recipe. Double all of the ingredients and cook them in a 2-quart saucepan.
Yes, lemon curd freezes well for up to 2 months. Store it in a freezer-safe container and thaw it in the refrigerator before using.
Yes, lemon curd needs to be refrigerated because it contains egg and butter. Keep it in an airtight container in the fridge.
You need about 2 lemons for this small batch, enough for ¼ cup of juice and 1 teaspoon of zest.
RELATED: The Best Homemade Food Gifts
Ways To Use Leftover Ingredients
If you have any ingredients leftover from this recipe, check out our Leftover Ingredients Recipe Finder or you might like to consider using them in any of these single serving and small batch recipes:


If you’ve tried this small batch lemon curd recipe or any recipe on One Dish Kitchen please let me know how you liked it by rating the recipe and telling me about it in the comment section below.
And if you take a picture please tag us on Instagram (@onedishkitchen) we’d love to see it!
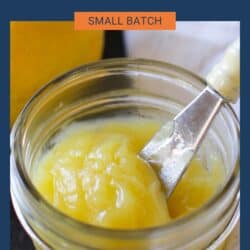
Small Batch Lemon Curd
Equipment
Ingredients
- 3 tablespoon salted butter – softened to room temperature
- ¼ cup sugar
- 1 large egg
- ¼ cup fresh lemon juice
- 1 teaspoon lemon zest
Instructions
- In a medium bowl, beat the softened butter and sugar with an electric mixer for about 2 minutes, until light and fluffy.
- Add the egg and beat until fully combined.
- Stir in the lemon juice and lemon zest until blended. The mixture may look slightly curdled at this point, which is normal and smooths out as it cooks.
- Pour the mixture into a 1-quart saucepan and cook over medium-low heat, whisking constantly, for 8 to 10 minutes, until the curd coats the back of a spoon and looks smooth and glossy.
- Remove the curd from the heat and transfer it to a bowl or jar.
- Press a piece of plastic wrap directly onto the surface of the curd and refrigerate for at least 1 hour. The curd thickens more as it chills.
Notes
Nutrition
The information shown is an estimate provided by an online nutrition calculator. It should not be considered a substitute for a professional nutritionist’s advice.


Hi Joanie. I’m just wondering why you use such a large saucepan. Can you explain, please. Thanks.
A 1-quart saucepan is actually quite small and just the right size for this recipe. It gives you enough room to whisk the ingredients comfortably without the mixture cooking too quickly along the edges.