This post may contain affiliate links. Please read our disclosure policy.
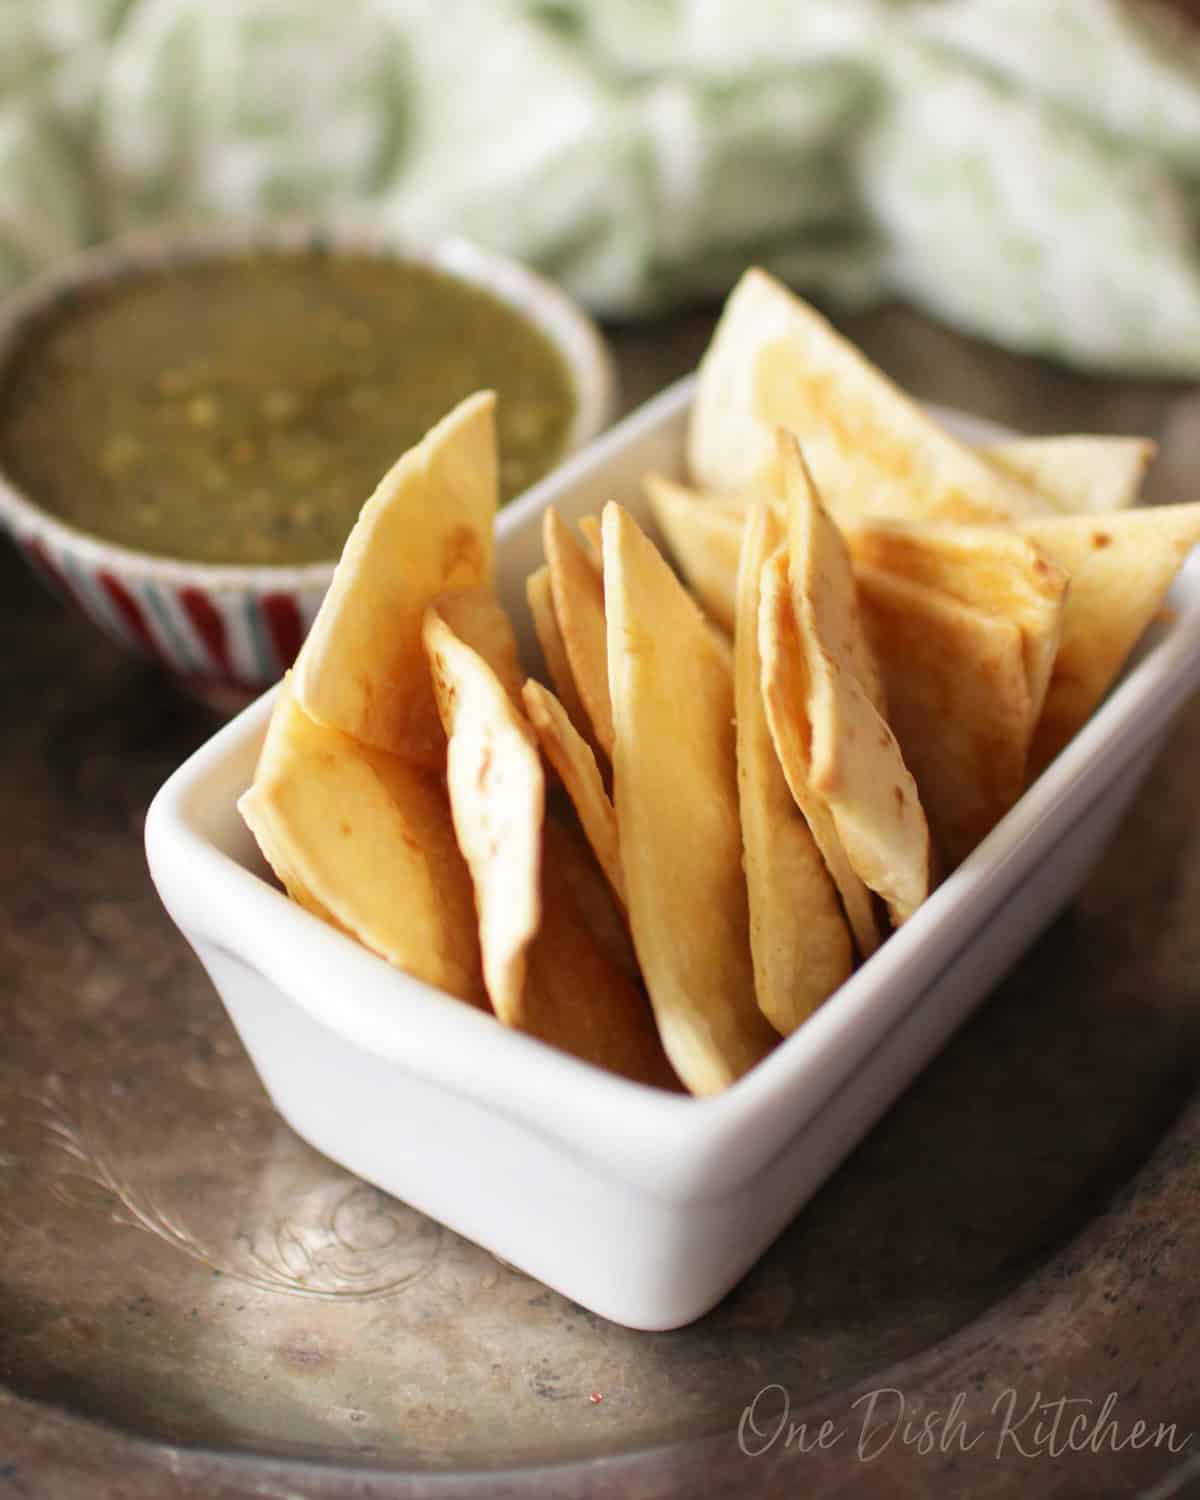
Make a small batch of homemade baked tortilla chips with just tortillas, oil, and salt. Quick, easy, and healthier than store-bought. Perfect for dipping or snacking.
Featured Comment
“Such a quick and simple recipe.”
– Marsha
Why You’ll Love This Recipe
- Simple Ingredients: You only need tortillas, olive oil, and salt to make these easy homemade baked tortilla chips.
- Quick & Easy: Ready in minutes and perfect for a fast, crunchy snack or last-minute appetizer.
- Healthier Choice: Baked instead of fried, these chips are a lighter alternative to store-bought versions.
- Customizable: Use flour, corn, or whole wheat tortillas, and season them any way you like.
- Budget-Friendly: A great way to use leftover tortillas and save money on snacks.
- Perfect for Dipping: Crisp and sturdy, they’re delicious with salsa, guacamole, queso, or chili.
At One Dish Kitchen, I love sharing recipes that are simple, budget-friendly, and full of flavor. These small batch baked flour tortilla chips are one of my favorites because they’re made with just a few ingredients and taste so much better than store-bought. Once you see how quick and easy they are, you’ll never need to buy a bag again.

Ingredients
If you have any ingredients leftover from this baked tortilla chips recipe, check out our Leftover Ingredients Recipe Finder.
- Tortillas: Use either store-bought or homemade flour tortillas, depending on your preference or convenience. Leftover tortillas are great in chicken tacos for one, a fruit quesadilla, or beef enchiladas for one.
- Olive Oil: Extra-virgin olive oil is recommended for its richer flavour and higher quality. If you prefer a milder taste, a lighter olive oil works just as well.
- Salt: A pinch of salt adds essential flavour to the chips. If you want unsalted chips, simply leave it out.
Recipe Variations
These easy homemade baked tortilla chips can be customized with your favorite seasonings, cheeses, or sweet toppings for snacking or dipping.
- Cheesy Chips: Sprinkle shredded cheddar or Monterey Jack cheese over the tortillas before baking for crisp, cheesy chips.
- Spiced Chips: Add chili powder, taco seasoning, or smoked paprika before baking for bold flavor.
- Cinnamon Sugar Chips: Make a sweet version by brushing the tortillas with a little oil and dusting with cinnamon and sugar before baking.
- Herbed Chips: Sprinkle dried herbs such as oregano, thyme, or rosemary for a light, aromatic flavor.
- Lime Chips: Brush the tortillas with a mix of oil and lime juice, then bake for a tangy, zesty flavor.
How To Make Baked Tortilla Chips
These step-by-step photos and instructions show how to make a small batch of homemade baked flour tortilla chips. See the recipe card below for ingredient amounts and full details.
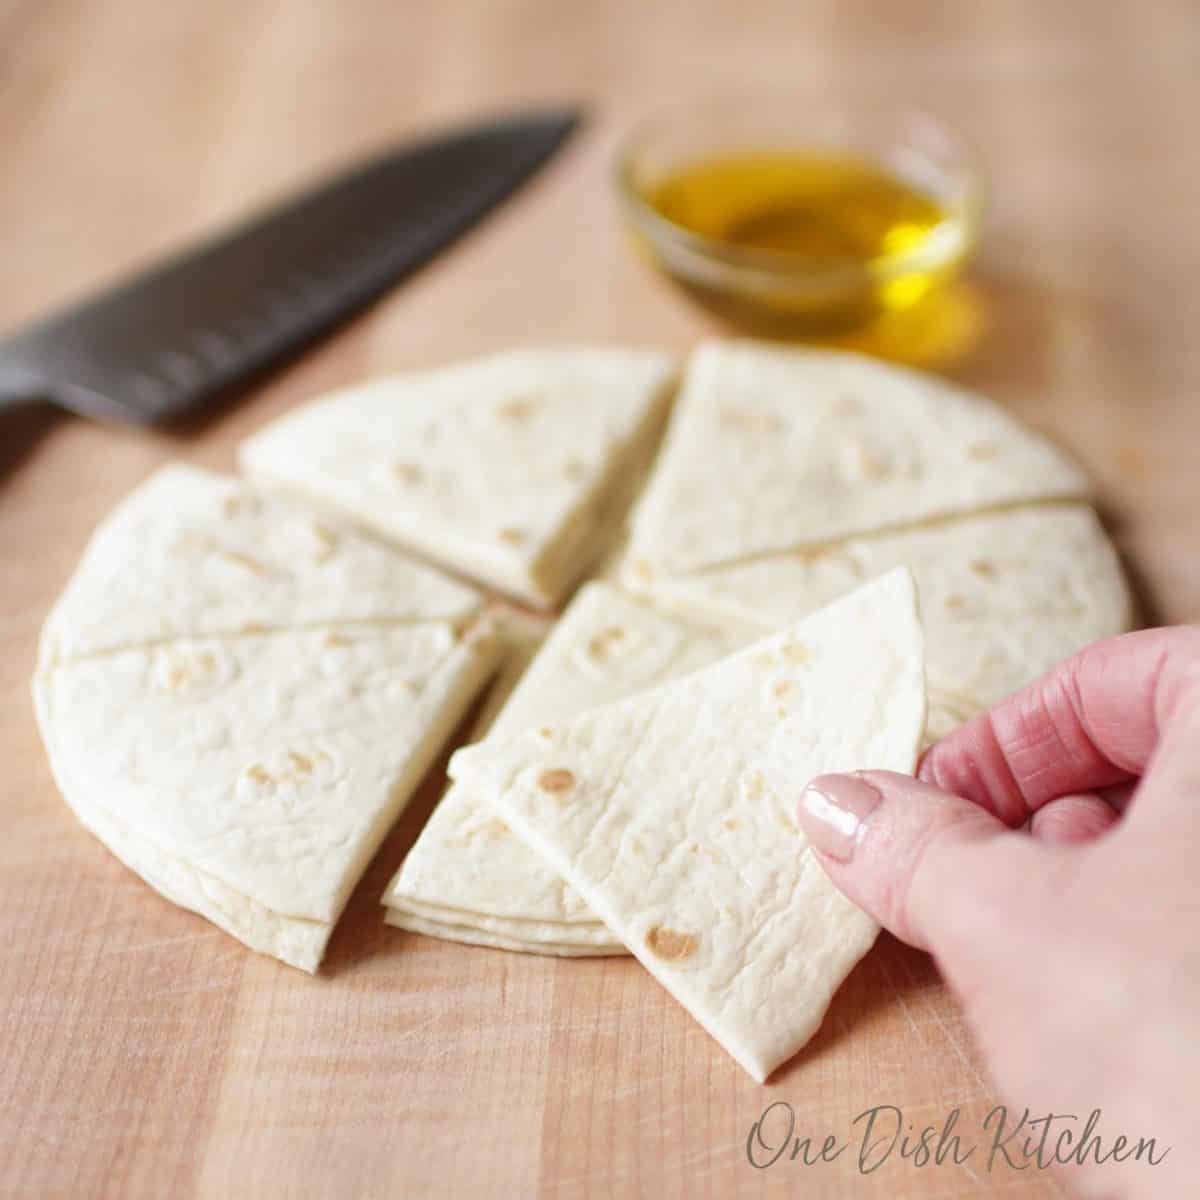
- Cut the Tortillas: Stack the tortillas and slice them into six equal wedges using a sharp knife.
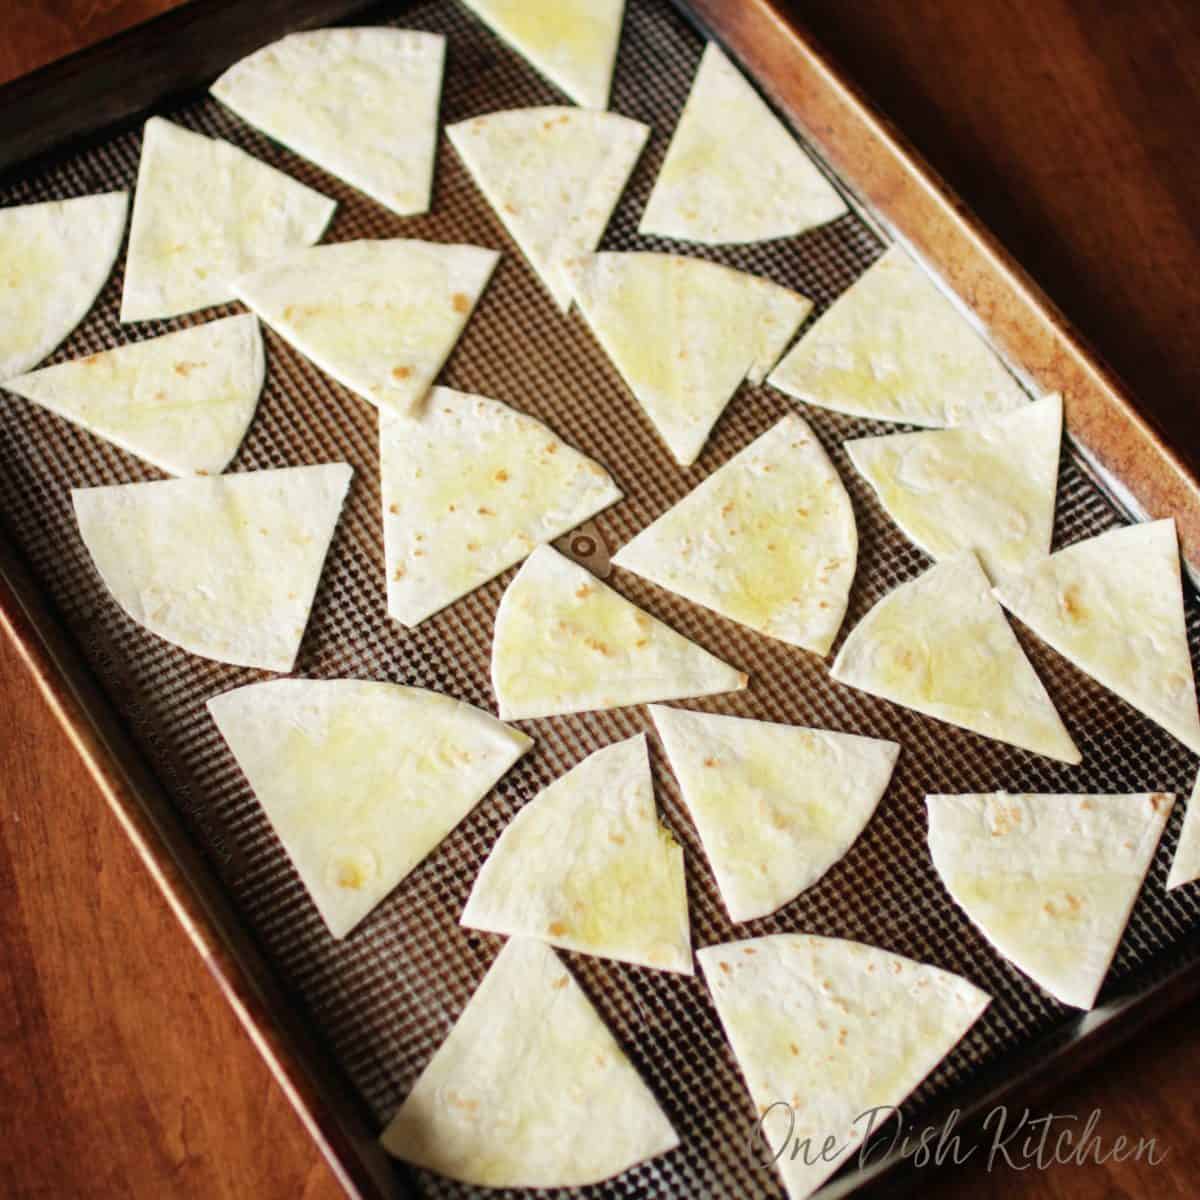
- Coat with Oil: Brush both sides of each wedge with olive oil and place them on a baking sheet in a single layer. Or, toss the wedges in a bowl with olive oil until evenly coated. Lightly sprinkle with salt.
- Bake: Preheat the oven and bake for 8 to 12 minutes, rotating the pan halfway through for even crisping. The chips are ready when they’re dry and lightly golden.
- Cool and Store: Let the chips cool before transferring them to a bowl or airtight container.
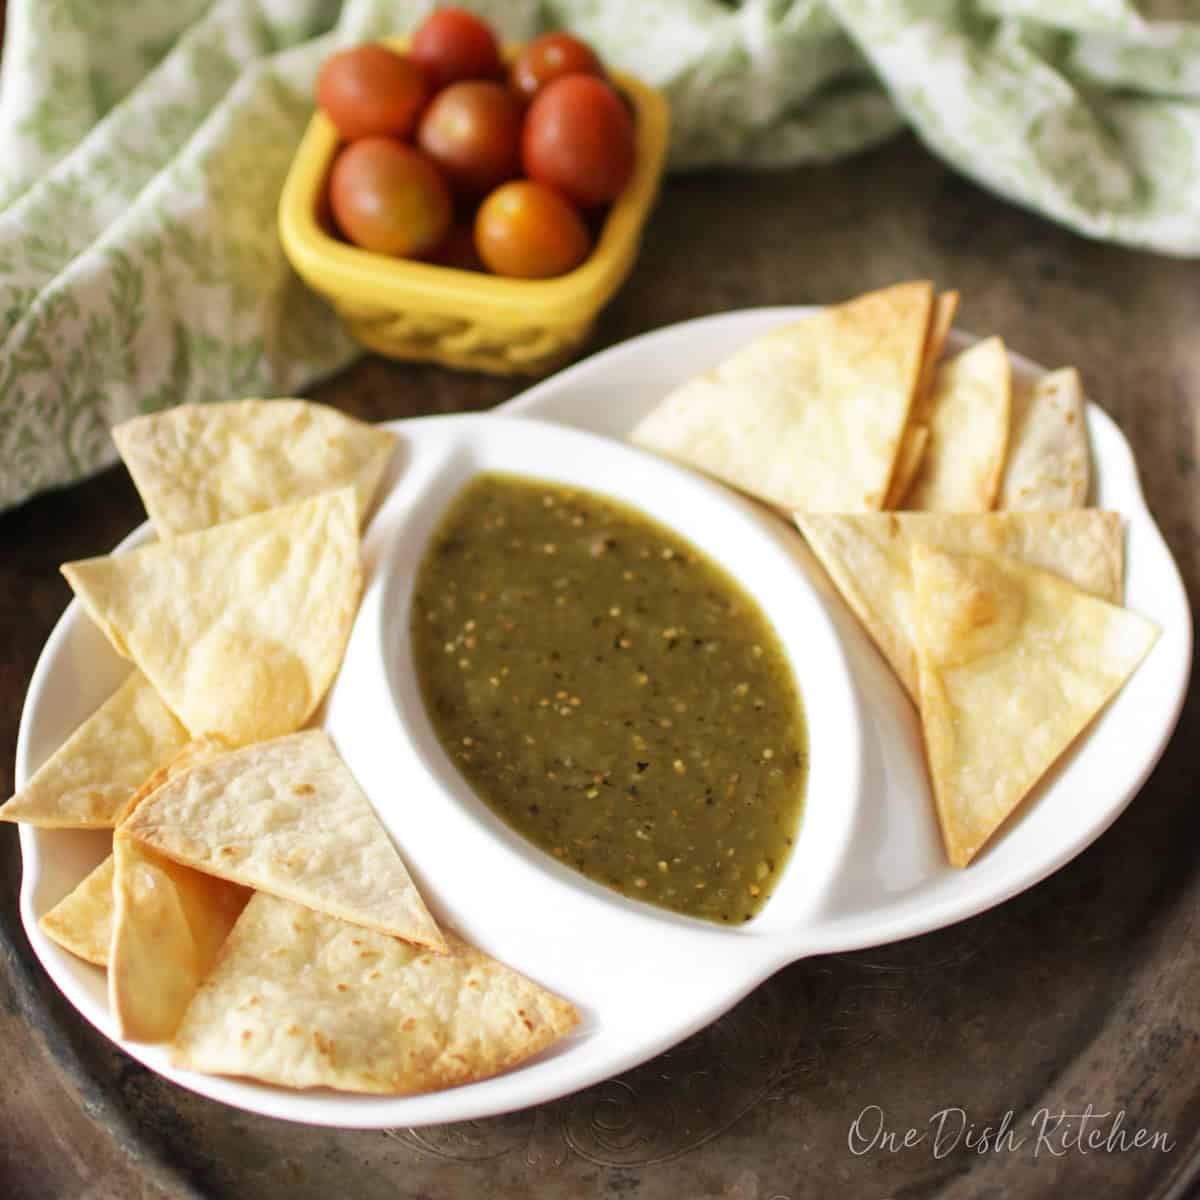
Homemade tortilla chips are quick, budget-friendly, and a perfect way to use leftover tortillas for a crunchy snack anytime.
Expert Tips
- Coat Evenly: Make sure each tortilla wedge is lightly and evenly coated with oil for crisp, golden chips.
- Flip Halfway: Turn the chips once during baking to ensure both sides bake evenly.
- Watch Closely: Keep an eye on them near the end of baking—they can go from perfectly crisp to overdone quickly.
- Store Properly: Cool the chips completely before storing in an airtight container to keep them crunchy.
Serving Suggestions
Homemade baked tortilla chips are light, crispy, and perfect for enjoying on their own or paired with your favorite dishes.
Small Batch Mexican Corn Dip
Single Serve Hot Spinach Dip
Cucumber Salsa For One
Baba Ganoush For One
Frequently Asked Questions
Yes. Both work well. Flour tortillas bake up light and crisp, while corn tortillas give a heartier, traditional chip texture.
Bake at 350°F (177°C). This temperature helps the chips crisp up evenly without burning.
Make sure the tortillas are evenly coated with oil, bake in a single layer, and let them cool completely before storing.
Yes. Air fry at 350°F for about 5 to 7 minutes, shaking the basket halfway through for even crisping.
Yes. Baking uses less oil and cuts down on fat and calories while still giving you a crispy, flavorful chip.
Once cooled, store them in an airtight container or zip-top bag at room temperature for up to 5 days.
RELATED: Game Day Recipes For One
Ways To Use Leftover Ingredients
If you have any ingredients leftover from this recipe, check out our Leftover Ingredients Recipe Finder or you might like to consider using them in any of these single serving and small batch recipes:
If you’ve tried this small batch flour tortilla chips recipe or any recipe on One Dish Kitchen please let me know how you liked it by rating the recipe and telling me about it in the comment section below.
Also, if you take a picture please tag us on Instagram (@onedishkitchen) we’d love to see!
Small Batch Baked Tortilla Chips

Equipment
Ingredients
- 3 flour tortillas
- 1 to 2 tablespoons olive oil
- pinch salt
Instructions
- Heat oven to 350 degrees F (177 degrees C).
- Stack the tortillas and slice them into six equal wedges using a sharp knife.
- Brush both sides of each wedge with olive oil and place them on a baking sheet in a single layer. Or, toss the wedges in a bowl with olive oil until evenly coated. Lightly sprinkle with salt.
- Bake for 8 to 12 minutes, rotating the pan halfway through for even crisping. The chips are ready when they’re dry and lightly golden.
- Let the chips cool before transferring them to a bowl or airtight container.
Notes
- Coat Evenly: Make sure each tortilla wedge is lightly and evenly coated with oil for crisp, golden chips.
- Flip Halfway: Turn the chips once during baking to ensure both sides bake evenly.
- Watch Closely: Keep an eye on them near the end of baking—they can go from perfectly crisp to overdone quickly.
- Store Properly: Cool the chips completely before storing in an airtight container to keep them crunchy.
Nutrition
The information shown is an estimate provided by an online nutrition calculator. It should not be considered a substitute for a professional nutritionist’s advice.


Joanie thank you so much for your recipes. I love to cook for myself and my wife yet many recipes make 4-8 servings. Sure I can do the math and scale it back but your recipes are so delicious and the variety is fantastic, I’d rather start with one serving and simply double it if needed.
Great, great job Joanie. Oh btw, I consider myself a lazy home chef, therefore, I’ll likely brush the tortillas with oil and salt them before I cut them. Seems less tedious to me.
I’m subscribing now. My mother, whom I meal prep for also, is very finicky. At 91 she thinks she deserves to be. 🤦🏻 Your website will help me out wonderfully!! Thanks again Joanie!
I’m thrilled to hear you and your wife are enjoying the recipes! Scaling down from those larger serving recipes can be a hassle, right? So happy to make things easier for you. Love your twist on oiling and salting the tortillas — cooking should fit your lifestyle, after all.
It’s a pleasure to be part of your meal planning, especially for someone as special as your mom. At 91, she’s more than earned her right to be finicky! Thanks so much for subscribing!
Thankyou for sharing with us. Yummy!
Hi, made these. Yum. But I am lazy, I oiled all the tortillas, then stacked and cut. Love all the recipes I’ve tried. Thank you for making cooking for one ( just me ) so much easier. I hate cutting down recipes and hoping I did it cirrectly and it comes out edible. 🌷💜
Such a quick and simple recipe. I love tortilla chips!
YUMMY! I have to try these out! They look amazing and so easy! I LOVE tortillas with ANYTHING!