This post may contain affiliate links. Please read our disclosure policy.
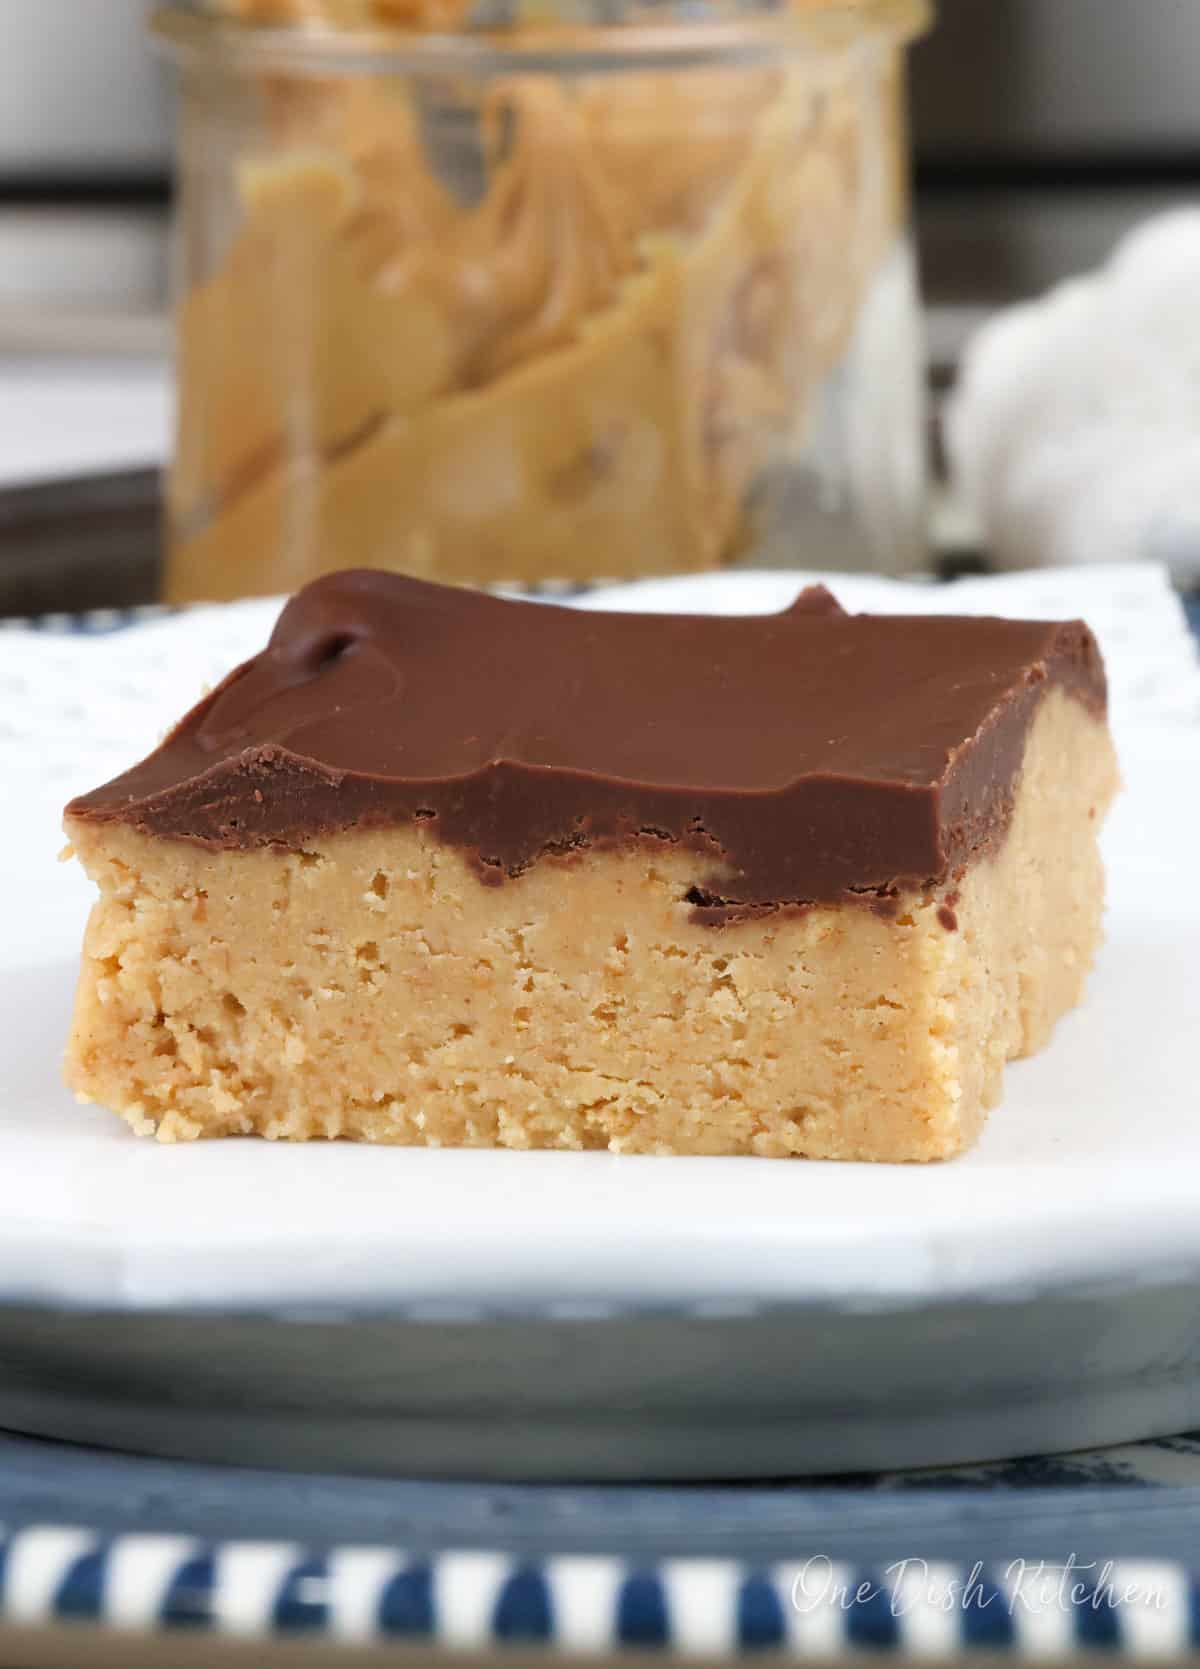
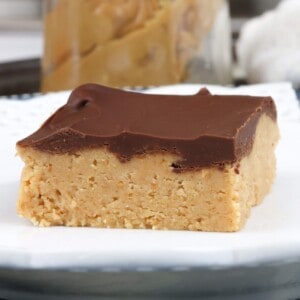
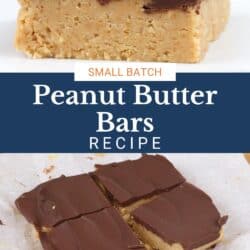
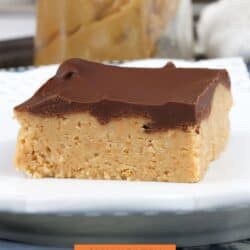
These no-bake, small batch Peanut Butter Bars are rich, creamy, and topped with a smooth layer of melted chocolate. Made with just a handful of pantry ingredients, they’re quick to make and full of classic peanut butter cup flavor.
Why You’ll Love This Recipe
- Quick & Easy: Made with just 5 simple ingredients—no baking required.
- Small Batch: Perfectly sized for one or two people.
- Rich & Delicious: Tastes like a homemade peanut butter cup.
- Flexible Yield: Easily doubles to make more.
I love this recipe because these peanut butter bars are rich, creamy, and packed with the perfect balance of sweet chocolate and slightly salty peanut butter. They remind me of the simple, homemade treats we loved growing up, like a softer, more decadent peanut butter cup.
They’re quick to make, no oven needed, and always feel a little extra special. I’m so excited for you to have this recipe in your collection too.
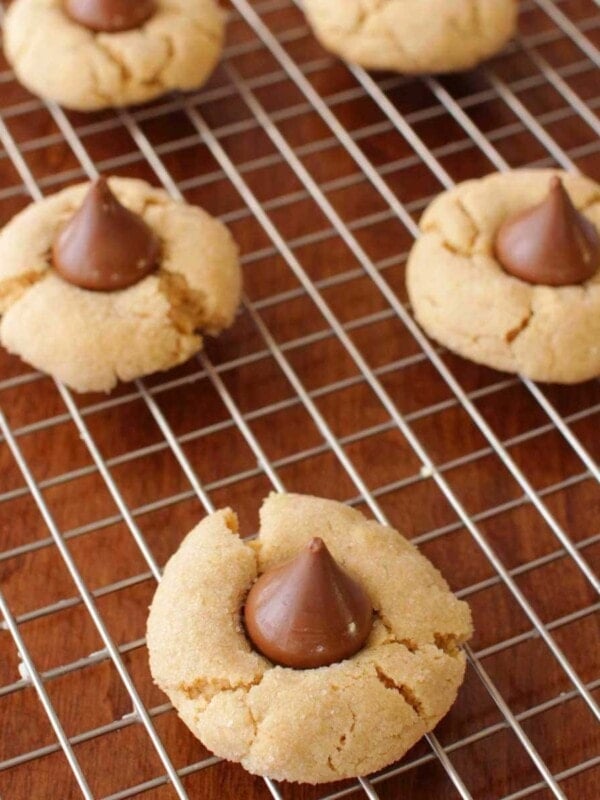
If you’re looking for more single serving and small batch peanut butter recipes, try our small batch buckeyes recipe, easy peanut butter pie, small batch peanut putter cookies, and our small batch peanut butter fudge recipe.

Featured Comment
“These peanut butter bars far exceeded name brand store bought peanut butter cups.”
– Dorian
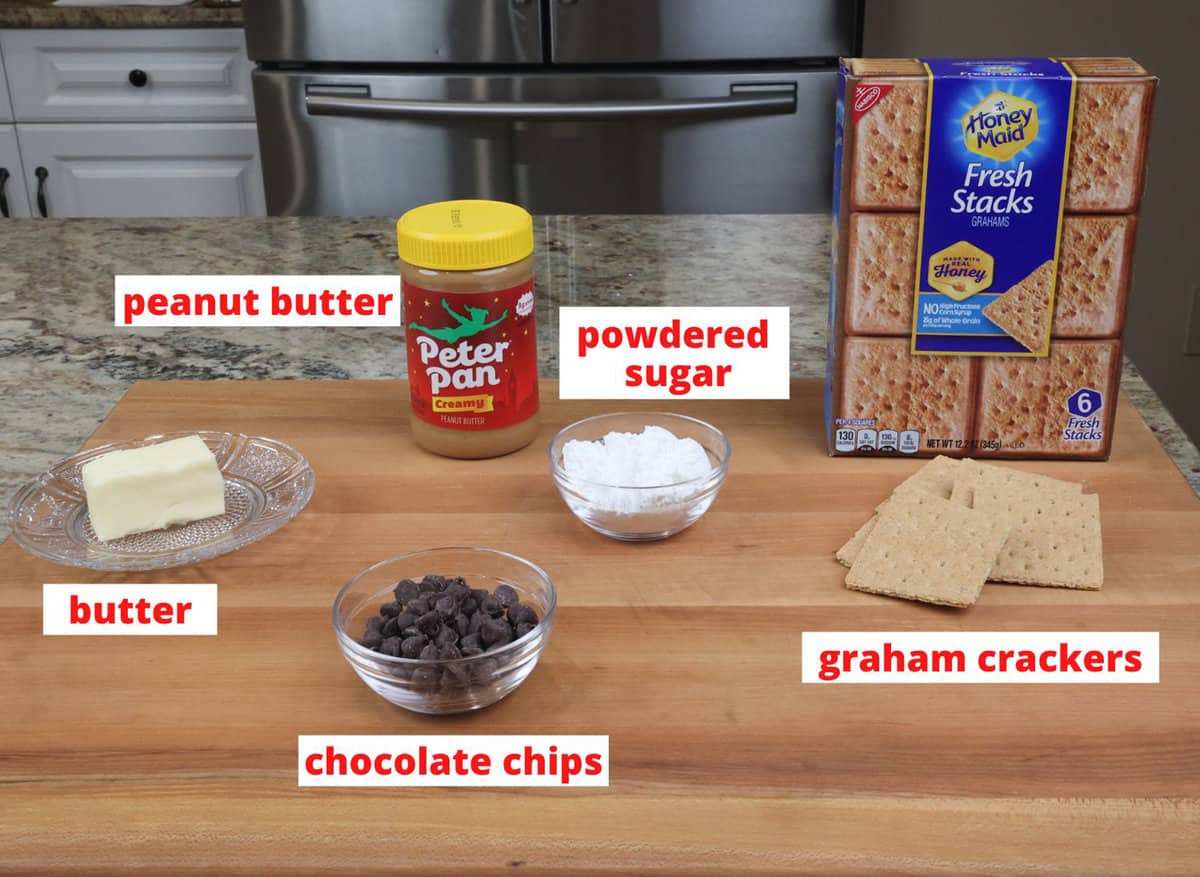
Ingredients
If you have any ingredients leftover from this easy peanut butter bars recipe, check out our Leftover Ingredients Recipe Finder.
- Butter: Helps bind the graham cracker crumbs and powdered sugar. I use salted butter for added flavor.
- Graham Cracker Crumbs: Use about 3 full-sheet graham crackers for ½ cup (48 g) of crumbs. Crush them in a food processor or with a rolling pin. You can also use pre-made crumbs.
- Substitutes: Ginger snaps or vanilla wafers work well. In the UK, use digestive biscuits; in Australia, Arnott’s Granita biscuits are a good match.
- Use leftover graham crackers in: small batch s’mores dip, an small icebox cake, and our small key lime pie recipe.
- Powdered Sugar: Adds sweetness and helps hold the bars together.
- Peanut Butter: Used in both the base and the topping. Stick with a smooth, shelf-stable brand like Jif, Skippy, or Peter Pan for best results. Avoid natural peanut butter—its oilier texture can affect the consistency.
- Chocolate Chips: I use semi-sweet, but milk or dark chocolate chips also work.
- Use extras in: small chocolate lava cake, blondies for one, a small chocolate pie, and our double chocolate chip cookie recipe.
Recipe Variations
Here are a few easy ways to change up your peanut butter bars:
- Gluten-Free: Use crushed gluten-free cookies in place of graham crackers.
- Different Base: Swap the graham crackers for crushed Oreos, graham cereal, or vanilla wafers.
- Extra Topping: Sprinkle chopped nuts, crushed pretzels, or candies over the melted chocolate layer.
How To Make Peanut Butter Bars
These step-by-step photos and instructions are here to help you visualize how to make this recipe. See the recipe box below for ingredient amounts and full recipe instructions.
Before You Begin: Lightly grease a 5×5-inch baking dish. Cut a piece of parchment paper to fit the bottom and sides, trimming the corners if needed so it lies flat. This makes lifting the bars out easier later.
- Melt the Butter: Melt the butter and pour it into a medium bowl.
- Mix in Peanut Butter: Add the peanut butter and mix on low speed with a hand mixer until smooth.
- Add Powdered Sugar: Sift in the powdered sugar using a sifter or fine-mesh strainer to remove lumps. Mix on low speed until fully combined, scraping down the sides of the bowl.
- Add Graham Cracker Crumbs: Fold in the crumbs with a spatula until well mixed.

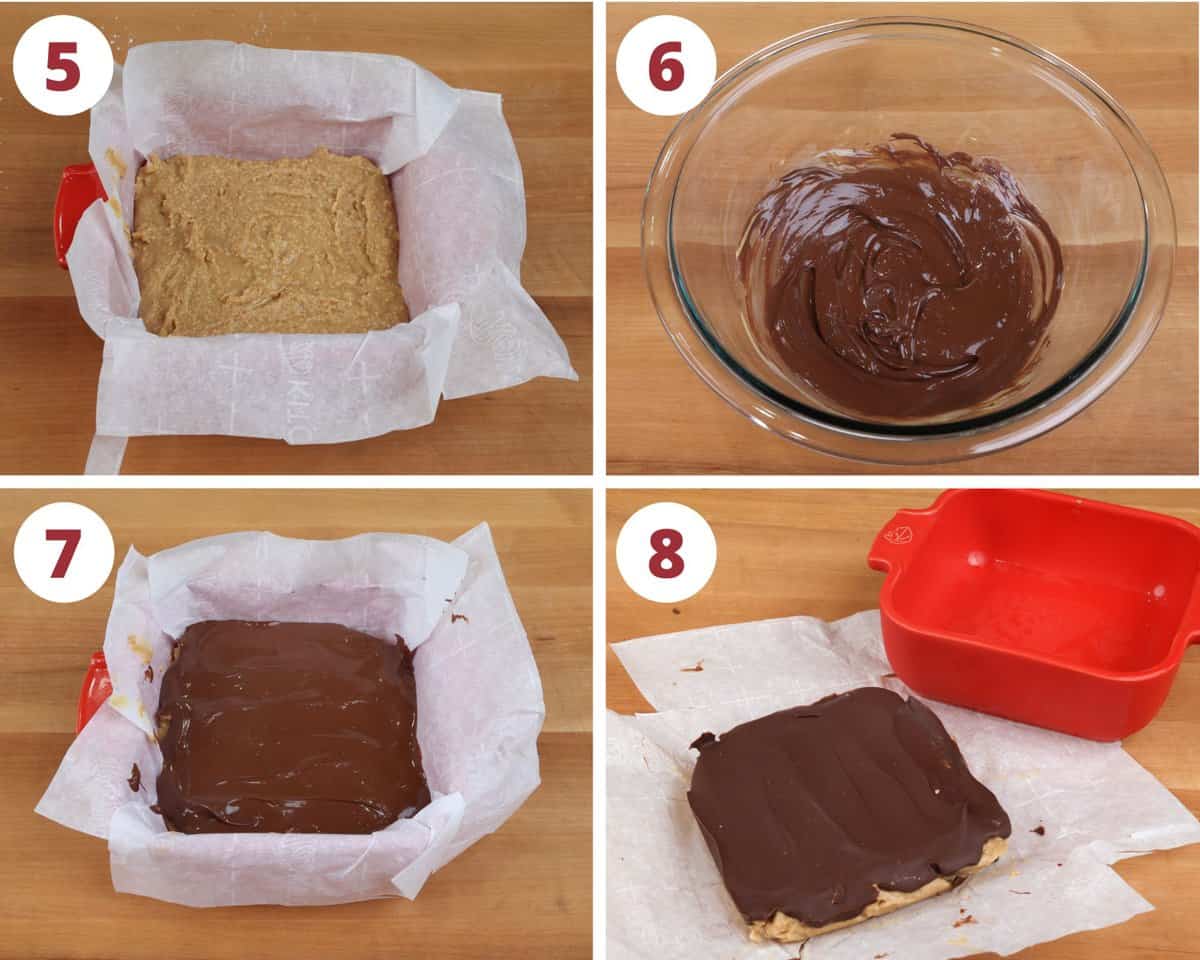
- Press into Pan: Pour the mixture into the prepared pan and press it into an even layer.
- Make the Topping: In a microwave-safe bowl, combine the chocolate chips and peanut butter. Microwave in 20–25 second intervals, stirring after each, until melted and smooth.
- Spread Topping: Pour the melted mixture over the base and spread evenly to the edges.
- Chill: Refrigerate for at least 2 hours until firm.
- Slice and Serve: Lift the bars out using the parchment paper and slice into squares.
Yield: Makes 4 bars when cut into 2½-inch squares from a 5×5-inch dish. Yield may vary depending on how you slice them.

RELATED: 15 Easy Single Serving Dessert Recipes
Expert Tips
- Prepare Ahead: Read through the full recipe and Ingredient Notes before starting. These bars come together quickly, so have everything ready.
- Line the Pan: Use parchment paper or foil to make lifting the bars out of the pan easier.
- Mix Thoroughly: Make sure the peanut butter mixture is fully combined. It should be smooth, not dry or crumbly.
- Melt Chocolate Carefully: Heat chocolate in short intervals and stir often to avoid overheating, which can make it grainy.
Frequently Asked Questions
Double all ingredient amounts and use either two 5×5-inch dishes, one 6.5×6.5-inch dish, or one 6×8-inch dish.
Stored in an airtight container in the refrigerator, they’ll keep for up to 1 week.
Yes. Wrap individual bars in parchment paper and store in a freezer-safe bag or container for up to 2 months. Thaw in the fridge before serving.
Ways To Use Leftover Ingredients
If you have any ingredients leftover from this recipe, check out our Leftover Ingredients Recipe Finder or you might like to consider using them in any of these single serving and small batch recipes:
If you’ve tried these peanut butter bars or any recipe on One Dish Kitchen please let me know how you liked it by rating the recipe and telling me about it in the comment section below.
Also, if you take a picture please tag us on Instagram (@onedishkitchen) we’d love to see it!
Small Batch Peanut Butter Bars
Equipment
Ingredients
- ¼ cup butter -melted and slightly cooled
- ¼ cup creamy peanut butter
- 6 tablespoons powdered sugar -sifted
- ½ cup graham cracker crumbs (3 full graham cracker sheets)
For the Topping
- ⅓ cup semi-sweet chocolate chips
- 1 tablespoon creamy peanut butter
Instructions
- Lightly grease a 5×5-inch baking dish. Cut a piece of parchment paper to fit the bottom and sides, trimming the corners if needed so it lies flat. This makes lifting the bars out easier later.
- Melt the butter and pour it into a medium bowl.
- Add the peanut butter and mix on low speed with a hand mixer until smooth.
- Sift in the powdered sugar using a sifter or fine-mesh strainer to remove lumps. Mix on low speed until fully combined, scraping down the sides of the bowl.
- Fold in the crumbs with a spatula until well mixed.
- Pour the mixture into the prepared pan and press it into an even layer.
- Make the Topping: In a microwave-safe bowl, combine the chocolate chips and peanut butter. Microwave in 20–25 second intervals, stirring after each, until melted and smooth.
- Pour the melted mixture over the base and spread evenly to the edges.
- Refrigerate for at least 2 hours until firm.
- Lift the bars out using the parchment paper and slice into squares.
- Yield: Makes 4 bars when cut into 2½-inch squares from a 5×5-inch dish. Yield may vary depending on how you slice them.
Notes
- Prepare Ahead: Read through the full recipe and Ingredient Notes before starting. These bars come together quickly, so have everything ready.
- Line the Pan: Use parchment paper or foil to make lifting the bars out of the pan easier.
- Mix Thoroughly: Make sure the peanut butter mixture is fully combined. It should be smooth, not dry or crumbly.
- Melt Chocolate Carefully: Heat chocolate in short intervals and stir often to avoid overheating, which can make it grainy.
Nutrition
The information shown is an estimate provided by an online nutrition calculator. It should not be considered a substitute for a professional nutritionist’s advice.


These peanut butter bars far exceeded name brand store bought peanut butter cups. I used good quality chocolate and no sugar added creamy peanut butter. Store bought has a waxy , processed essence they didn’t have when they 1st hit the market.
These bars were absolutely satisfying. They were superior to name brand peanut butter cups. I used regular smooth PB without added sugar and high quality semi sweet chocolate chips.
That’s fantastic to hear! Quality ingredients really do make a difference, don’t they? Thrilled you found these bars superior to store-bought peanut butter cups. Thanks for sharing your ingredient choices—always helpful for others looking to switch things up.
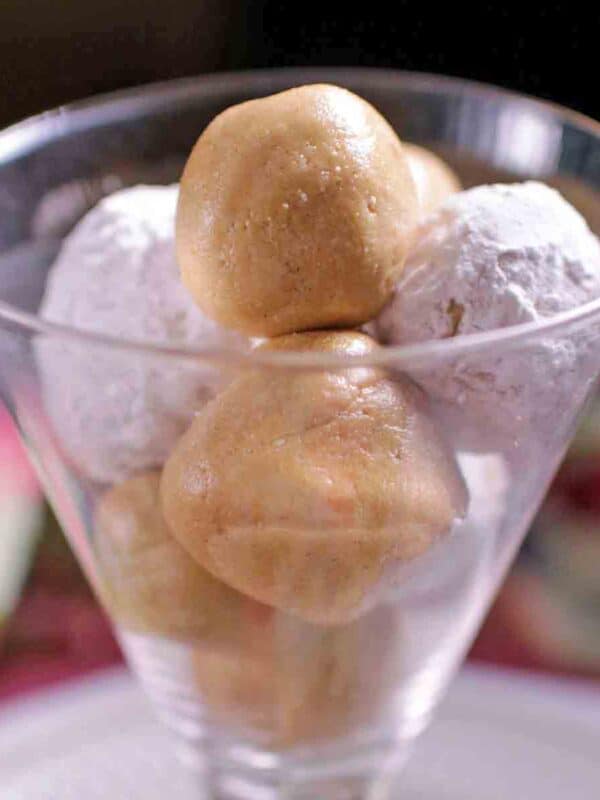
Love these! I was trying for some portion control and so I made little peanut butter cups. They don’t look very nice, but they sure taste good!
I’m so happy you enjoyed them!
This recipe is an alternate way of making Buckeyes, if you roll the peanut butter batter into balls and then dip in melted chocolate. It is a TERRIFIC recipe.
Thank you!
You do not have to make the oat flour if you have a bag already.
I think you probably could, although I haven’t tried it. If you do, please let me know how they turn out.
Joanie
These were so good, the topping is a must-make! Thanks for the yummy recipe!
I’m seriously loving all your small batch recipes!!! These peanut butter bars are the perfect amount for my husband and I and look so so tasty!