This post may contain affiliate links. Please read our disclosure policy.
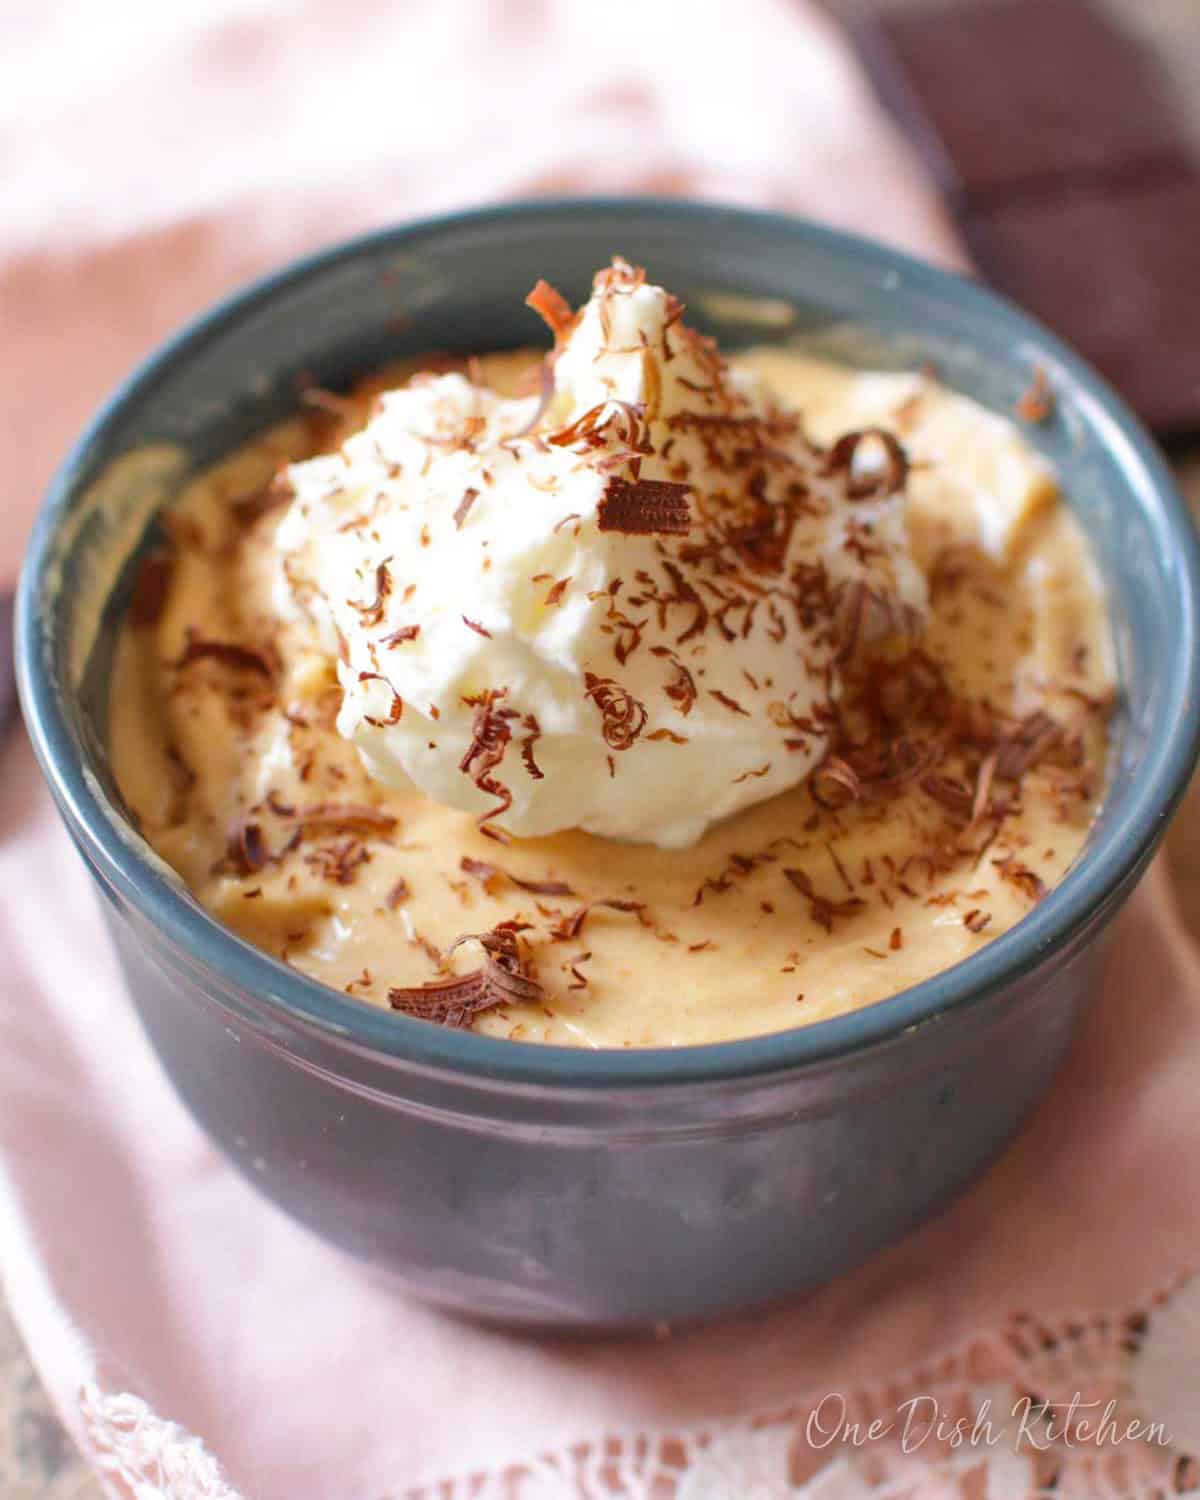
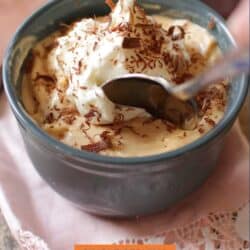
This mini peanut butter pie is a rich and creamy dessert made with a buttery graham cracker crust and a smooth peanut butter filling. It’s easy to make, perfectly portioned, and full of bold, peanut butter flavor in every bite.
Featured Comment
“Delicious! The filling is light and creamy and not too rich or sweet.”
– Sadie
Why You’ll Love This Recipe
- Creamy Texture: The filling is smooth, fluffy, and full of peanut butter flavor.
- Flexible Crust Options: Bake it for a crisp crust or skip the oven for a softer, no-bake version.
- Rich and Satisfying: Made with peanut butter and cream cheese for a bold, creamy bite.
- Perfectly Portioned: Ideal for one, but easy to double if you’d like to share.
What I love most about this little peanut butter pie is how easy it is to make with just a few simple ingredients, yet it tastes like something truly special. It’s the kind of dessert that feels like a treat without any fuss. No complicated steps, no long ingredient list, just pure peanut butter goodness in every bite.
This small pie is rich, creamy, and completely satisfying. I make it whenever I want something sweet but don’t want to bake a full pie. It comes together quickly, chills while you go about your day, and rewards you with the most delicious, peanut buttery dessert that always hits the spot.
Looking for more easy peanut butter desserts, try our small batch peanut butter fudge, small batch buckeyes, small batch peanut butter bars, and small batch peanut butter balls.

Ingredients
If you have any ingredients leftover from this small peanut butter pie recipe, check out our Leftover Ingredients Recipe Finder.
- Graham Crackers: The base of the crust. You can also use digestive biscuits, a small batch of shortbread cookies, or chocolate/vanilla wafers. Extra graham crackers? Use them in a small strawberry icebox cake, lemon meringue pie for one, a single nanaimo bar, or mini s’mores dip.
- Peanut Butter: Use smooth peanut butter for a creamy filling. Leftovers? Try small batch puppy chow or peanut butter oatmeal.
- Powdered Sugar: Helps create a smooth, sweet filling.
- Cream Cheese: Softened cream cheese blends easily. Let it sit out for 30 minutes or microwave for 15 seconds. Use leftovers in small batch cheesecake bars, small batch Oreo balls or no-bake single serving cheesecake recipe.
- Whipped Cream: Lightens the filling and adds a fluffy texture.
Recipe Variations
Want to change things up? Try one of these simple ways to customize your indivudual peanut butter pie:
- Reese’s Peanut Butter Cups: Chop and sprinkle on top before or after chilling.
- Candy or Cookie Mix-Ins: Stir crushed cookies or chopped chocolate candy into the filling for extra texture.
- PB&J Version: Spread a thin layer of refrigerator jam over the crust before adding the filling.
- S’mores Style: Use a chocolate crust and top the pie with mini marshmallows and chocolate chips. Finish with a drizzle of melted chocolate or peanut butter just before serving for a fun, s’mores-inspired finish.
How To Make A Peanut Butter Pie
These step-by-step photos and instructions help you visualize how to make a single serving peanut butter pie. See the recipe box below for ingredient amounts and full recipe instructions.
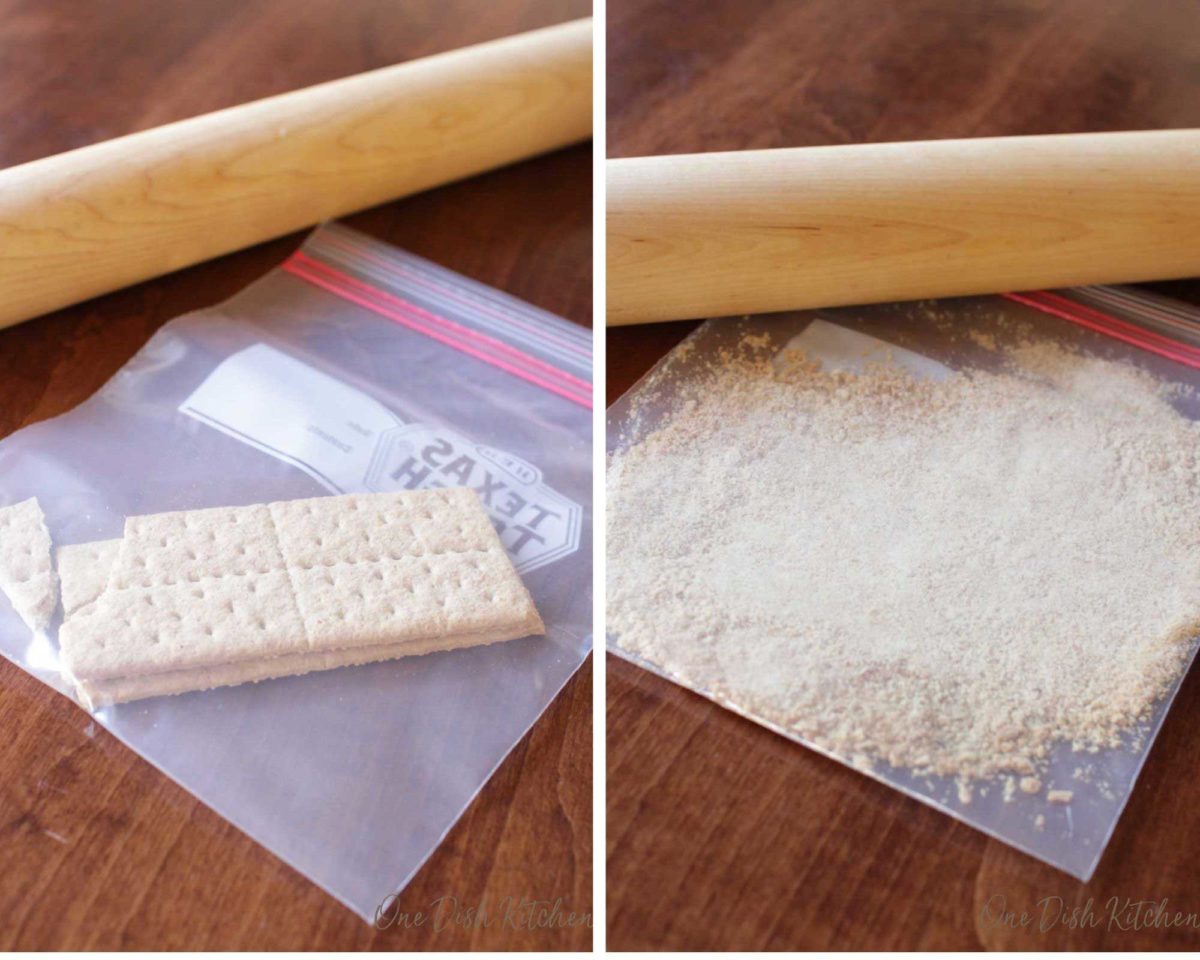
- Make the Crust (use either method)
- Food Processor: Pulse graham crackers until finely crushed.
- By Hand: Place crackers in a zip-top bag and crush with a rolling pin.
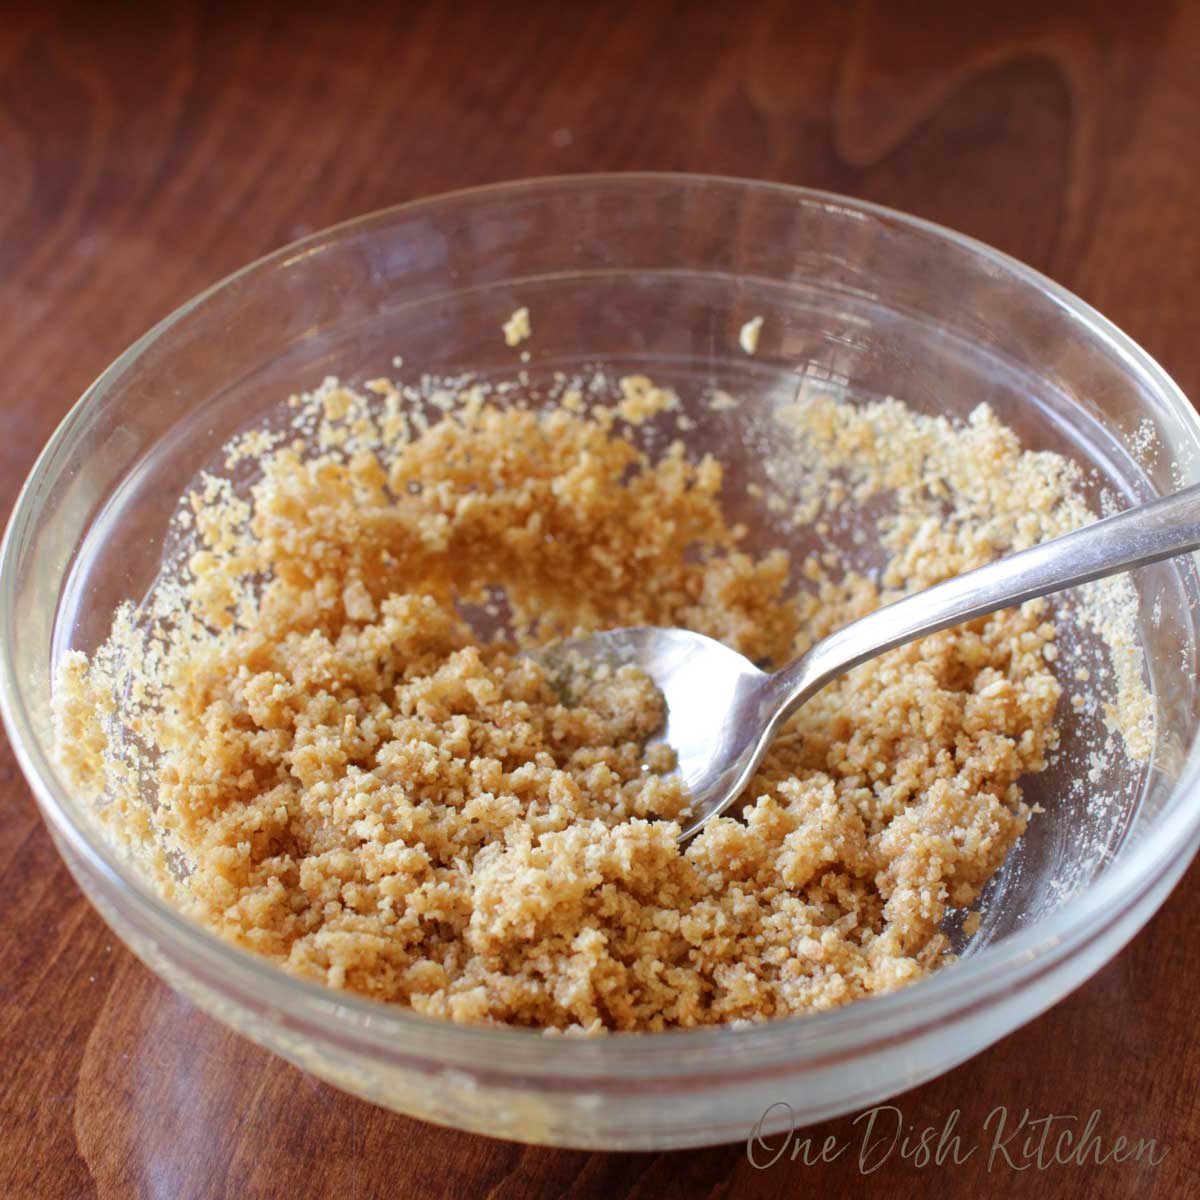
- Combine the crushed crackers with melted butter.
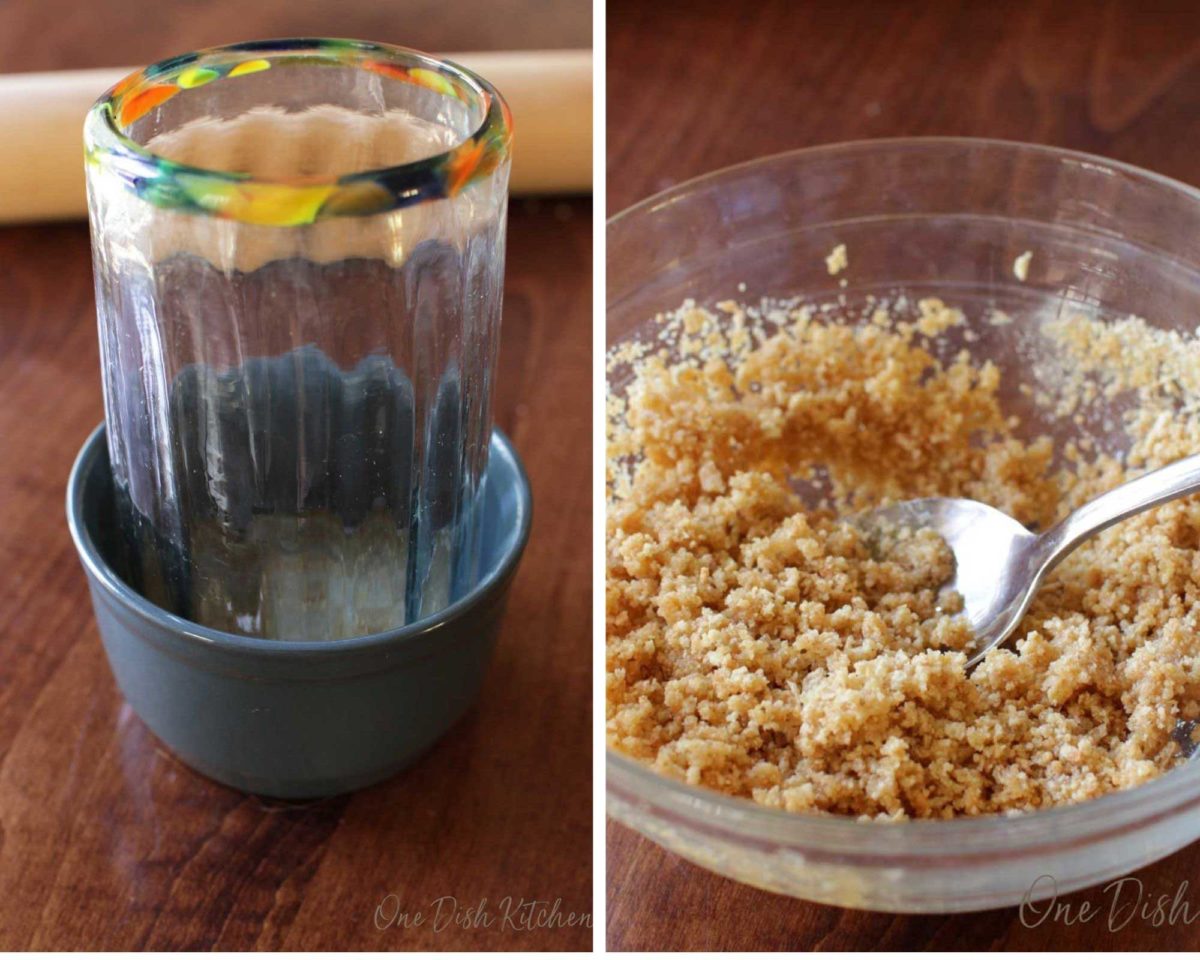
- Spoon the mixture into a small ramekin and press it firmly into the bottom using the back of a spoon or the base of a glass.
- Bake at 350°F (177°C) for 8–10 minutes. Set aside to cool.
2. Prepare the Filling
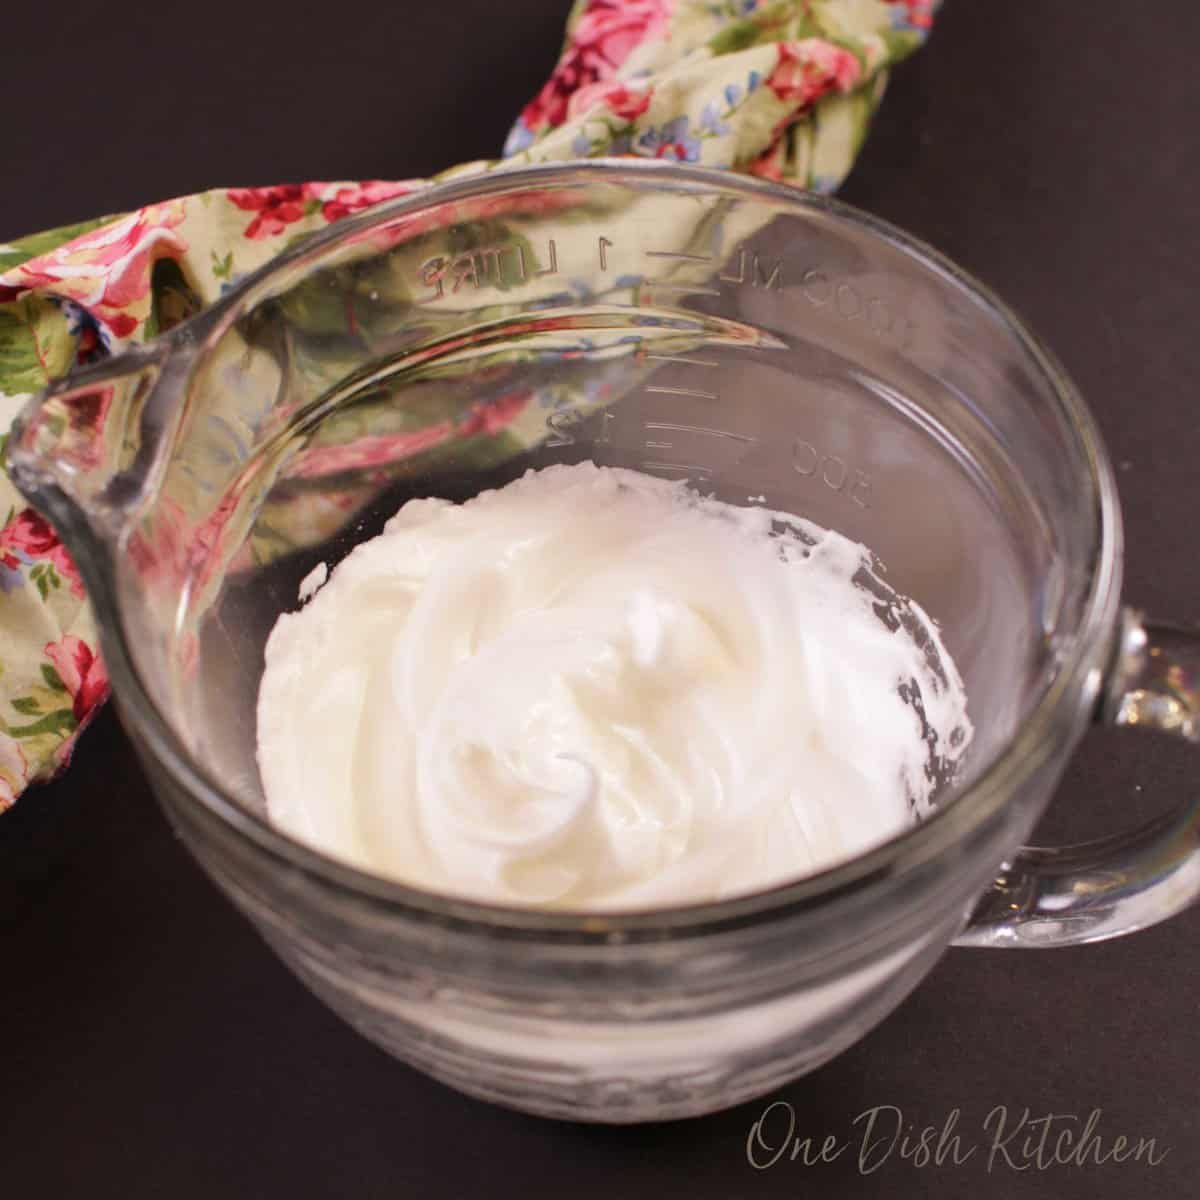
- In a small bowl, whip 1/4 cup (60 ml) cream with 1/2 teaspoon sugar using a hand mixer until stiff peaks form. Yields about 1/3 cup.
- In a separate bowl, mix peanut butter, cream cheese, and powdered sugar until smooth.
- Gently fold the whipped cream into the peanut butter mixture.
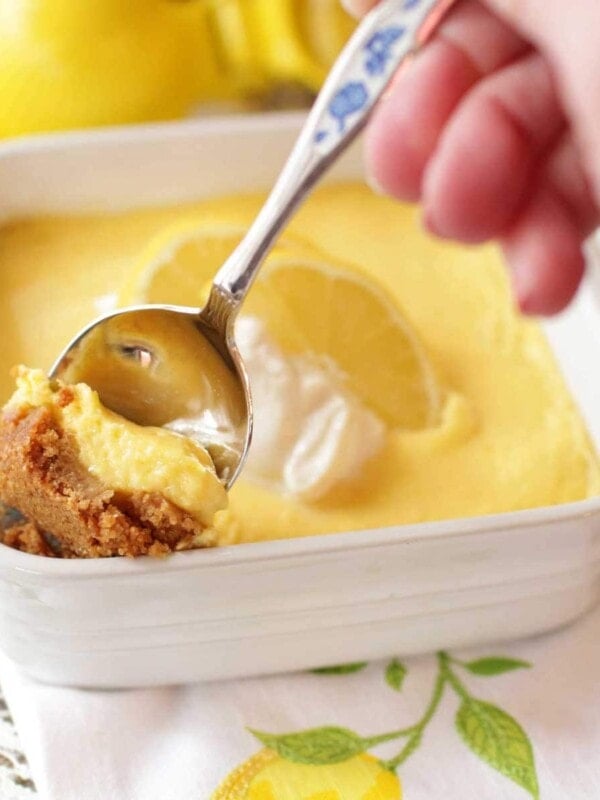
- Spoon the filling over the cooled crust in the ramekin.
- Refrigerate for at least 2 hours before serving.
Expert Tips
Read through the full recipe, including the Ingredient Notes and step-by-step photos, before starting. Everything you need to make a perfect peanut butter pie is right here in the post.
- Crust Options: Graham crackers are great, but you can also use digestive biscuits, vanilla wafers, or other cookies you like.
- Baking the Crust: Baking adds a crisp texture, but you can skip this step for a no-bake version.
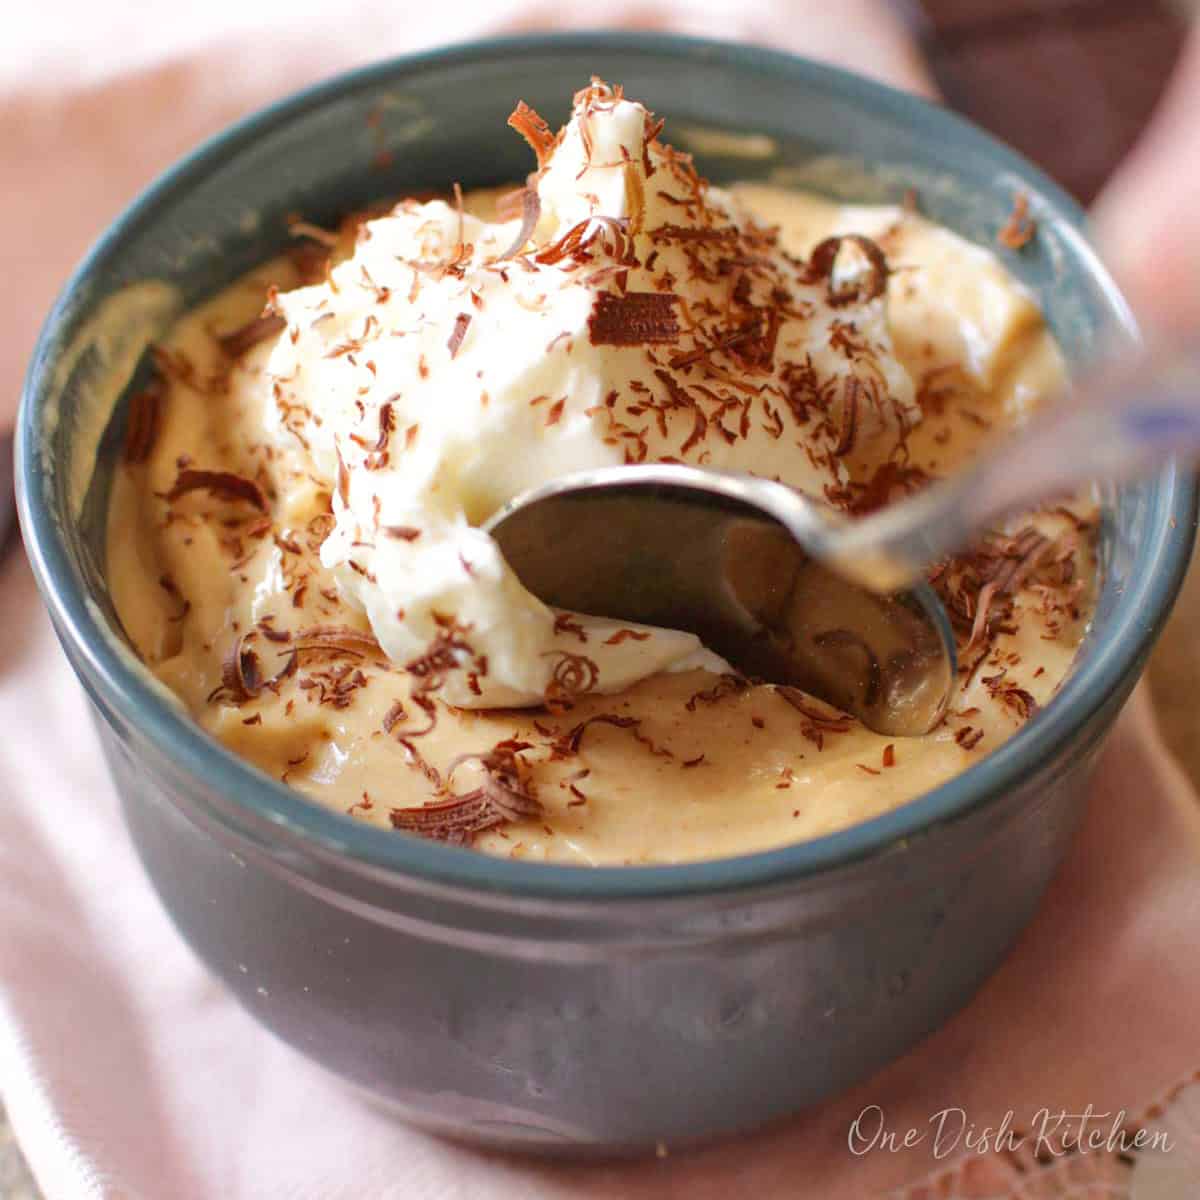
- Topping Ideas: Add homemade whipped cream, chocolate shavings, or crushed peanuts for extra flair – optional but delicious.
- Chocolate Version: Drizzle melted chocolate over the filling before chilling to turn this into a chocolate peanut butter pie.

Frequently Asked Questions
Chill for at least 2 hours to allow the filling to set properly.
Yes, it doubles well. Just use a 5×5 inch dish or divide it between two 10 ounce ramekins.
Cover and refrigerate. It will stay fresh for 2 to 3 days.
Ways To Use Leftover Ingredients
If you have any ingredients leftover from this recipe, check out our Leftover Ingredients Recipe Finder or you might like to consider using them in any of these single serving and small batch recipes:
RELATED: How To Make A Small Pie Crust
If you’ve tried this peanut butter pie or any recipe on One Dish Kitchen please let me know how you liked it by rating the recipe and telling me about it in the comment section below.
If you take a picture please tag us on Instagram (@onedishkitchen) we’d love to see!
Mini Peanut Butter Pie

Equipment
Ingredients
For the Crust
- ¼ cup graham cracker crumbs (2 large sheets of graham crackers, or use digestive biscuits, shortbread cookies, chocolate or vanilla wafers)
- 1 tablespoon salted butter -melted
For the Filling
- ¼ cup heavy cream
- ½ teaspoon granulated sugar
- 3 tablespoons creamy peanut butter
- 2 ounces cream cheese -softened to room temperature
- 4 tablespoons powdered sugar
- Optional toppings: shaved chocolate, chopped peanuts, whipped cream
Instructions
Make the Crust
- Preheat oven to 350°F (177°C).
- In a small bowl, mix graham cracker crumbs with melted butter.
- Lightly grease a 10-ounce ramekin or similar-sized dish. Add the crumb mixture and press it evenly into the bottom using your fingers, the back of a spoon, or a flat-bottomed glass.
- Bake for 8–10 minutes.
- Remove from the oven and let cool completely.
Make the Filling
- In a small bowl, whip cream and sugar with a hand mixer until stiff peaks form. Set aside.
- In a separate bowl, beat together peanut butter, cream cheese, and powdered sugar until smooth.
- Fold the whipped cream into the peanut butter mixture until fully combined.
- Spoon the filling into the cooled crust and smooth the top.
- Refrigerate for at least 2 hours or until ready to serve.
Notes
- Read through the full recipe, including the Ingredient Notes and step-by-step photos, before starting. Everything you need to make a perfect peanut butter pie is right here in the post.
- Crust Options: Graham crackers are great, but you can also use digestive biscuits, vanilla wafers, or other cookies you like.
- Baking the Crust: Baking adds a crisp texture, but you can skip this step for a no-bake version.
- Topping Ideas: Add whipped cream, chocolate shavings, or crushed peanuts for extra flair – optional but delicious.
- Chocolate Version: Drizzle melted chocolate over the filling before chilling to turn this into a chocolate peanut butter pie.
Nutrition
The information shown is an estimate provided by an online nutrition calculator. It should not be considered a substitute for a professional nutritionist’s advice.


You could probably swap the whipping cream for cool whip. It probably would be good right,?
Yes, you should be able to swap the whipping cream for Cool Whip. Since Cool Whip is already sweetened, I’d recommend reducing or eliminating the added sugar to keep the pie from being too sweet. It should work just fine!
This is exactly like the peanut butter pie my grandmother made. Only difference is she used chocolate wafer cookies (not Oreos) for the crust. And yes, she drizzled hot fudge sauce over the top. So cool to find an individual version!
I’m so happy this peanut butter pie recipe brings back happy memories. Thank you.
Delicious! The filling is light and creamy and not too rich or sweet. I made 4X the crust for an 8″ tart pan and 2X the filling, adding vanilla and a pinch of salt to the filling.
Terrific recipe.
It is hot here, so I don’t have to turn my oven on Can I microwave the crust and how long ? TY
Hi Janet, you don’t even have to bake or microwave the crust at all. Baking the crust just “sets” the crust. You can just make the crust with the cookie crumbs and butter and press it into the bottom of your dish and don’t bake it. Continue with the pie filling and chill.
I can not believe your calorie count on this. Truly, it doesn’t seem possible. Can you recheck your calculations? Please.
Hi Marilyn,
The calorie count is correct.
This looks so good, Joanie! Definitely one I’m going to make ASAP!
Thank you, Kristen! It’s absolutely delicious and so easy to make, I hope you do get to try it.
Have a wonderful weekend!
Joanie