This post may contain affiliate links. Please read our disclosure policy.
These easy, small batch Oreo balls are made with crushed Oreos, cream cheese, and melted chocolate. No baking needed and perfect for a quick, bite-sized treat.

Why You’ll Love This Recipe
- Quick and Easy: Just 3 ingredients and no baking required.
- Perfectly Portioned: Makes a small batch, no extras to store.
- Kid-Friendly: Fun to roll, dip, and decorate.
- Easy to Customize: Use different Oreos, chocolates, or toppings.
- Rich and Chocolatey: Creamy, flavorful bites with a smooth finish.
I fell in love with these Oreo balls the first time my daughter-in-law, Abby, made them for us one Thanksgiving. They disappeared in minutes. I knew I had to create a small batch version to enjoy anytime. These little treats are the perfect mix of crushed cookies, creamy filling, and rich chocolate. They’re simple to make, fun to decorate, and always a crowd favorite.
These Oreo truffles are a favorite on cookie platters, paired with small batch rum balls, small batch peppermint bark, small batch peanut butter fudge, and small batch cheesecake bars. They also make great homemade gifts.

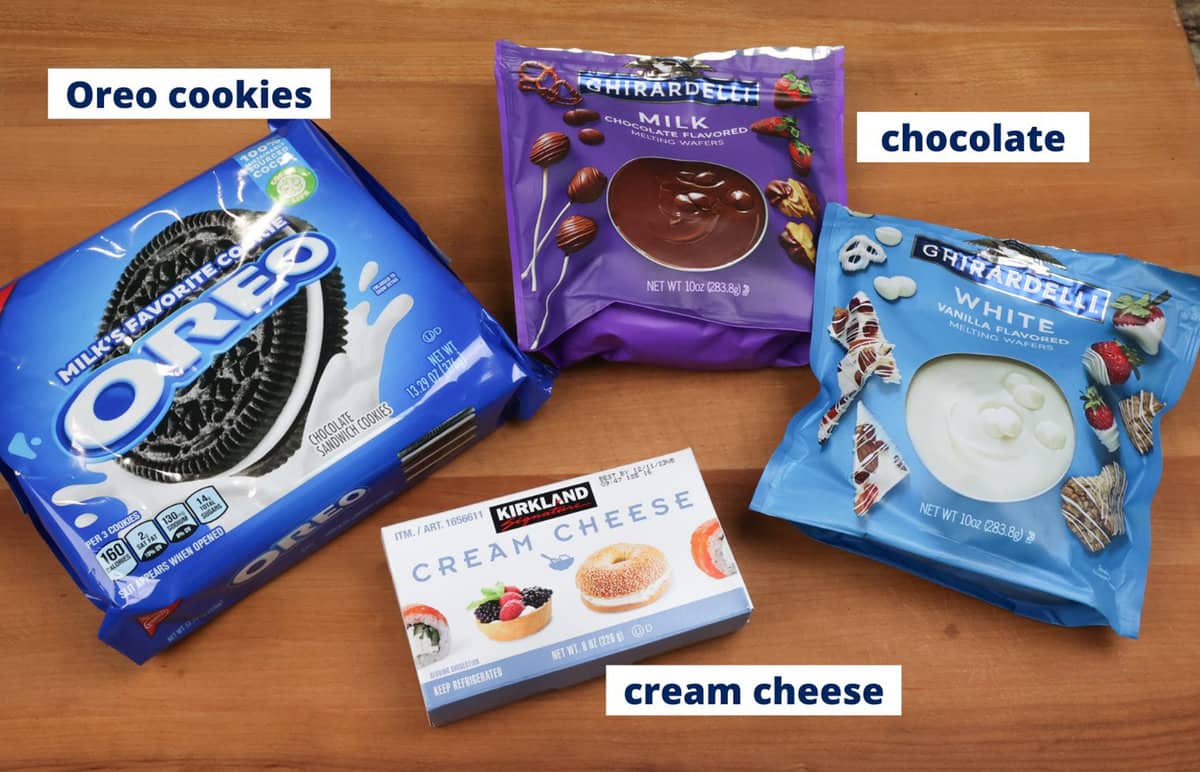
Ingredients
If you have any ingredients leftover from this small batch Oreo balls recipe, check out our Leftover Ingredients Recipe Finder.
- Oreos: Use classic Oreos for the best texture. Avoid Double Stuf, too much filling makes the mixture wet and hard to roll. You can use other chocolate cream-filled cookies, but you may need to adjust the ratio for the right consistency. Leftover Oreos? Use them in a single serving oreo brownie, chocolate covered oreos, or a rich mini French silk pie!
- Cream Cheese: Softened cream cheese binds the mixture and adds creaminess. Let it sit at room temperature for easier mixing. Extra cream cheese? Try it in a single serving peanut putter pie or a no-bake single serving cheesecake.
- Chocolate: Melting wafers are best for dipping. Use dark, white, or a mix. High-quality chopped chocolate like Guittard or Ghirardelli also works well. Avoid chocolate chips, they don’t melt smoothly. Leftover chocolate? Make small batch buckeyes or a small batch of chocolate fudge.
Recipe Variations
Change up the classic Oreo balls with these simple and fun ideas:
- White Chocolate Coating: Dip the Oreo balls in melted white chocolate for a sweeter, creamier version.
- Mint Oreo Truffles: Use mint Oreos and add a few drops of peppermint extract for a cool, refreshing twist.
- Golden Oreo Truffles: Swap in Golden Oreos for a vanilla-flavored treat.
- Crushed Candy Topping: Sprinkle crushed candy on top before the chocolate sets for added flavor and crunch.
- Chocolate Drizzle: Drizzle with melted milk, dark, or white chocolate for extra flavor and a decorative touch.
How To Make Oreo Balls
These photos and instructions help you visualize how to make a small batch of Oreo Balls (truffles). See the recipe box below for ingredient amounts and full recipe instructions.
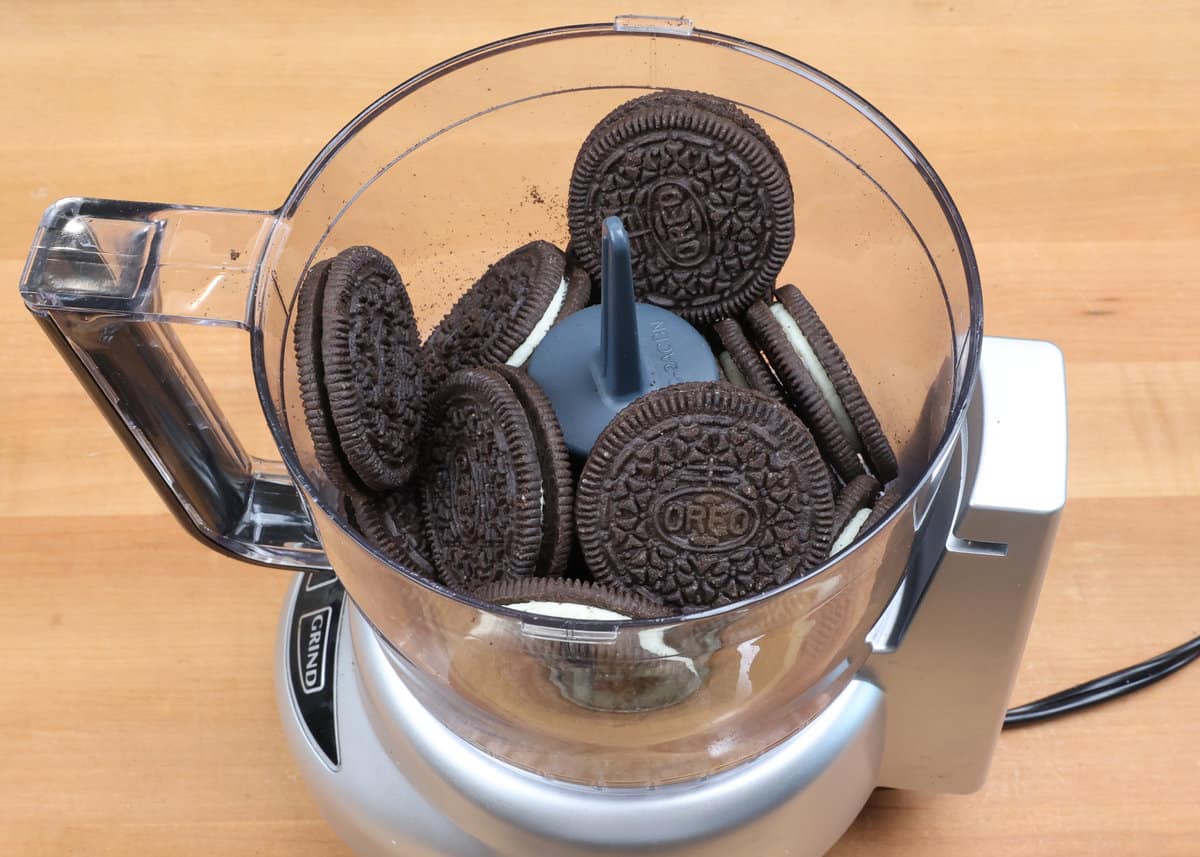
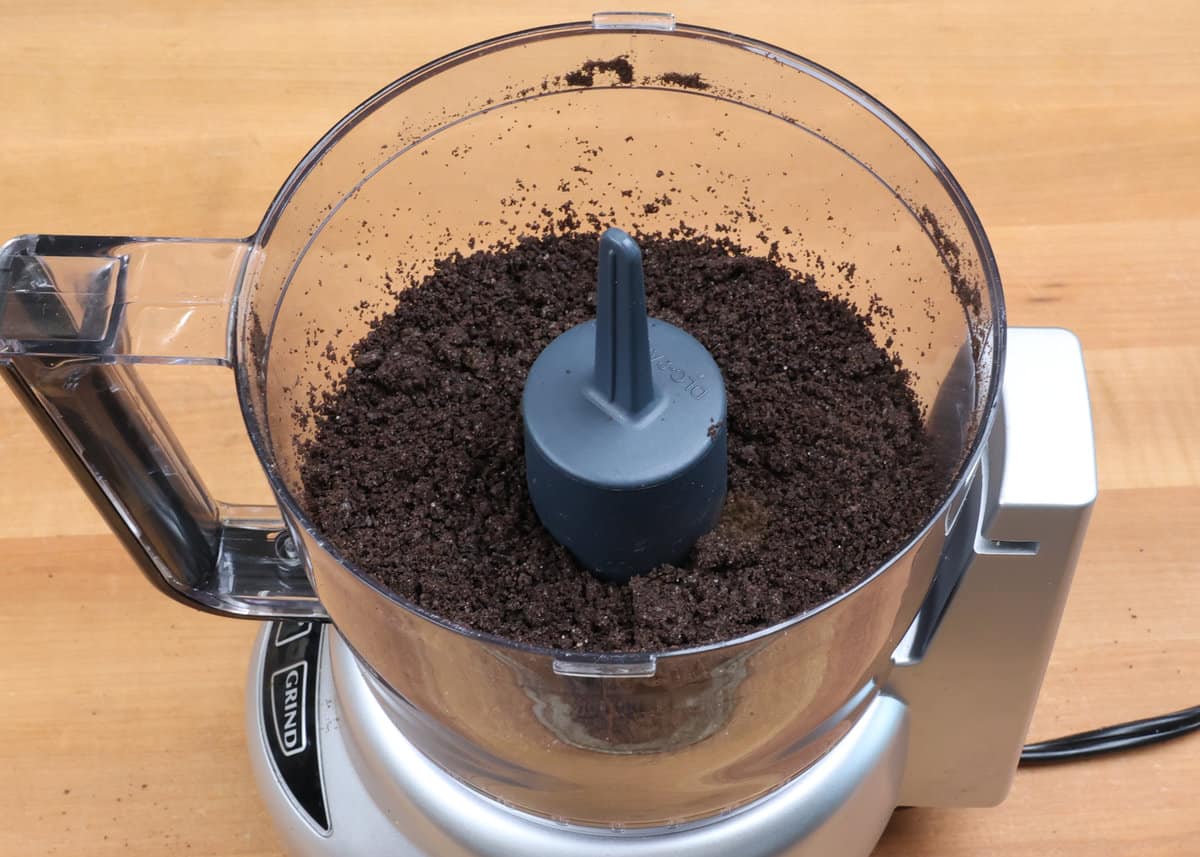
- Crush the Oreos: Place the Oreos in a food processor and pulse into fine crumbs for a smooth texture.
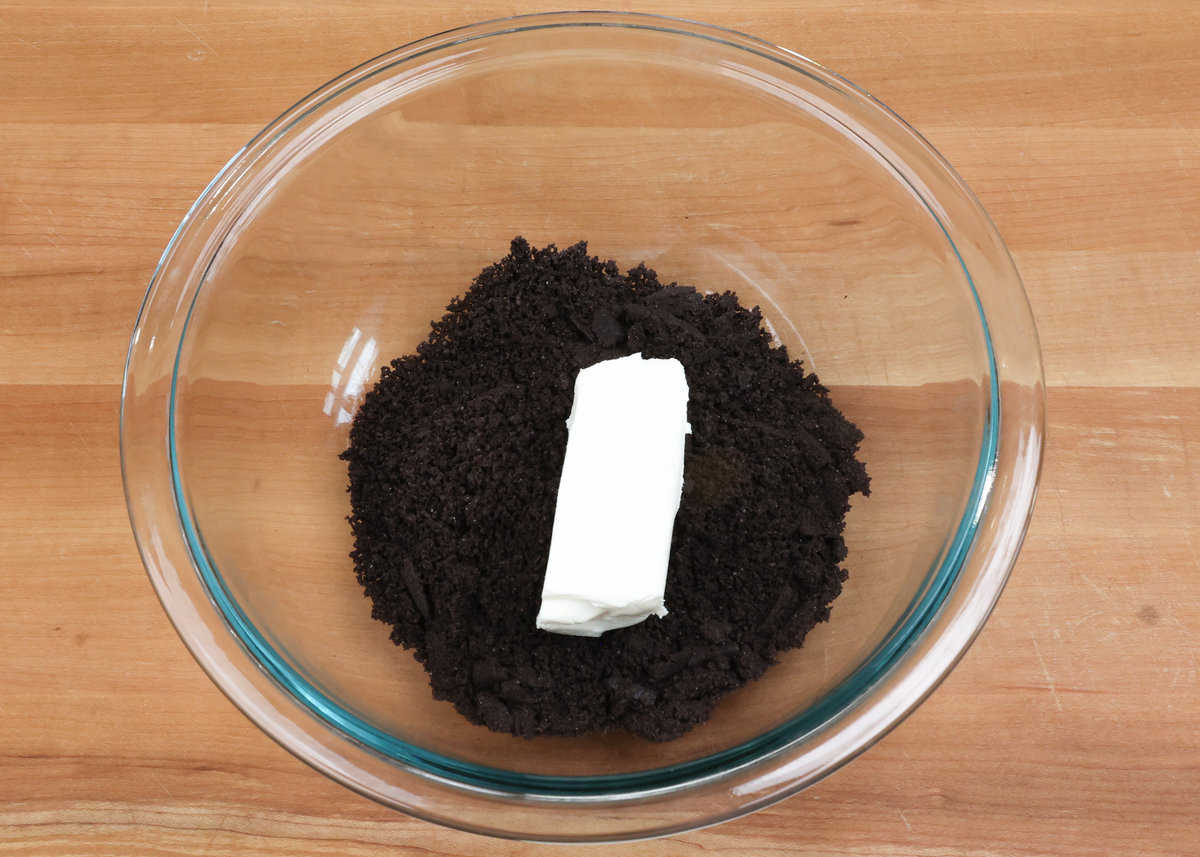
- Mix with Cream Cheese: Transfer the crumbs to a bowl and add softened cream cheese. Mix with a hand mixer until smooth, or knead by hand if needed.
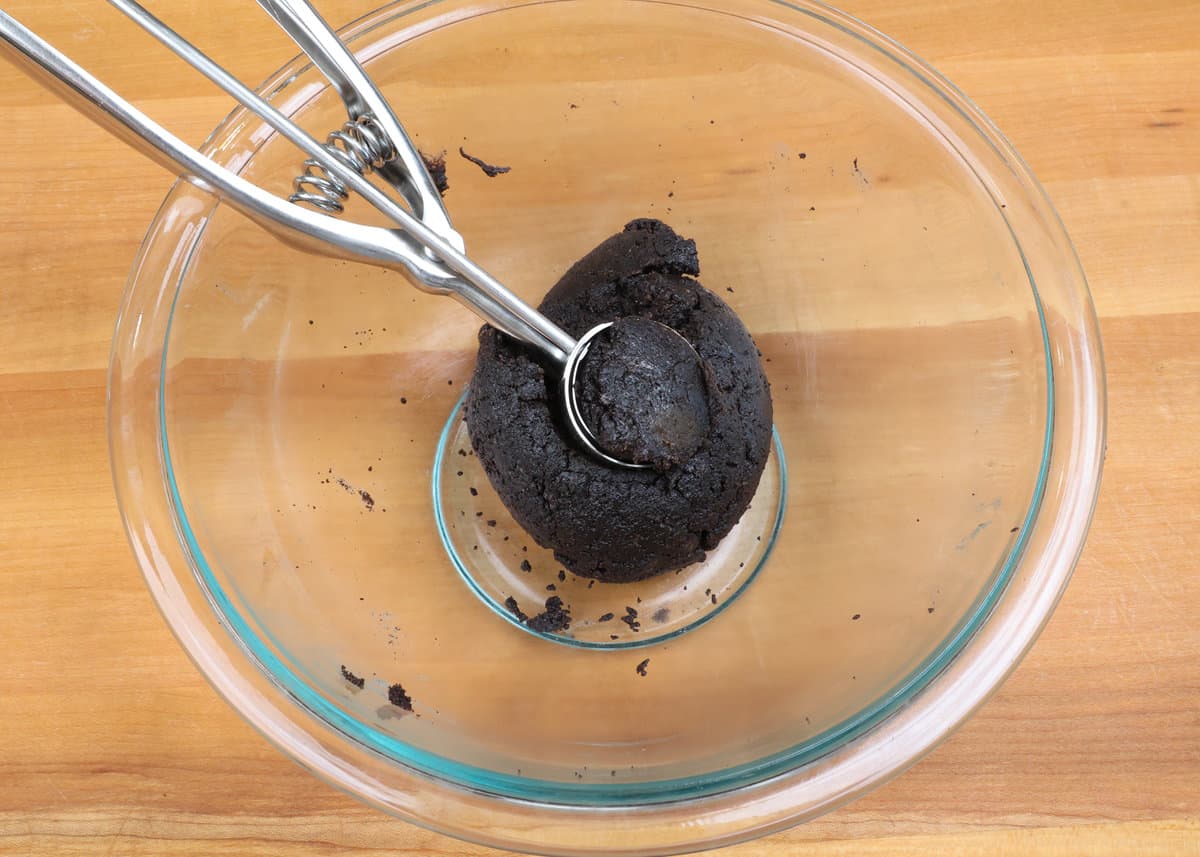
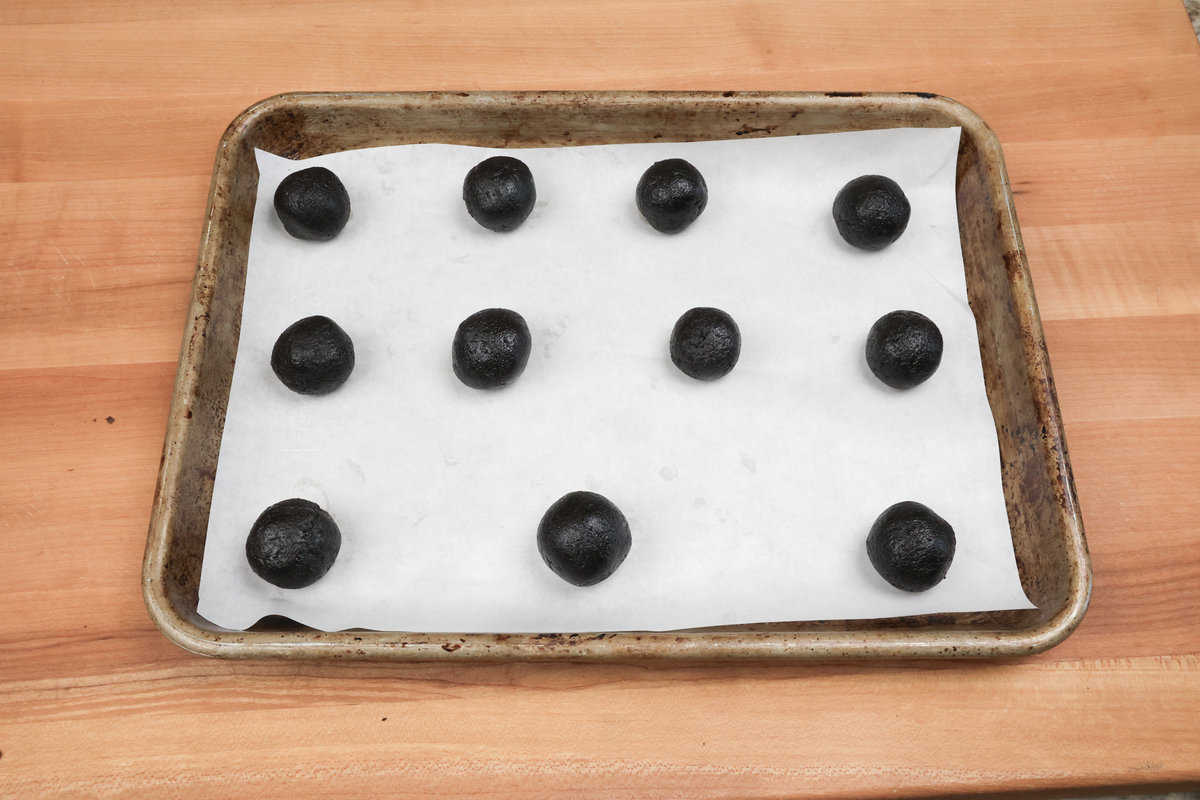
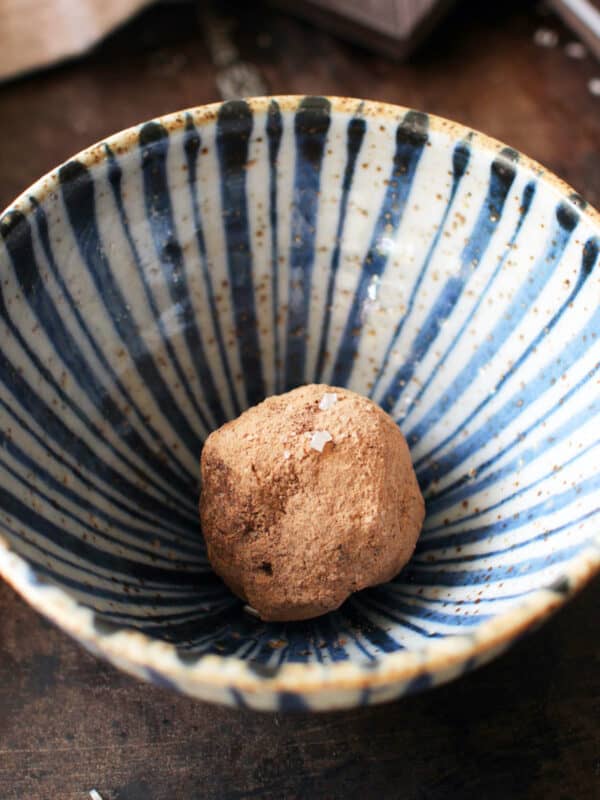
- Form the Balls: Scoop and roll the mixture into balls. Place them on a wax paper-lined baking sheet and freeze for 10 minutes until firm but not frozen.
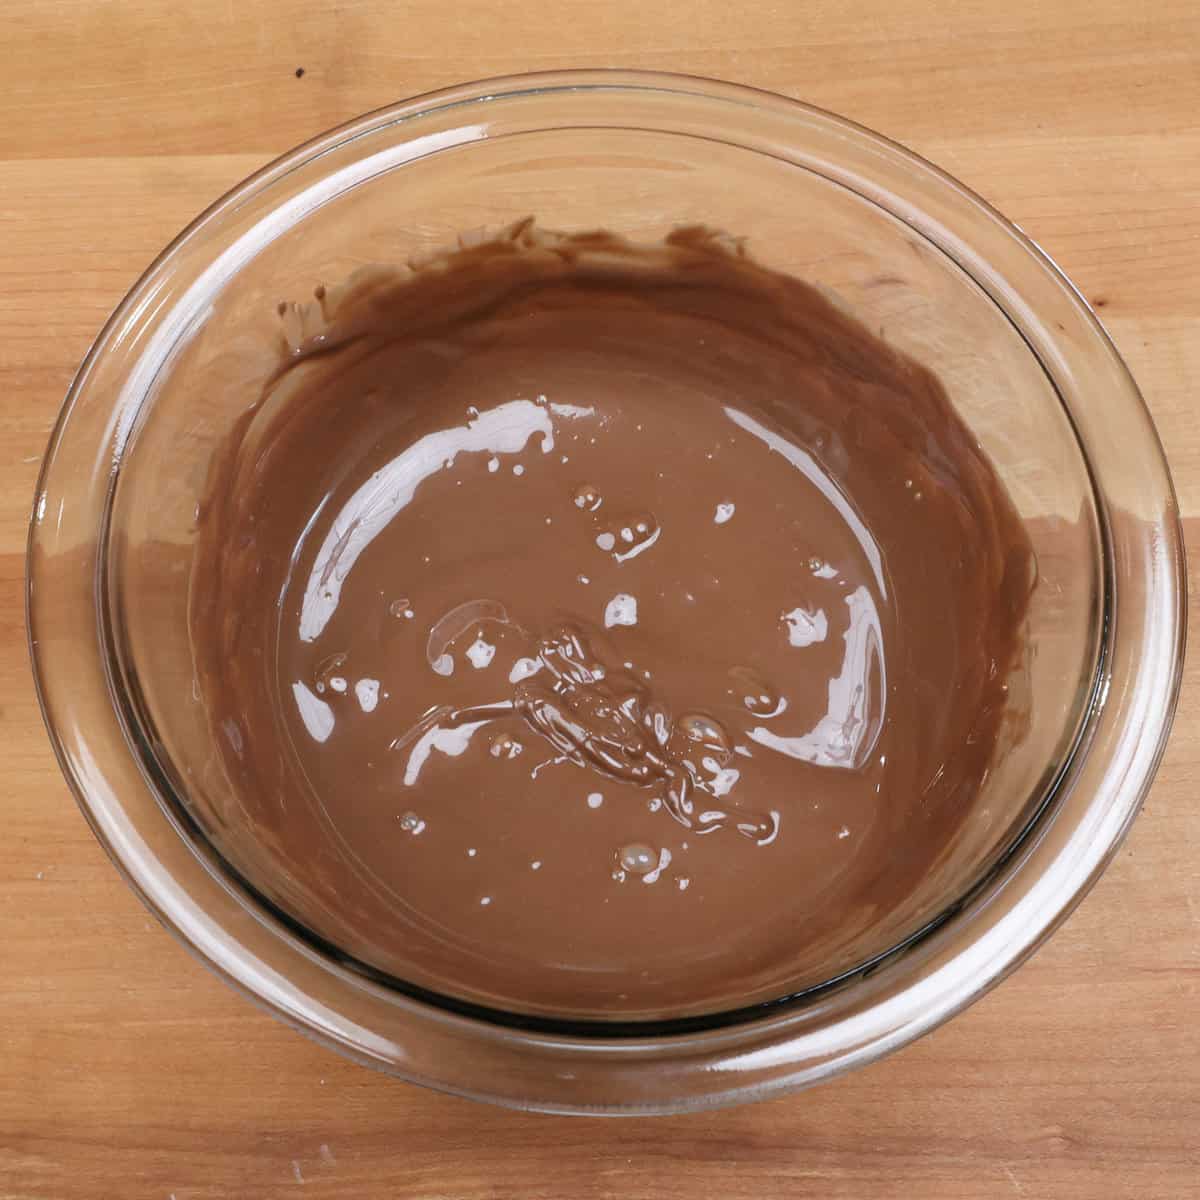
- Melt the Chocolate: In a microwave-safe bowl, melt the chocolate in 15-second intervals, stirring in between, until smooth. Or melt using a double boiler. Let cool for 5 minutes before dipping.
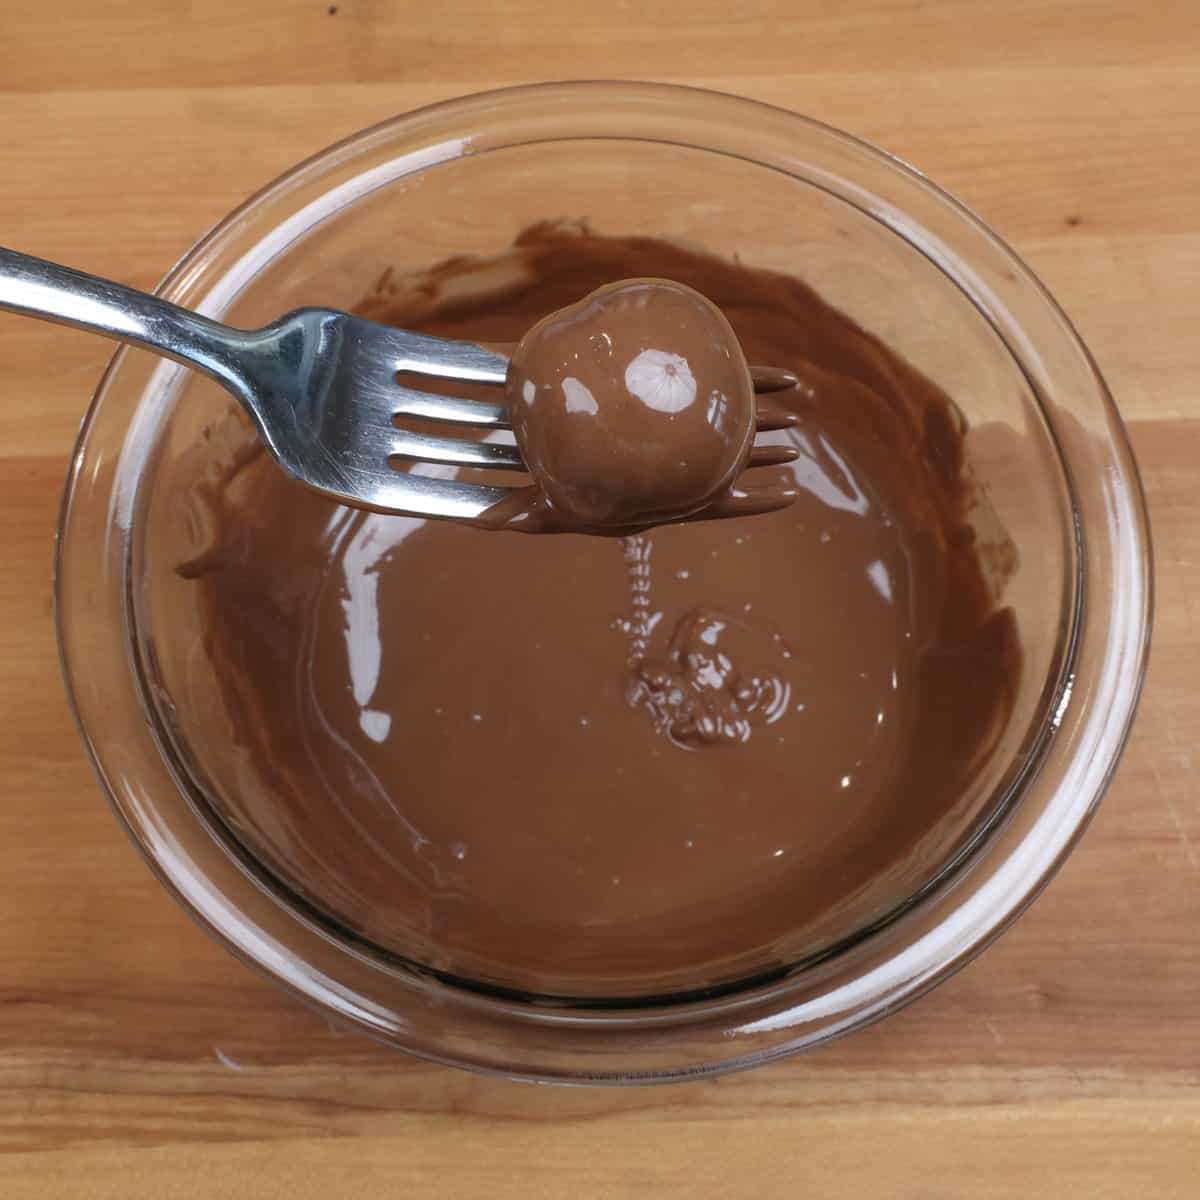
- Coat the Balls: Dip each ball into the melted chocolate, coating completely. Lift with a fork, tap off the excess, and slide onto a lined tray.
- Add Toppings (Optional): Top with sprinkles, crushed Oreos, or a chocolate drizzle while the coating is still wet.

To Store: Once the coating sets, store in an airtight container in the fridge for up to 2 weeks. Use wax or parchment paper between layers.
Expert Tips
- Read First: Skim the full recipe and Ingredient Notes before starting. The recipe comes together fast, so have everything prepped and ready to go.
- Work Quickly: Melted chocolate sets fast. If it thickens, reheat in short bursts or use a double boiler to smooth it out again.
- Avoid Breakage: If the Oreo balls fall apart while dipping, the chocolate may be too hot. Let it cool slightly before continuing.
- Keep Them Firm: If the balls get too soft while dipping, chill them in the fridge or freezer for 5–10 minutes to help them hold their shape.
Serving Suggestions
- Dessert Platter: Add Oreo balls to a dessert spread with Butter Cookies, Brownies, Blondies, or fruit skewers for a variety of flavors and textures.
- Paired with Coffee or Hot Chocolate: Enjoy the creamy truffles alongside a warm cup of coffee or hot chocolate for a comforting treat.
- In Mini Cupcake Liners: Serve the truffles in mini cupcake liners for a polished, elegant presentation.
- Gift Basket Addition: Include a small batch of Oreo balls in a homemade gift basket with other goodies like cookies, jams, or candles for a thoughtful present.
Frequently Asked Questions
Use melting wafers or chopped high-quality chocolate. Avoid chocolate chips.
A food processor works best, but you can also crush the Oreos in a sealed bag using a rolling pin.
Yes, store in an airtight container in the fridge for up to 2 weeks. Use parchment or wax paper between layers.
Yes, freeze in an airtight container for up to 2 months. Thaw in the fridge before serving.
Yes, just double the ingredient amounts.
Ways To Use Leftover Ingredients
If you have any ingredients leftover from this recipe, check out our Leftover Ingredients Recipe Finder or you might like to consider using them in any of these single serving and small batch recipes:
If you’ve made this easy small batch Oreo balls recipe, I’d love to hear how they turned out for you. Please rate the recipe and share your thoughts in the comments below.
Snapped a photo? Tag us on Instagram; we’d be thrilled to see your creation!
Small Batch Oreo Balls

Equipment
Ingredients
- 12 regular Oreo cookies (1 ¼ cups crushed Oreo cookie crumbs)
- 2 ounces cream cheese -softened to room temperature
- ¾ cup milk chocolate or white chocolate melting wafers (4.5 ounces)
- crushed cookies or candy sprinkles, optional for topping
Instructions
- Place the Oreos in a food processor and pulse into fine crumbs for a smooth texture.
- Transfer the crumbs to a bowl and add softened cream cheese. Mix with a hand mixer until smooth, or knead by hand if needed.
- Scoop and roll the mixture into balls. Place them on a wax paper-lined baking sheet and freeze for 10 minutes until firm but not frozen.
- In a microwave-safe bowl, melt the chocolate in 15-second intervals, stirring in between, until smooth. Or melt using a double boiler. Let cool for 5 minutes before dipping.
- Dip each ball into the melted chocolate, coating completely. Lift with a fork, tap off the excess, and slide onto a lined tray.
- Optional: Top with sprinkles, crushed Oreos, or a chocolate drizzle while the coating is still wet.
- To Store: Once the coating sets, store in an airtight container in the fridge for up to 2 weeks. Use wax or parchment paper between layers.
Notes
- Read First: Skim the full recipe and Ingredient Notes before starting. The recipe comes together fast, so have everything prepped and ready to go.
- Work Quickly: Melted chocolate sets fast. If it thickens, reheat in short bursts or use a double boiler to smooth it out again.
- Avoid Breakage: If the Oreo balls fall apart while dipping, the chocolate may be too hot. Let it cool slightly before continuing.
- Keep Them Firm: If the balls get too soft while dipping, chill them in the fridge or freezer for 5–10 minutes to help them hold their shape.
Nutrition
The information shown is an estimate provided by an online nutrition calculator. It should not be considered a substitute for a professional nutritionist’s advice.


How much do 12 Oreos yield.
12 Oreos is 5 ounces/138 grams. When crushed, 12 Oreo cookies yields about 1 1/4 cups of crushed cookie crumbs.
Thanks
Great recipe.
Thank you!