This post may contain affiliate links. Please read our disclosure policy.
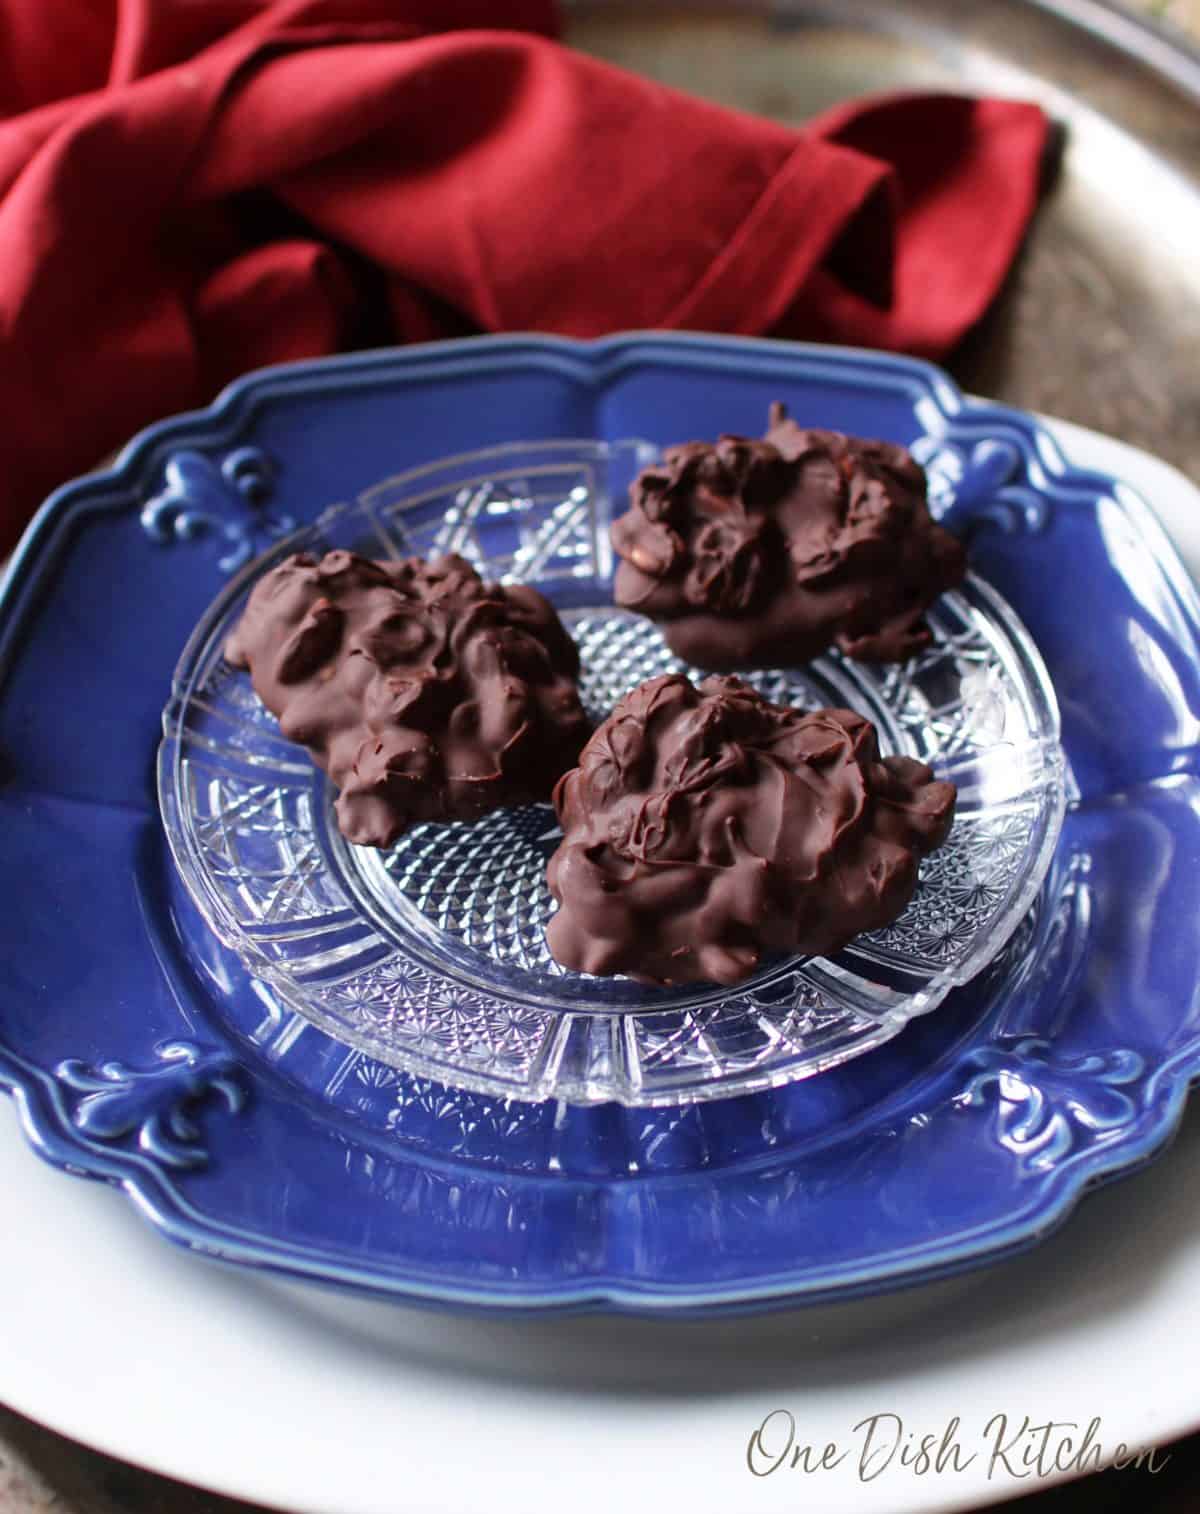
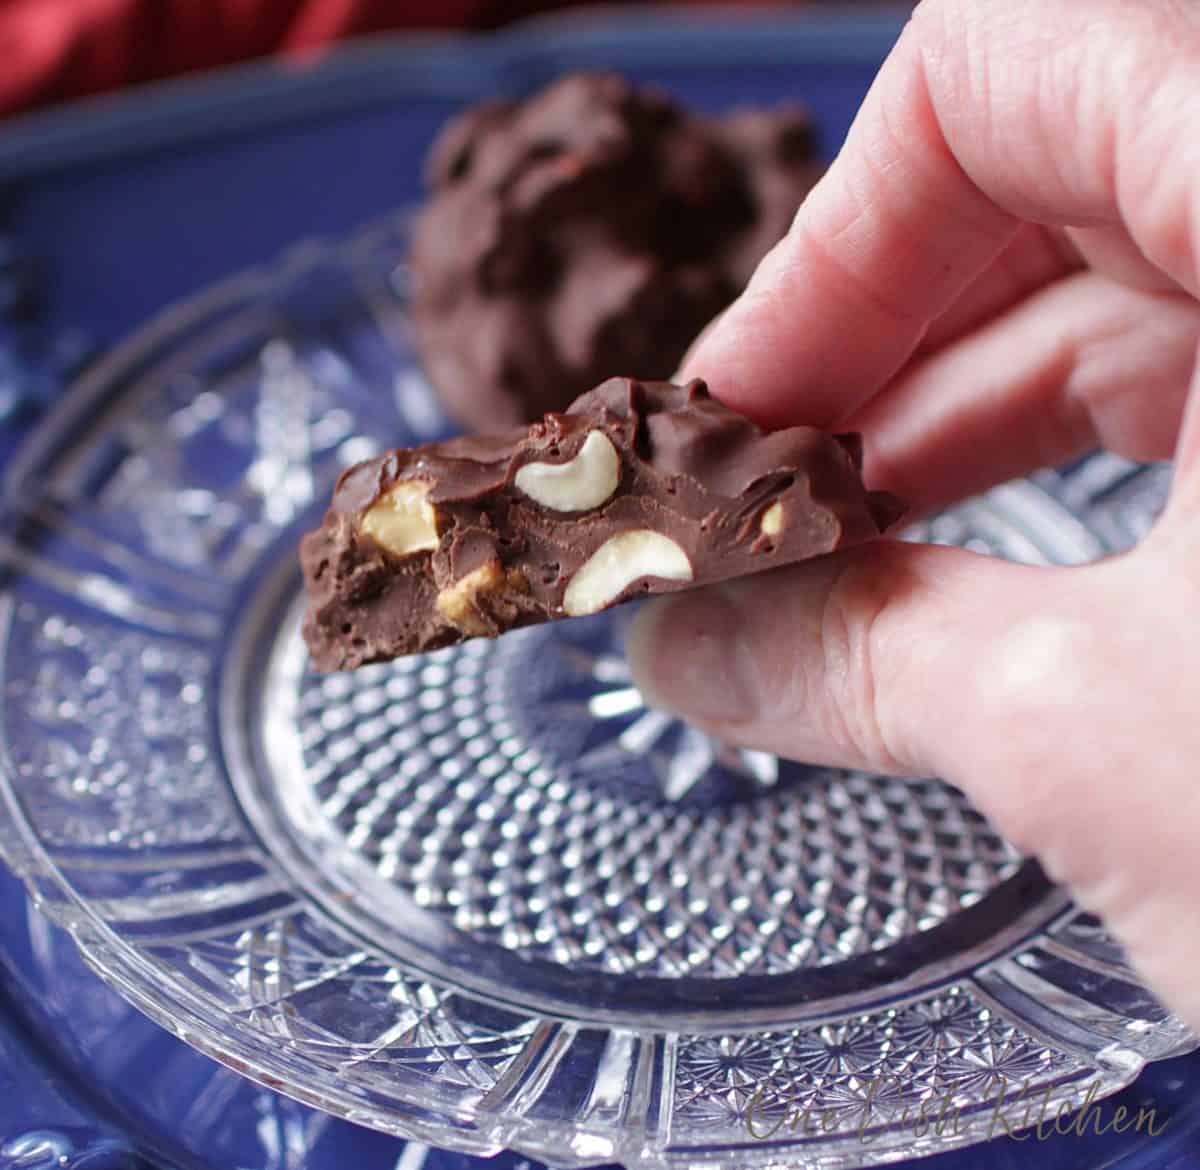
This small batch chocolate candy is easy to make and perfect for a quick sweet treat. Melted chocolate mixed with nuts, dried fruit, or other add-ins sets into delicious bite-sized pieces. It’s simple, customizable, and great for snacking or gifting!
Why You’ll Love This Recipe
- Quick & Easy: Made with just two ingredients and ready in under 20 minutes.
- Customizable & Versatile: Mix in nuts, seeds, or dried fruit—great for snacking, gifting, or gatherings.
- Easily Scalable: Double or triple the batch as needed.
This small batch chocolate candy is one of my favorite quick treats. It’s so simple—just melt, mix, and chill—but the result feels special every time. Whether I’m making a sweet snack or a last-minute gift, it always comes together effortlessly and lets me get creative with different mix-ins.
More small batch candy recipes:

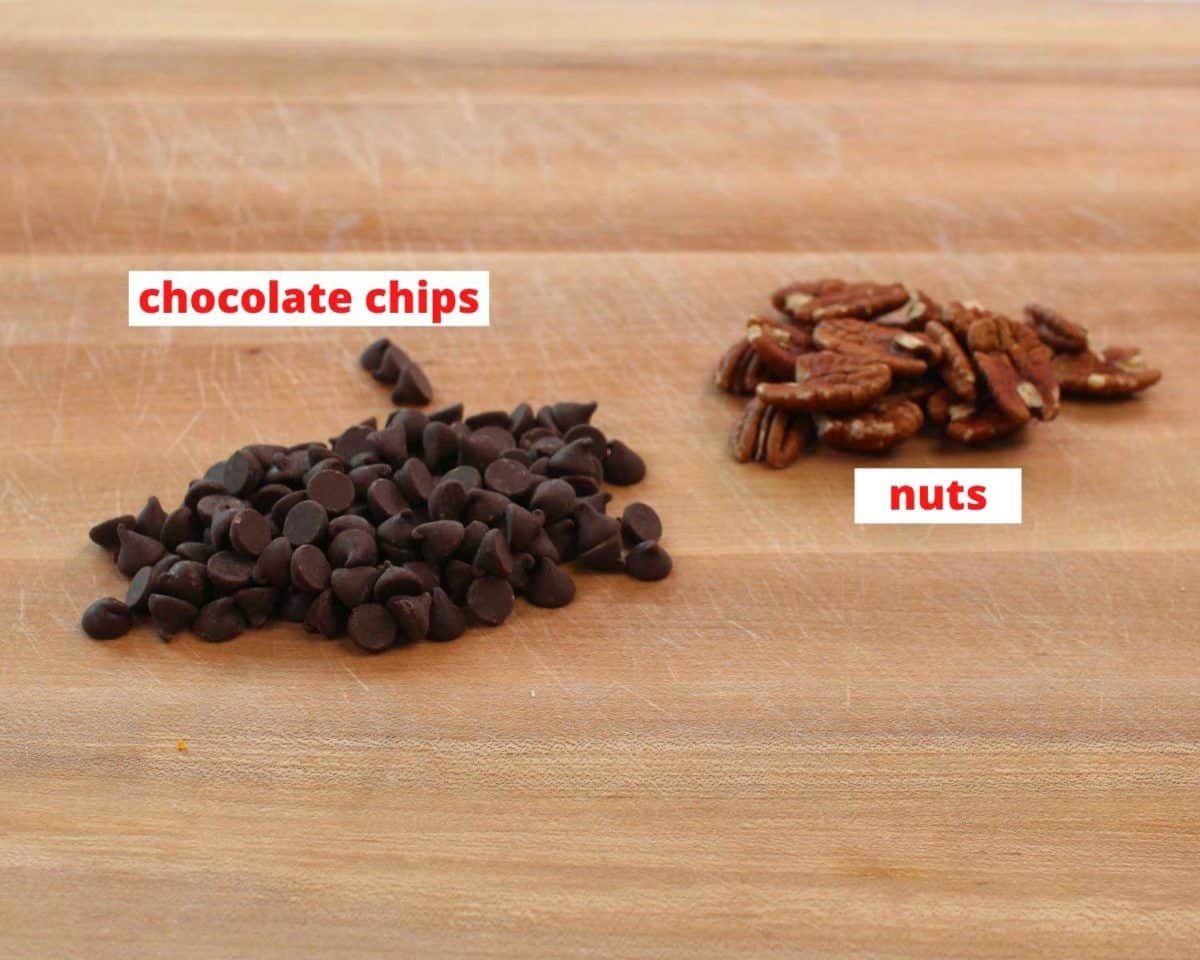
Ingredients
If you have any ingredients leftover from this small batch chocolate candy recipe, check out our Leftover Ingredients Recipe Finder.
- Chocolate Chips: Use chopped chocolate or chocolate chips—dark for a rich flavor or milk for extra sweetness. small batch chocolate chip cookies, chocolate lava cake for one, or a single brookie.
- Nuts: Pecans, peanuts, or walnuts add crunch and flavor. No nuts? Try dried fruit, sprinkles, or small batch maple granola for a different texture.
Recipe Variations
Looking to switch things up? Try these easy flavor ideas:
- Macadamia Nut & Sea Salt: Add macadamia nuts and a sprinkle of sea salt for a sweet-salty combo.
- Spicy Chocolate: Mix in a pinch of cayenne for a subtle heat.
- Chocolate & Fruit: Stir in dried cranberries or raisins for added sweetness.
- Mocha Chocolate: Blend in a bit of instant coffee for a rich, mocha flavor.
How To Make Chocolate Candy
Follow these simple steps to make homemade chocolate candy. For exact measurements, see the recipe card below.
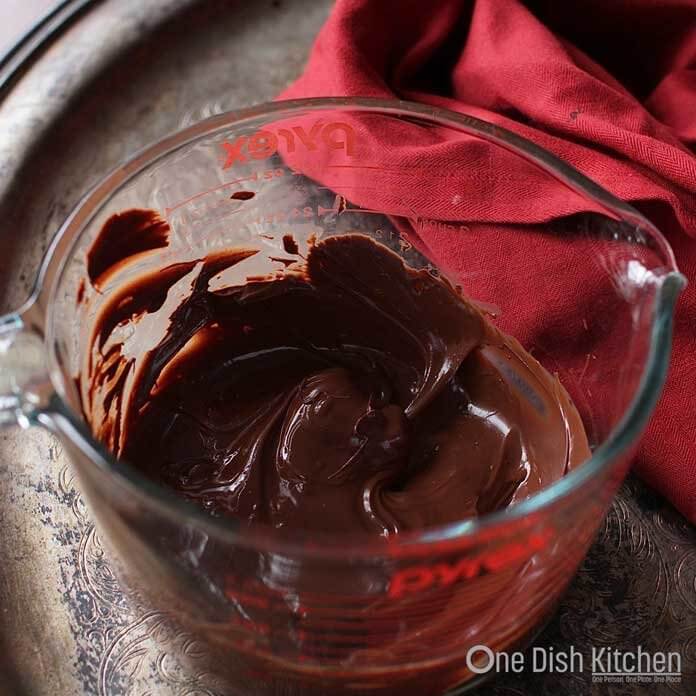
- Melt the Chocolate: Place chocolate chips in a microwave-safe glass bowl. Microwave in 20-second intervals, stirring after each, until smooth.
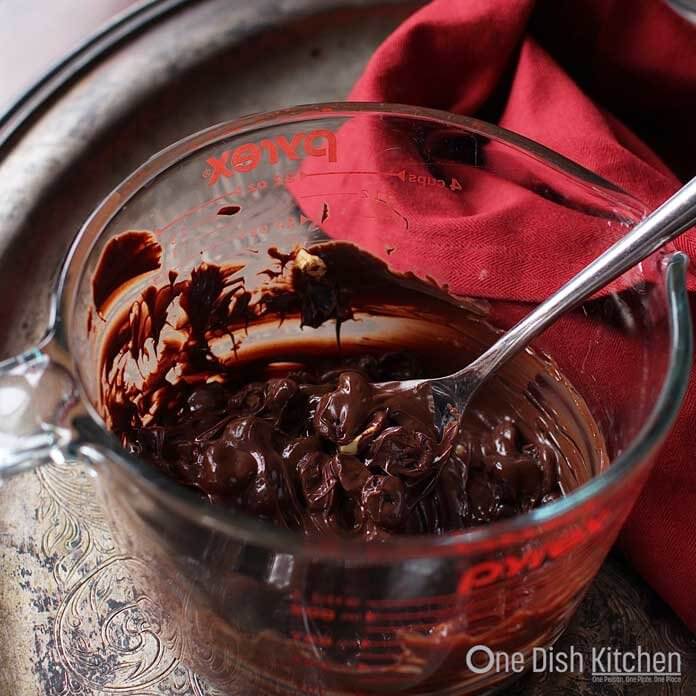
- Add Mix-Ins: Stir in ½ cup of nuts, dried fruit, or other mix-ins.
- Shape the Candies: Spoon onto a parchment-lined baking sheet, forming clusters or spreading it out to break into pieces later.
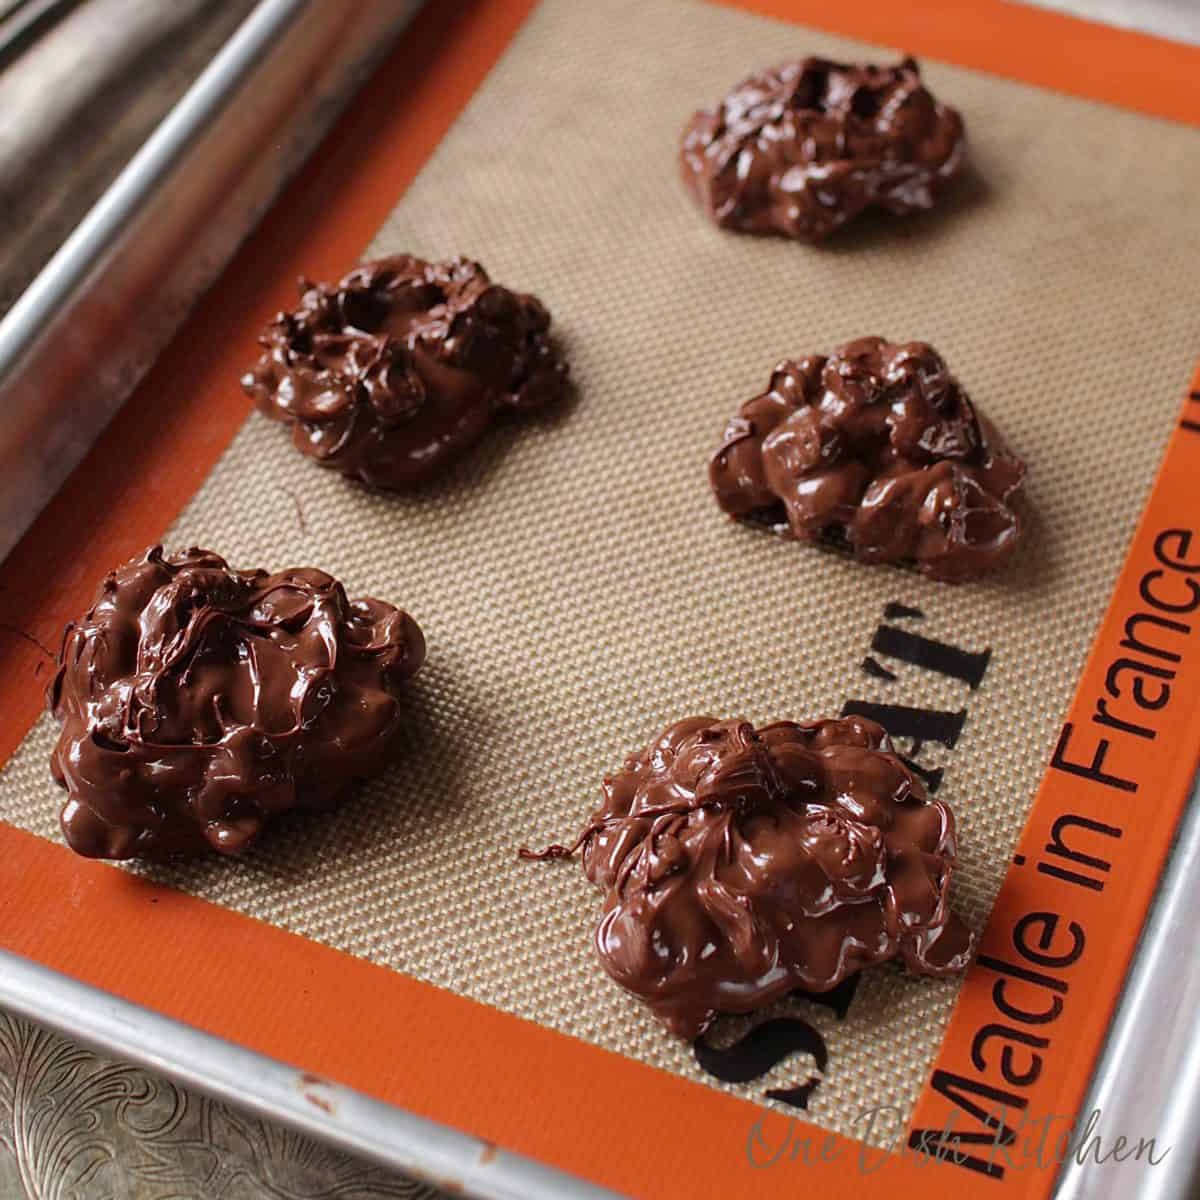
- Chill: Refrigerate until firm, then enjoy!
Expert Tips
- Use Quality Chocolate: High-quality chocolate melts smoother and gives the best flavor. I prefer using Ghirardelli or Guittard chocolates.
- Melt Carefully: Microwave in short bursts, stirring every 20 seconds to prevent overheating.
- Even Coating: Stir mix-ins well so every piece is evenly covered in chocolate.
Frequently Asked Questions
Melt it in short 20-second intervals in the microwave, stirring after each, until smooth. Stop microwaving when only a few small pieces of chocolate remain, then stir until fully melted.
Yes, use a double boiler or heatproof bowl over simmering water, stirring constantly.
Keep it in an airtight container at room temperature for up to a week or in the fridge for longer freshness.
Absolutely! This recipe scales up easily. Just make sure you have enough space on your baking sheet to let the candies set.
Ways To Use Leftover Ingredients
If you have any ingredients leftover from this recipe, check out our Leftover Ingredients Recipe Finder or you might like to consider using them in any of these single serving and small batch recipes:

RELATED: 20 Single Serving Breakfast Recipes
If you’ve made this easy chocolate candy recipe or tried any recipe from One Dish Kitchen, I’d love to hear your feedback! Please rate the recipe and share your thoughts in the comment section below.
If you take a picture please tag us on Instagram (@onedishkitchen) we’d love to see it!
Small Batch Chocolate Candy

Ingredients
- 1 cup chocolate chips (semi-sweet, dark chocolate, or milk chocolate)
- ½ cup nuts (pecans, peanuts, or use your favorite chopped nuts or trail mix)
Instructions
- Melt the Chocolate: Place chocolate chips in a microwave-safe glass bowl. Microwave in 20-second intervals, stirring after each, until smooth.
- Add Mix-Ins: Stir in ½ cup of nuts, dried fruit, or other mix-ins.
- Shape the Candies: Spoon onto a parchment-lined baking sheet, forming clusters or spreading it out to break into pieces later.
- Chill: Refrigerate until firm, then enjoy!
Notes
- Use Quality Chocolate: High-quality chocolate melts smoother and gives the best flavor. I prefer using Ghirardelli or Guittard chocolates.
- Melt Carefully: Microwave in short bursts, stirring every 20 seconds to prevent overheating.
- Even Coating: Stir mix-ins well so every piece is evenly covered in chocolate.
Nutrition
The information shown is an estimate provided by an online nutrition calculator. It should not be considered a substitute for a professional nutritionist’s advice.


Made these and they are very good, but is there a way to make them a softer chocolate?
I’m glad you enjoyed them. Because the recipe is made with chocolate chips, the candy will set up fairly firm. For a softer texture, you can add a small amount of coconut oil or butter when melting the chocolate, which will keep it a bit softer once set.
Outstanding recipe.