This post may contain affiliate links. Please read our disclosure policy.
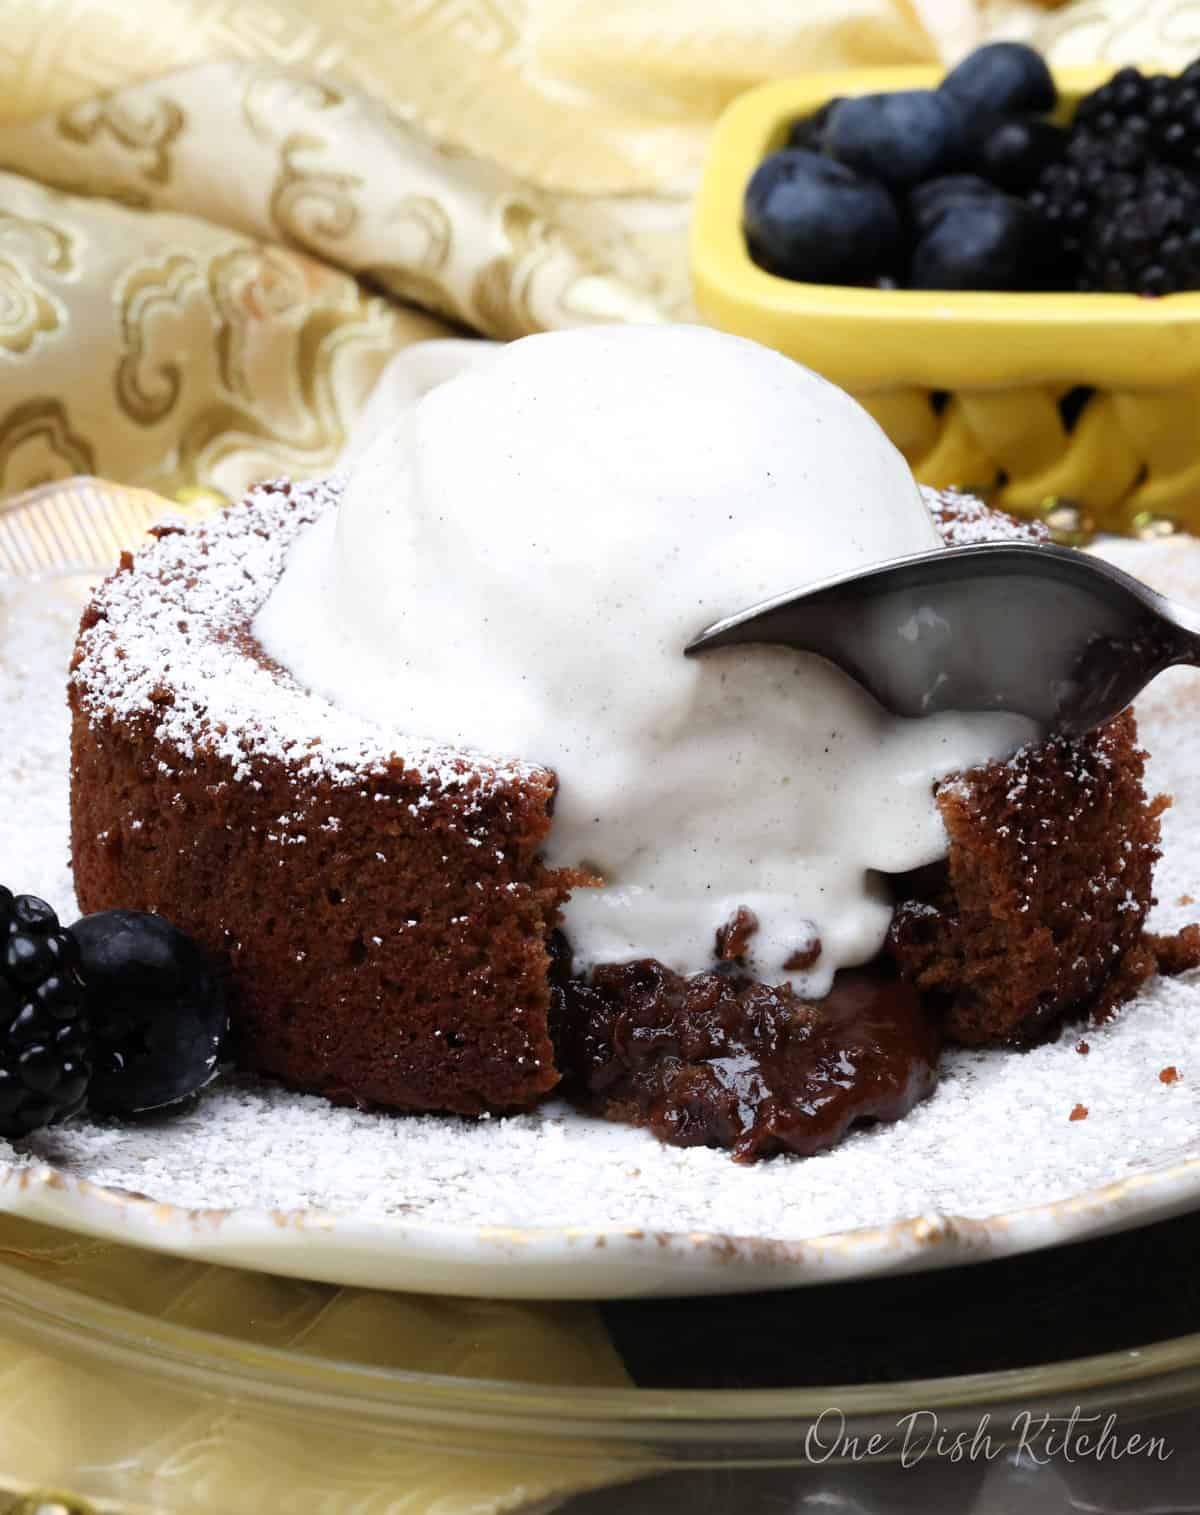
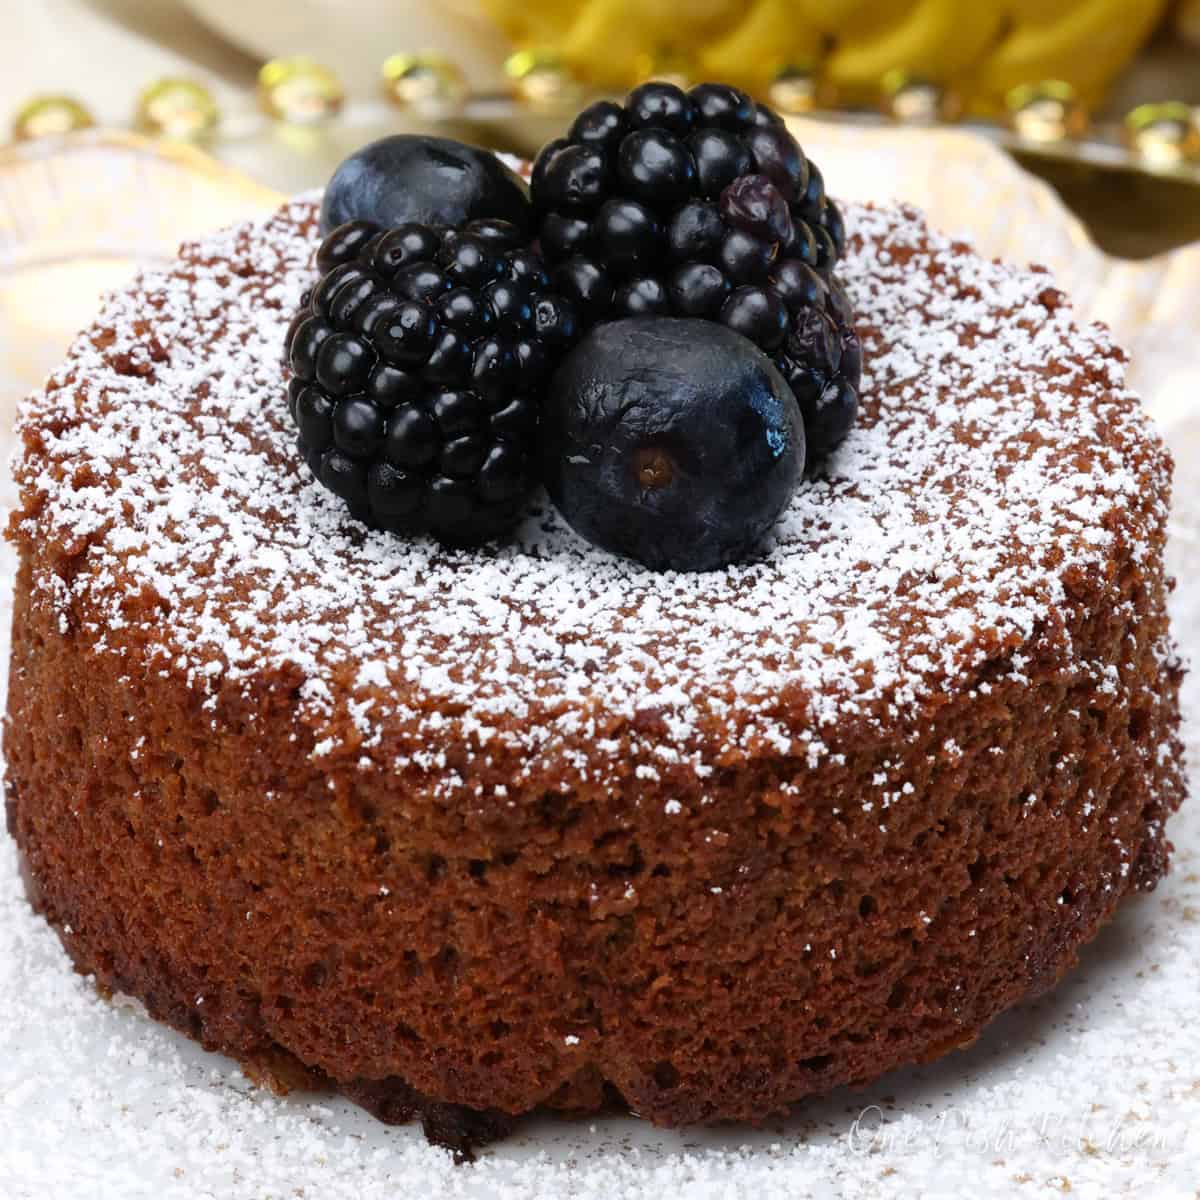
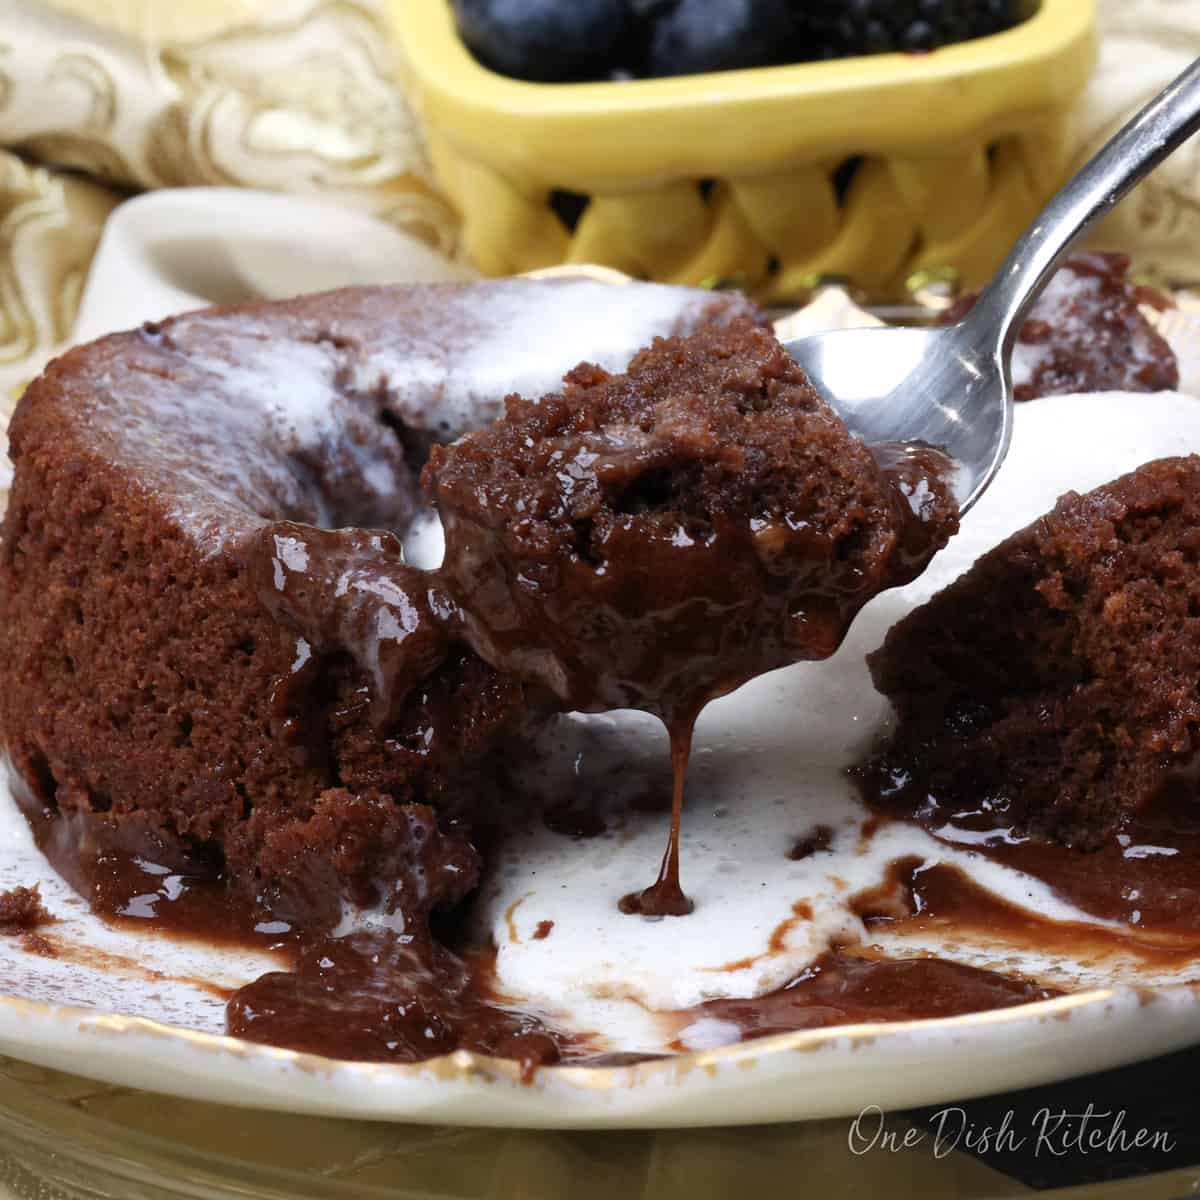
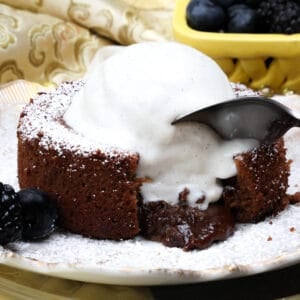
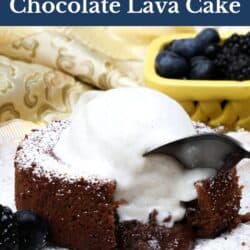
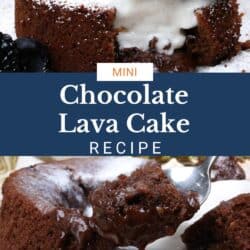
This single serving chocolate lava cake, also called molten chocolate cake or moelleux au chocolat, has a tender cake exterior and a warm, gooey center. Ready in under 25 minutes.
Featured Comment
“This was just heavenly. It is so rich and so chocolatey and I could not believe how easy it was to make. I will be making this again and again.”
– Linda
Why You’ll Love This Recipe
- Easy to Make: Simple ingredients and a few steps come together quickly.
- Perfectly Portioned: Baked in a 10-ounce ramekin for one.
- Rich & Gooey: Melted chocolate creates a soft, fudgy center.
- Feels Like a Treat: A dessert that looks fancy but is simple enough for any night.
This molten chocolate cake, also known as moelleux au chocolat, is one of those desserts that never disappoints. I love how the soft cake gives way to that warm, gooey center. It’s rich and comforting, and always feels like a mini celebration, whether you’re enjoying it on your own or doubling the recipe to share.
If you love small chocolate desserts, don’t miss our chocolate soufflé for one, mini Devil’s Food Cake, rich mini Texas Sheet, small Flourless Chocolate Cake, small batch Flourless Brownies, or mini German Chocolate Cake. Each one is perfectly portioned and full of flavor.
Check out our other Mini Cake Recipes for more wonderful small cake ideas!

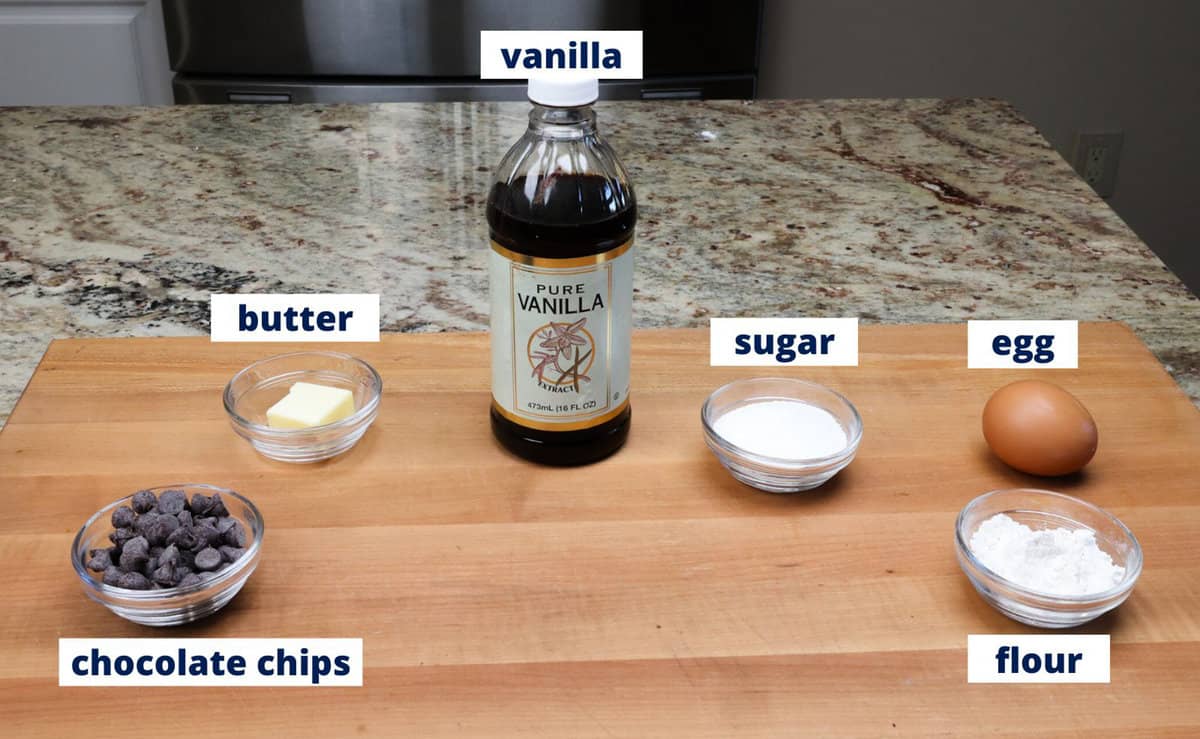
Ingredients
If you have any ingredients leftover from this small lava cake recipe, check out our Leftover Ingredients Recipe Finder.
- Semi-Sweet Chocolate Chips: Deep chocolate flavor for the molten center. Extra chips? Use them in small batch Blondies, mini S’mores Dip, or small batch Mint Chocolate Chip Ice Cream.
- Butter: Helps melt the chocolate and adds richness.
- Sugar: Balances the richness of the chocolate.
- Egg: Adds richness, binds the ingredients, and helps create the cake’s soft texture.
- Vanilla Extract: Boosts the chocolate flavor.
- Flour: Gives the cake structure.
- Powdered Sugar (optional): For a light dusting before serving.
How To Make Chocolate Lava Cake
These photos and instructions help you visualize how to make a single serving molten lava cake. See the recipe box below for ingredient amounts and full recipe instructions.
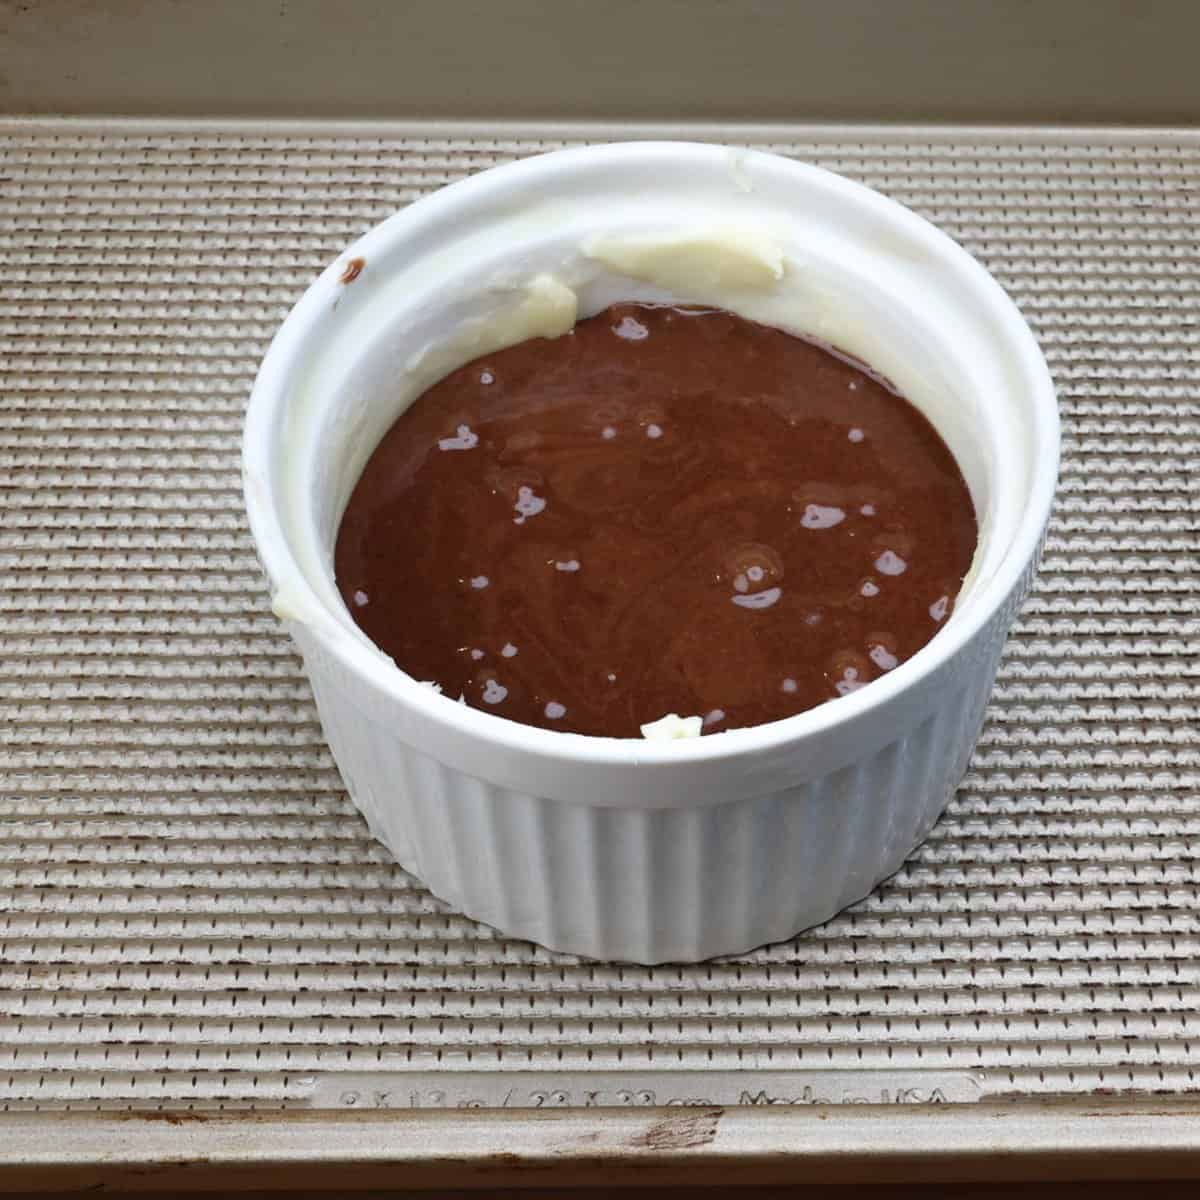
- Prep the Ramekin: Preheat oven to 425°F (220°C). Generously butter a 10-ounce ramekin using 1/2 tablespoon of butter.
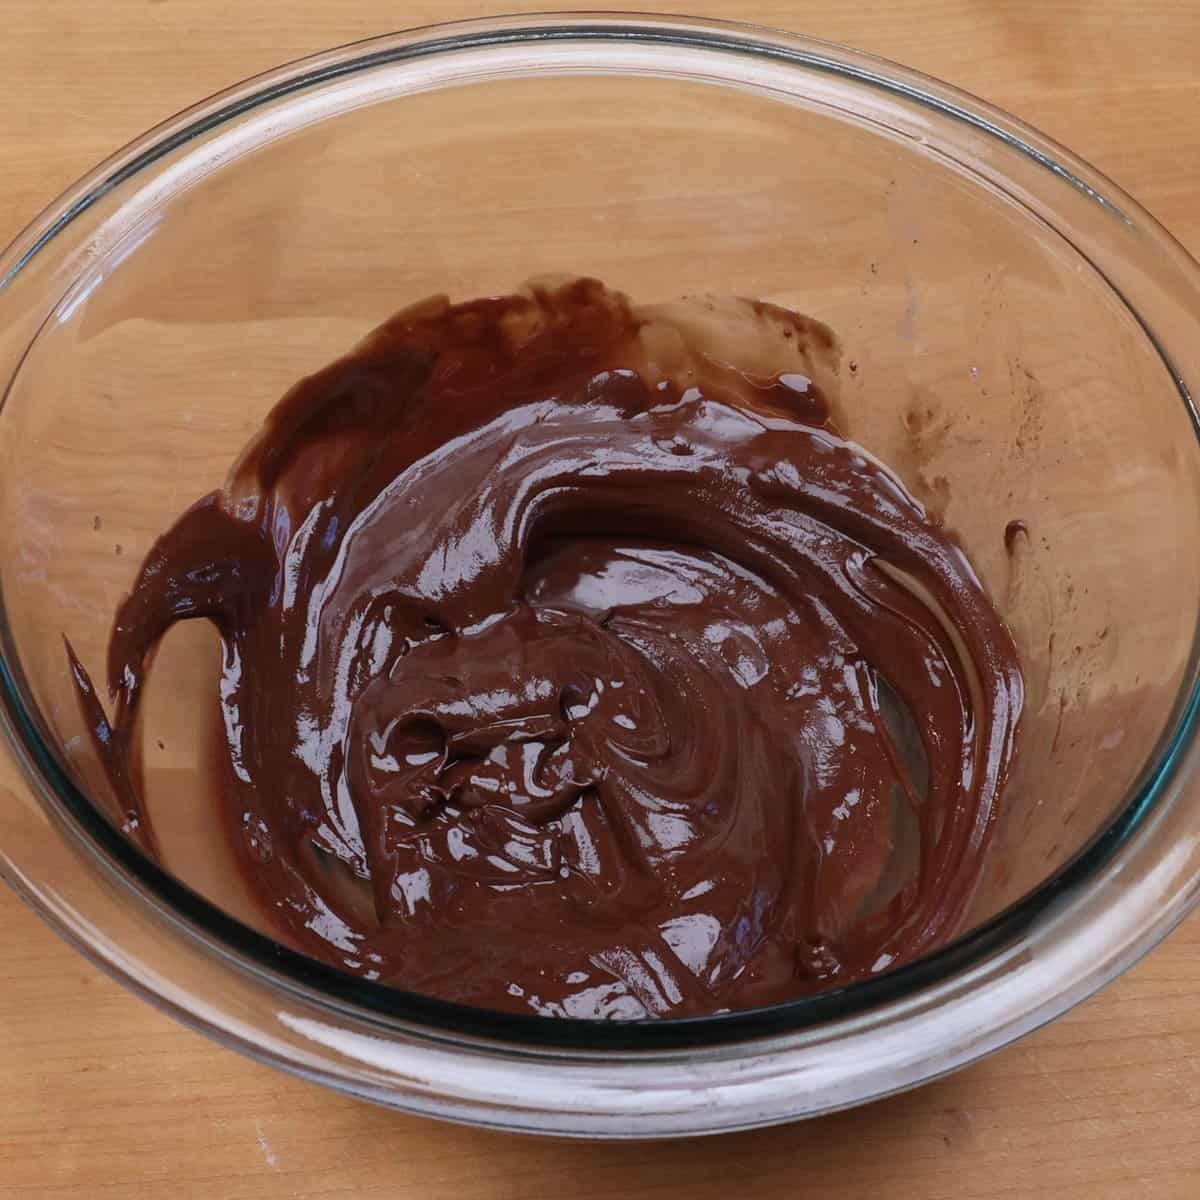
- Melt the Chocolate: In a double boiler or microwave-safe bowl, melt the chocolate chips and 1 tablespoon of butter. Stir until smooth. Let cool slightly.
Pro Tip: To create a double boiler, fill a small saucepan with about 1 inch of water and bring it to a gentle simmer. Place a heatproof bowl on top of the saucepan, making sure the bottom of the bowl does not touch the water. The steam will gently melt the chocolate and butter as you stir.
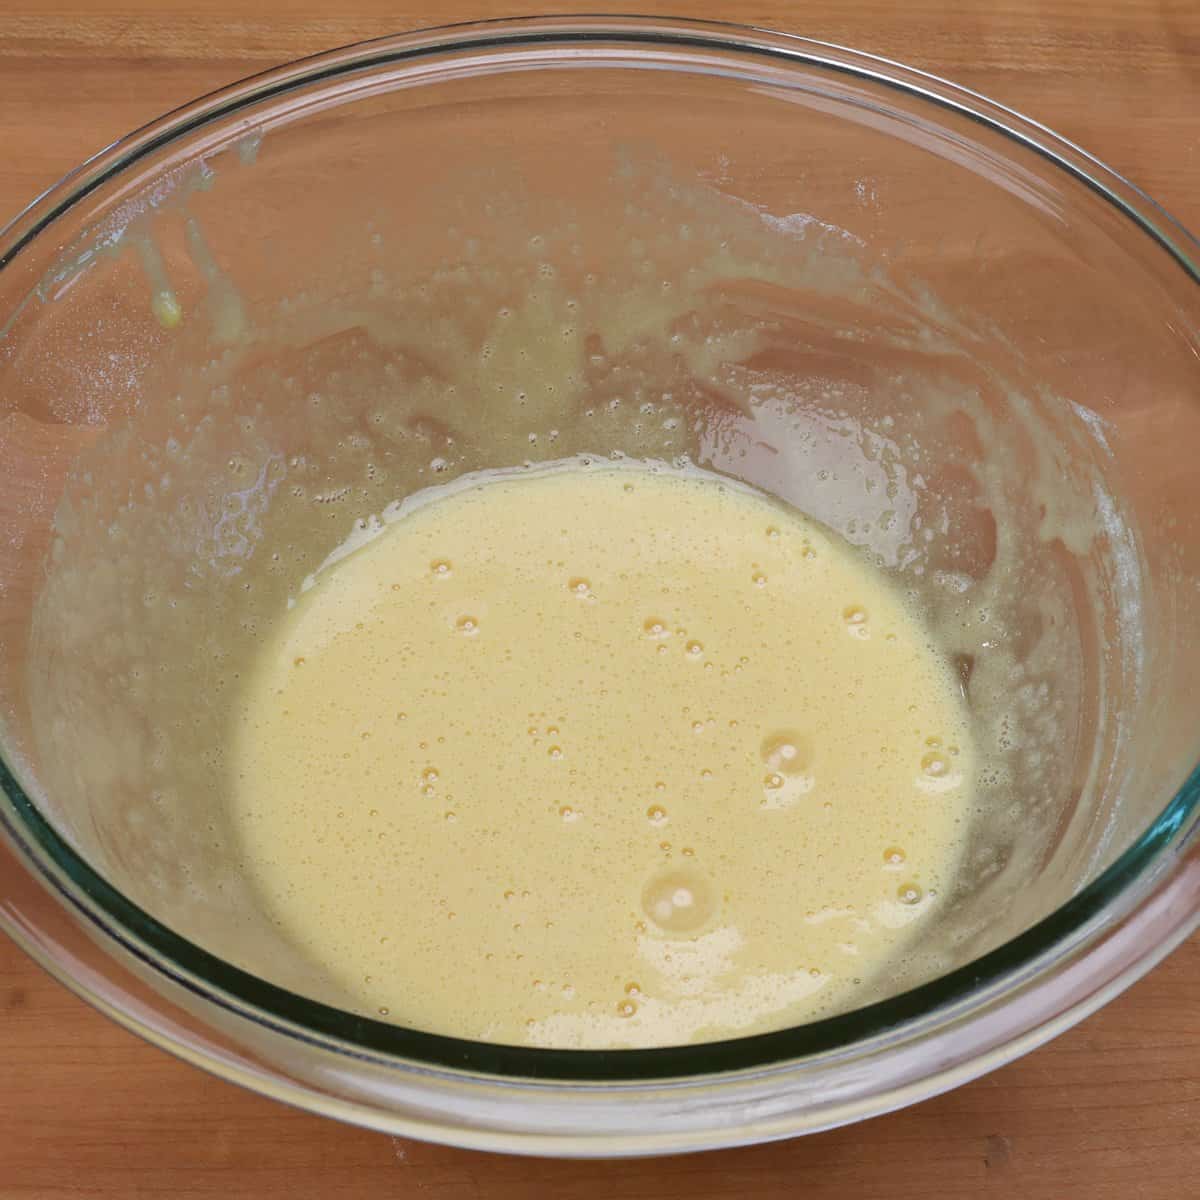
- Mix Wet Ingredients: In a medium bowl, whisk together the sugar, egg, and vanilla until foamy, about 30 seconds.
- Add Flour: Whisk in the flour until smooth, about 10 seconds.
- Combine Mixtures: Stir the cooled chocolate mixture into the egg mixture until fully blended.
- Fill Ramekin: Pour the batter into the ramekin. Place ramekin on a baking sheet.
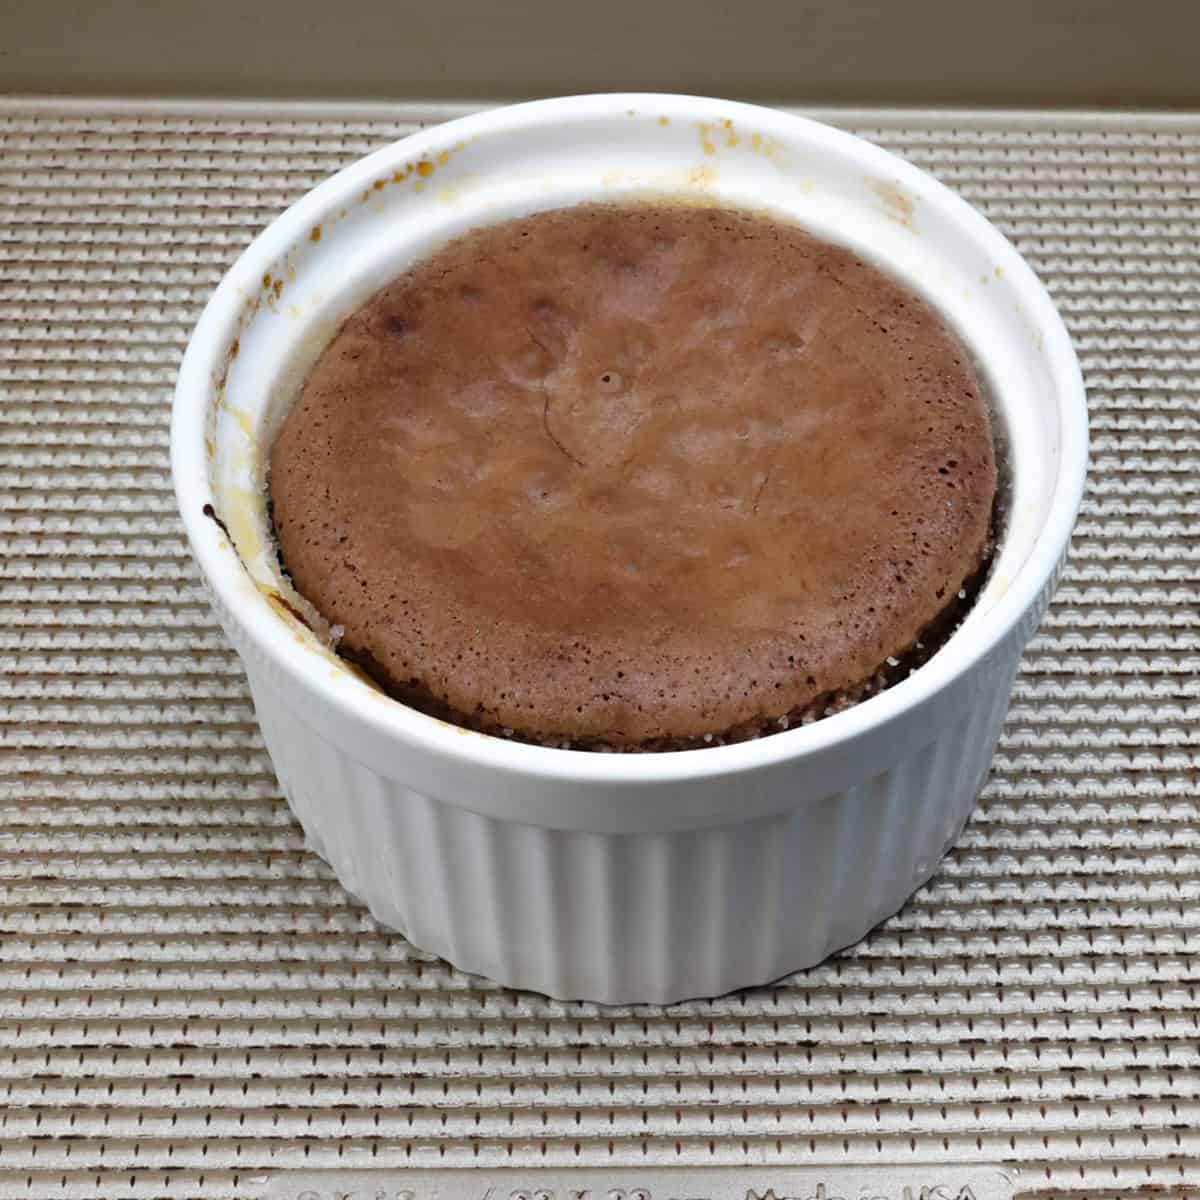
- Bake: Bake for 13-15 minutes, until edges are set and the center is still soft. Do not overbake.
- Cool: Run a knife around the edge and let the cake rest for 3 minutes.
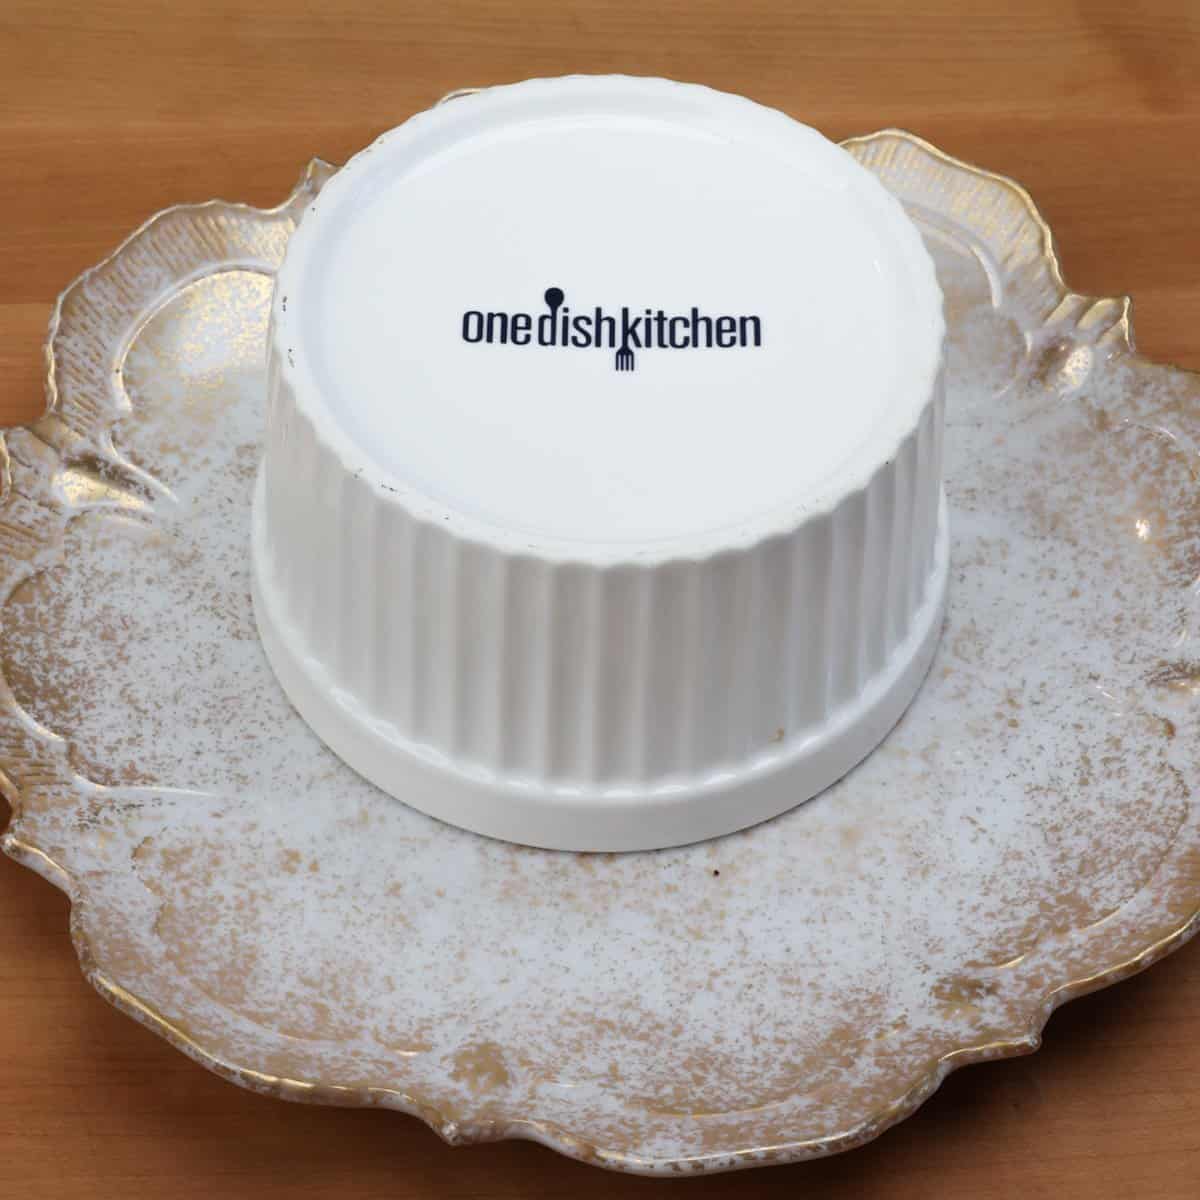
- Invert: Place a plate over the ramekin, flip it, and hold for 20 seconds to release the cake.
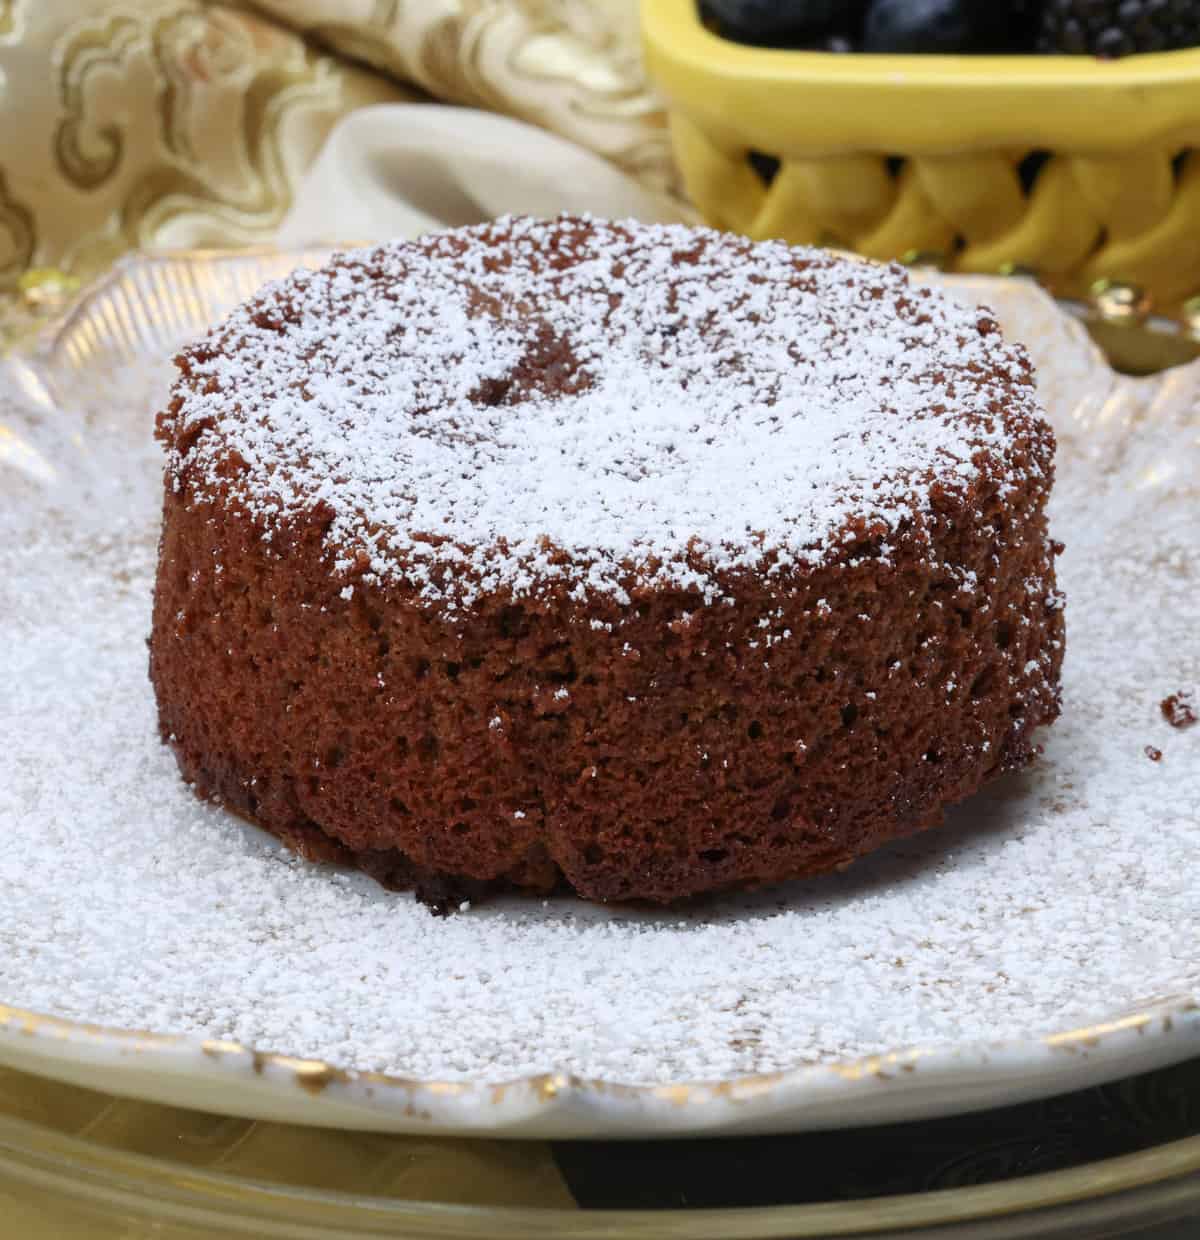
10. Serve: Dust with powdered sugar and serve warm.
Tips For The Perfect Lava Cake
- Don’t overbake, the center should still jiggle slightly.
- Let the melted chocolate cool slightly before mixing with egg.
- Use a 10-ounce ramekin to avoid overflow or undercooking.
- Butter the ramekin thoroughly to help release the cake cleanly.
- If using a microwave to melt chocolate, stir every 15 seconds.
How To Serve Chocolate Lava Cake
Make this rich dessert even more special with a simple topping:
- Single Serving of Vanilla Ice Cream
- Small Batch of Whipped Cream
- Small Batch of Caramel Sauce
- Fresh Berries
Frequently Asked Questions
Yes. You can make the batter ahead and refrigerate it for up to 24 hours. Bring to room temperature before baking.
It was likely overbaked. Try reducing bake time by 1–2 minutes and check that your oven temperature is accurate.
This dessert is best enjoyed fresh, but if you have leftovers, wrap the cake tightly or place it in an airtight container and refrigerate for up to 2 days. The center will firm up a bit and won’t be quite as gooey when reheated.
Absolutely! Double the ingredient amounts and divide the batter between two 10-ounce ramekins.
Yes. Wrap the cooled cake in plastic wrap and foil, then freeze for up to 3 months. Reheat in the microwave until just warm.
They’re the same! Lava cake, molten chocolate cake, and moelleux au chocolat all refer to a small chocolate cake with a liquid center.
Ways To Use Leftover Ingredients
If you have any ingredients leftover from this recipe, check out our Leftover Ingredients Recipe Finder or you might like to consider using them in any of these single serving and small batch recipes:
If you’ve made this single serve lava cake, I’d love to hear how it turned out for you. Please rate the recipe and share your thoughts in the comments below.
Snapped a photo? Tag us on Instagram; we’d be thrilled to see your creation!
Chocolate Lava Cake For One
Equipment
Ingredients
- ¼ cup semi-sweet chocolate chips
- 1 tablespoon butter -plus ½ tablespoon more for greasing the ramekin.
- 3 tablespoons granulated sugar
- 1 large egg
- ½ teaspoon vanilla extract
- 2 tablespoons all-purpose flour
- powdered sugar -optional for topping
Instructions
- Set to 425°F (220°C). Generously butter a 10-ounce ramekin using 1/2 tablespoon of butter.
- Melt the Chocolate: In a double boiler or microwave-safe bowl, melt the chocolate chips with 1 tablespoon of butter. Stir until smooth, then let cool slightly.Pro Tip: To make a double boiler, place a heatproof bowl over a saucepan with 1 inch of simmering water. Make sure the bowl doesn’t touch the water.
- In a medium bowl, whisk together the sugar, egg, and vanilla until foamy, about 30 seconds.
- Whisk in the flour until smooth, about 10 seconds.
- Stir the cooled chocolate mixture into the egg mixture until fully blended.
- Pour the batter into the ramekin. Place ramekin on a baking sheet.
- Bake for 13-15 minutes, until edges are set and the center is still soft. Do not overbake.
- Run a knife around the edge and let the cake rest for 3 minutes.
- Place a plate over the ramekin, flip it, and hold for 20 seconds to release the cake.
- Dust with powdered sugar and serve warm.
Notes
- Don’t overbake, the center should still jiggle slightly.
- Let the melted chocolate cool slightly before mixing with egg.
- Use a 10-ounce ramekin to avoid overflow or undercooking.
- Butter the ramekin thoroughly to help release the cake cleanly.
- If using a microwave to melt chocolate, stir every 15 seconds.
Nutrition
The information shown is an estimate provided by an online nutrition calculator. It should not be considered a substitute for a professional nutritionist’s advice.


This is delicious. I am diabetic so instead of the sugar I used Truvia and you wouldn’t know that I substituted the sugar. I will definitely make this again.
I’m so glad you enjoyed it. It’s great to know it worked well with that substitution, and I’m happy to hear you’ll be making it again.
I made it exactly as written, and it was just delicious!
Amazing, I’ve made it twice and it’s great!
Wonderful! I’m so happy you love the recipe.
I made this this evening and it was absolutely amazing.
Here’s what I did. I used cavasa flour in place of the flour….I recommend mixing in 1 tbsp at a time to get the right consistency. I did this because I want to make it gluten free because I have family members who can’t have gluten, rice, coconut or almond flour….I know. Then I substituted the egg for a flax egg because I can’t tolerate eggs….I know.
I baked mine in the air fryer @ 400 for about 7-9 minutes….I would definitely check it at 7 minutes. Then I let it sit in the air fryer for about 1-3 minutes. Took it out to cool for 3 minutes.
I enjoyed it in the ramekin with vanilla bean ice cream on top. It was eaten in no time at all.