This post may contain affiliate links. Please read our disclosure policy.
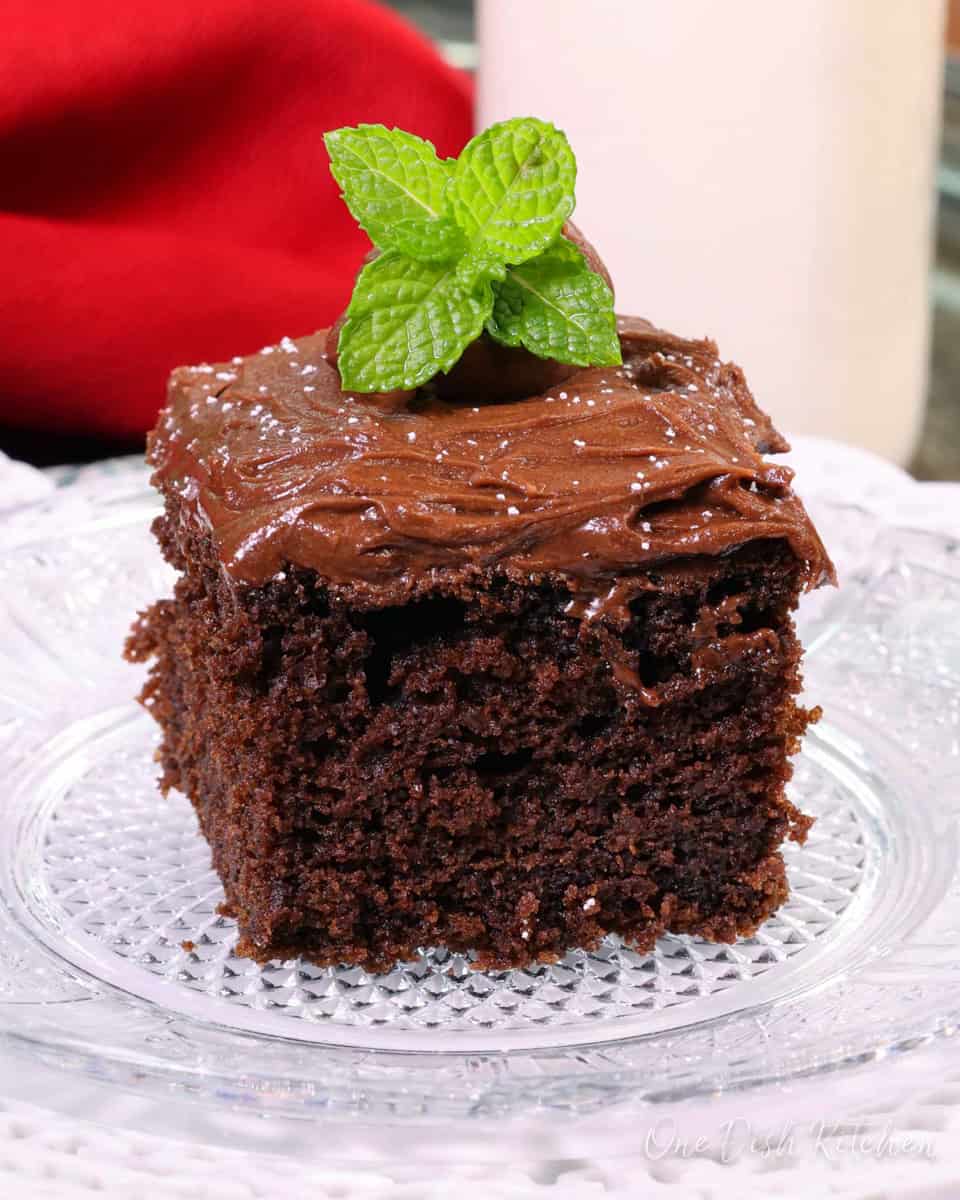
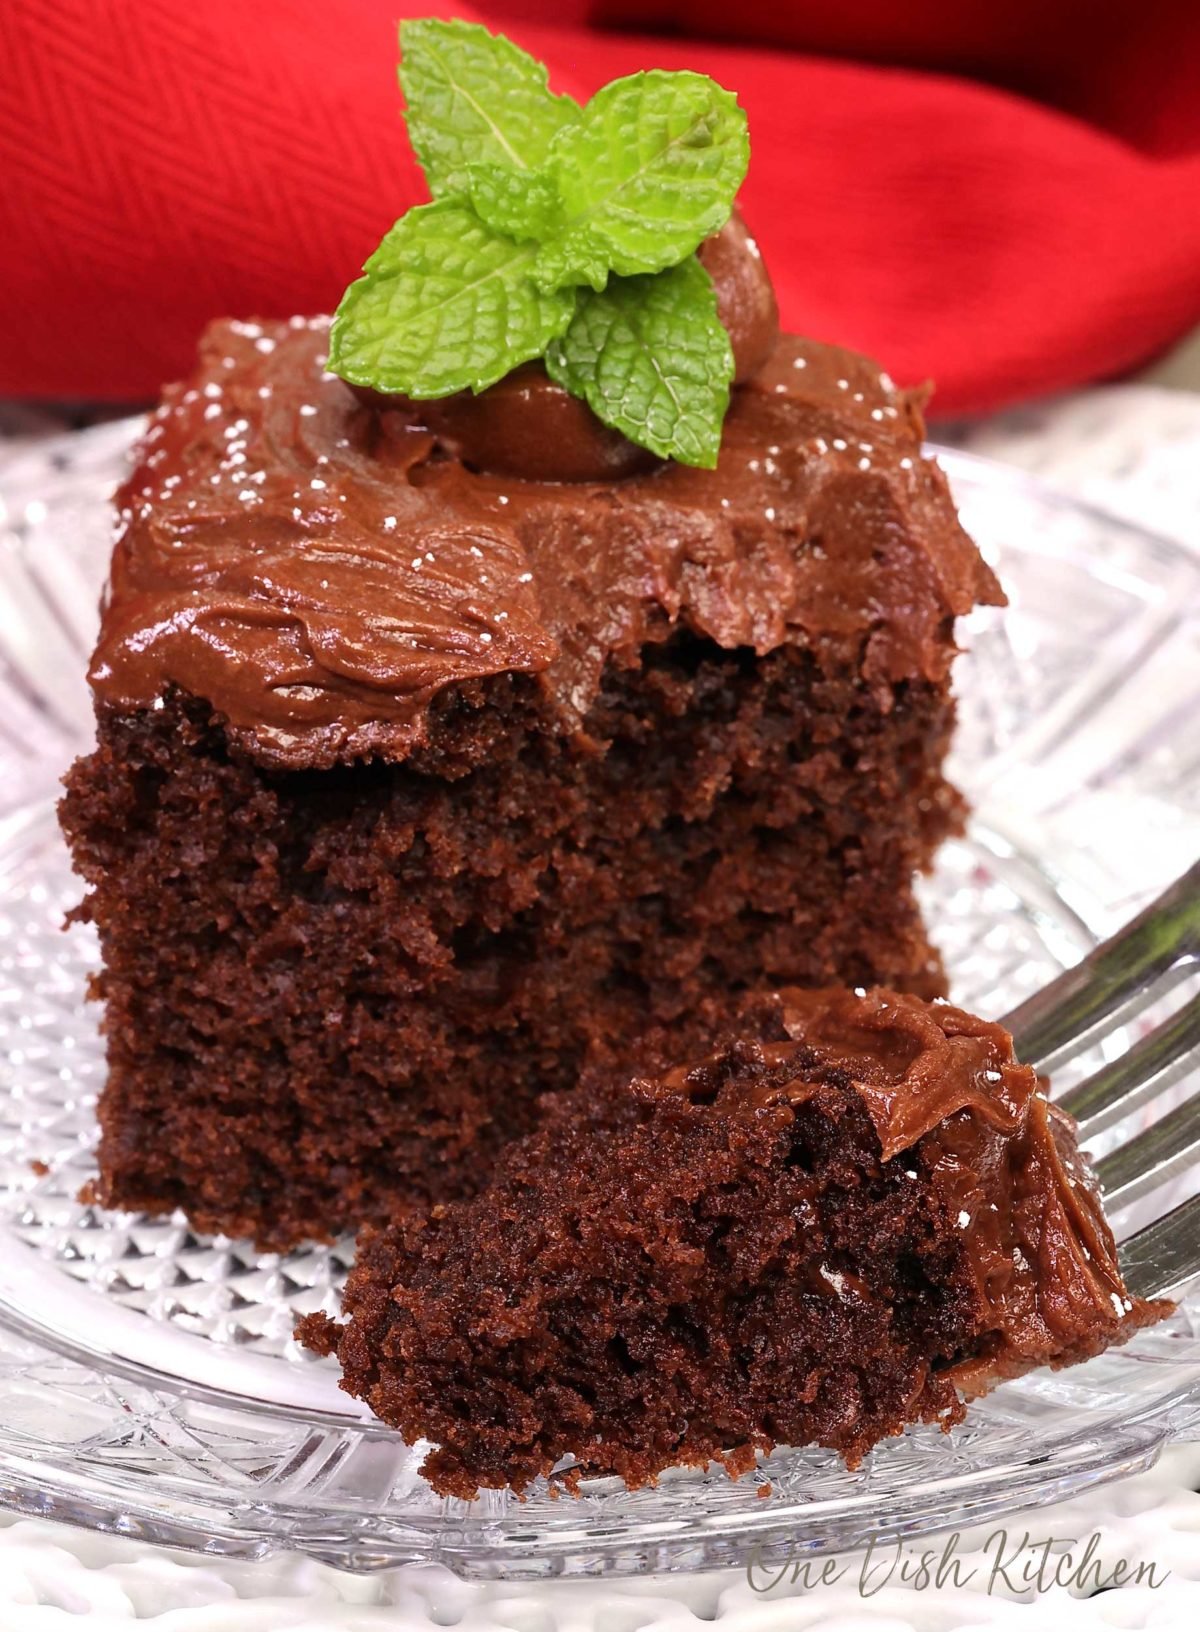
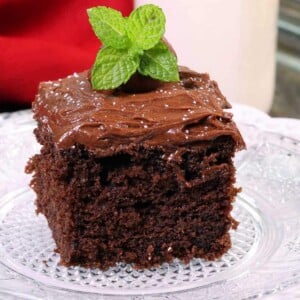
This mini Devil’s Food Cake is rich, moist, and packed with deep chocolate flavor. Made with simple ingredients and topped with a creamy chocolate frosting, it’s the perfect cake for a small celebration or a sweet everyday treat.
Why You’ll Love This Recipe
- Rich and Light Texture: Cocoa powder and baking soda create a cake that’s both rich and airy, with a deeper color and softer crumb.
- Bold Chocolate Flavor: Cocoa powder and coffee combine for a deep, intense chocolate taste.
- Easy to Make: Uses simple, everyday ingredients and clear steps.
- Perfect Size: Just right for one or two people, offering a small, satisfying dessert without unwanted leftovers.
I’m so excited to share this small Devil’s Food Cake with you. It’s everything I love in a chocolate cake—rich, tender, and full of deep chocolate flavor. This cake feels special without being complicated, and it’s the kind of treat that’s just right when you want something homemade and truly delicious.
If you’re looking for more chocolate mini cake recipes, be sure to try our mini German chocolate cake, small flourless fallen chocolate cake, mini chocolate lava cake, and small Texas Sheet Cake. Each one offers a different chocolate experience, from rich and decadent to smooth and molten.

Featured Comment
“Best chocolate cake you’ll ever eat!!!
– Annelie
Make it right NOW”
Ingredients
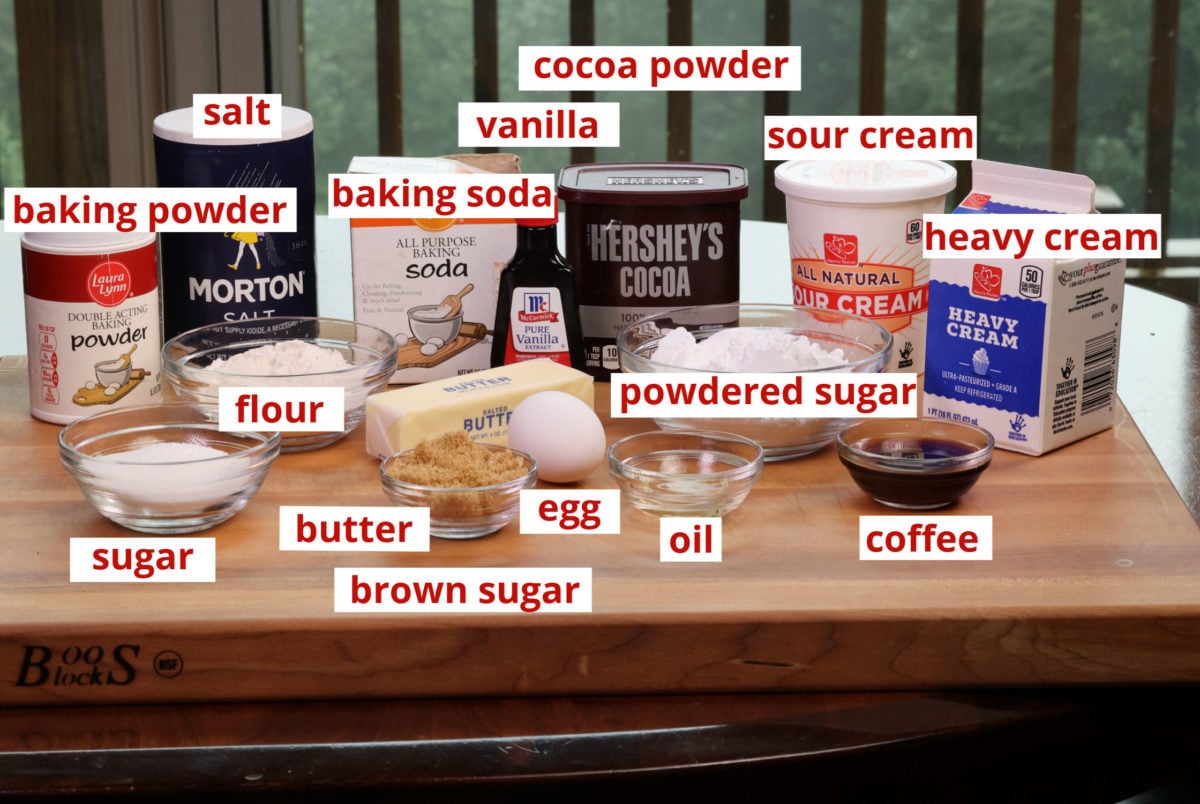
If you have any ingredients leftover from this easy Devil’s Food Cake recipe, check out our Leftover Ingredients Recipe Finder.
- Flour: Use all-purpose flour. This recipe hasn’t been tested with other types.
- Baking Powder and Soda: Help the cake rise. Baking soda also balances the sour cream’s acidity and gives the cake a slight reddish tone.
- Butter and Oil: Use softened unsalted butter and either vegetable, canola, or avocado oil for a soft, rich texture.
- Sugars: A mix of granulated and brown sugar adds sweetness and moisture. Make your own with our small batch brown sugar recipe if necessary.
- Vanilla Extract: Enhances flavor.
- Unsweetened Cocoa Powder: Provides the chocolate base. Both natural and Dutch-processed work. Also used in recipes like small chocolate banana bread, a single serving chocolate cake, small batch chocolate scones, or small batch rum balls.
- Coffee: Enhances the chocolate flavor without tasting like coffee. It also helps dissolve the cocoa powder. You can replace the coffee with hot water but the chocolate flavor may not be as deep.
- Sour Cream: Adds moisture and activates the baking soda without thinning the batter. Use extra in small batch corn muffins and in a hot spinach dip for one
- Powdered Sugar and Heavy Cream: Combined with cocoa powder, butter, and vanilla to make the frosting. You’ll also see these ingredients in frostings for our mini white cake, small batch chocolate cupcakes, and peanut butter pie for one.
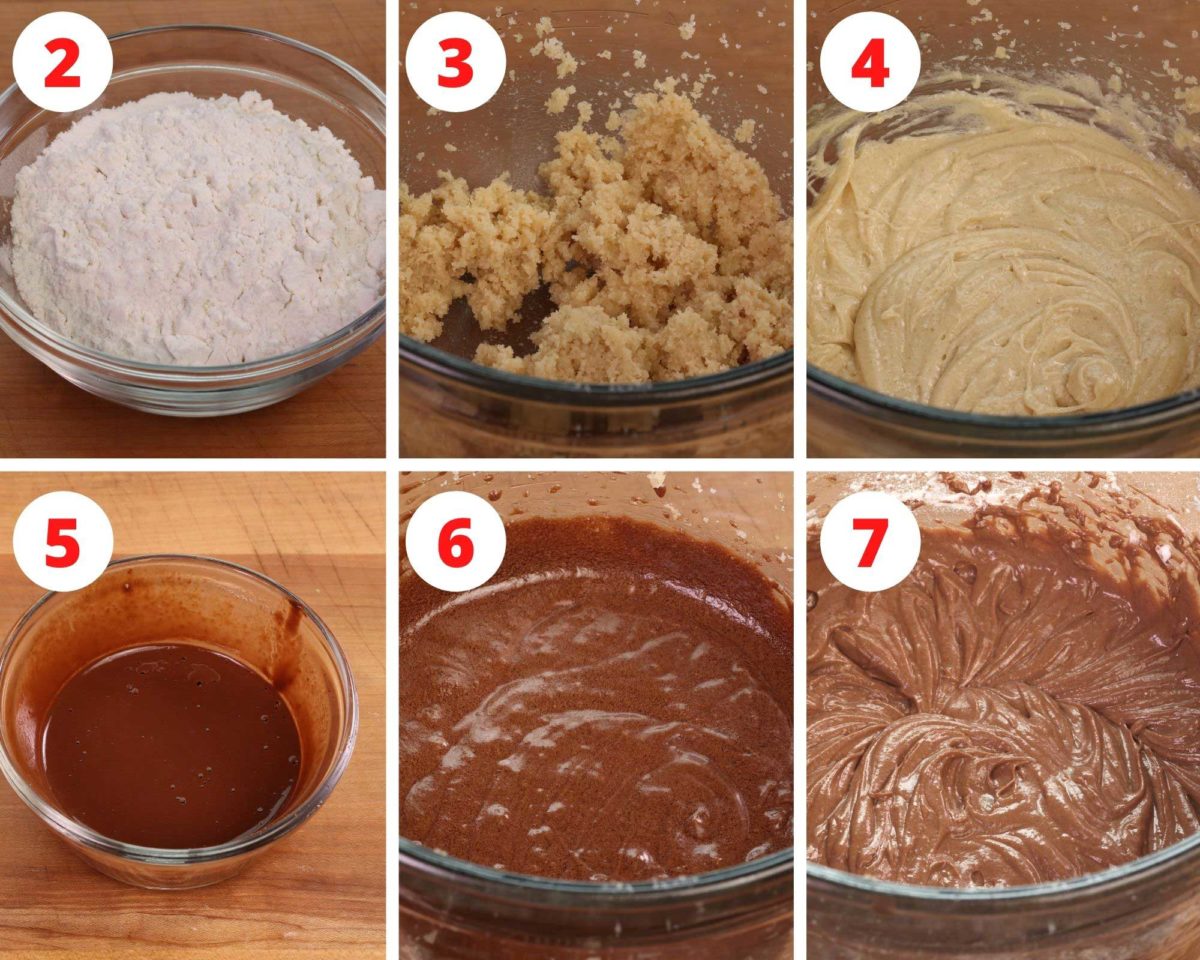
How To Make A Devil’s Food Cake
These step-by-step photos and instructions show how to make a mini Devil’s Food Cake. See the recipe box below for ingredient amounts and full recipe instructions.
Prep the Oven and Dish
- Preheat oven to 350°F (177°C). Lightly butter a 5×7-inch baking dish and set aside.
Pro Tip: This recipe fits in either a 5×5-inch dish (25 square inches) or a 5×7-inch dish (35 square inches). The batter rises high in the 5×5, so place it on a rimmed baking sheet to prevent spills. The 5×7 is recommended to avoid overflow.
Make the Cake
- In a small bowl, sift together the flour, baking soda, baking powder, and salt. Set aside.
- Using a hand mixer on medium speed, beat the butter and sugar for 2 minutes until light and fluffy.
- With the mixer on low, beat in the egg, then add the oil and vanilla. Mix until fully combined.
- In a separate small bowl, whisk the cocoa powder and hot coffee until smooth.
- On low speed, mix the chocolate-coffee mixture into the batter.
- With the mixer still on low, add half of the flour mixture. Mix in the sour cream, then add the remaining flour mixture and mix until just combined.
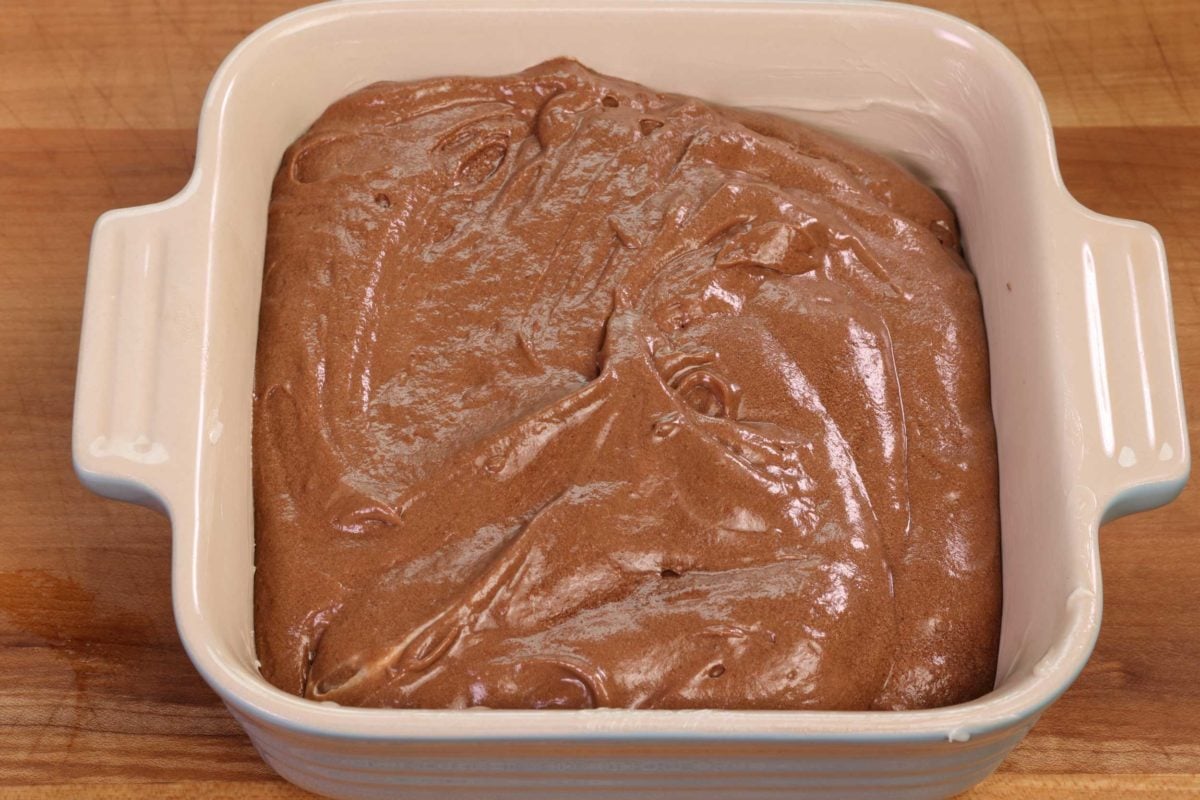
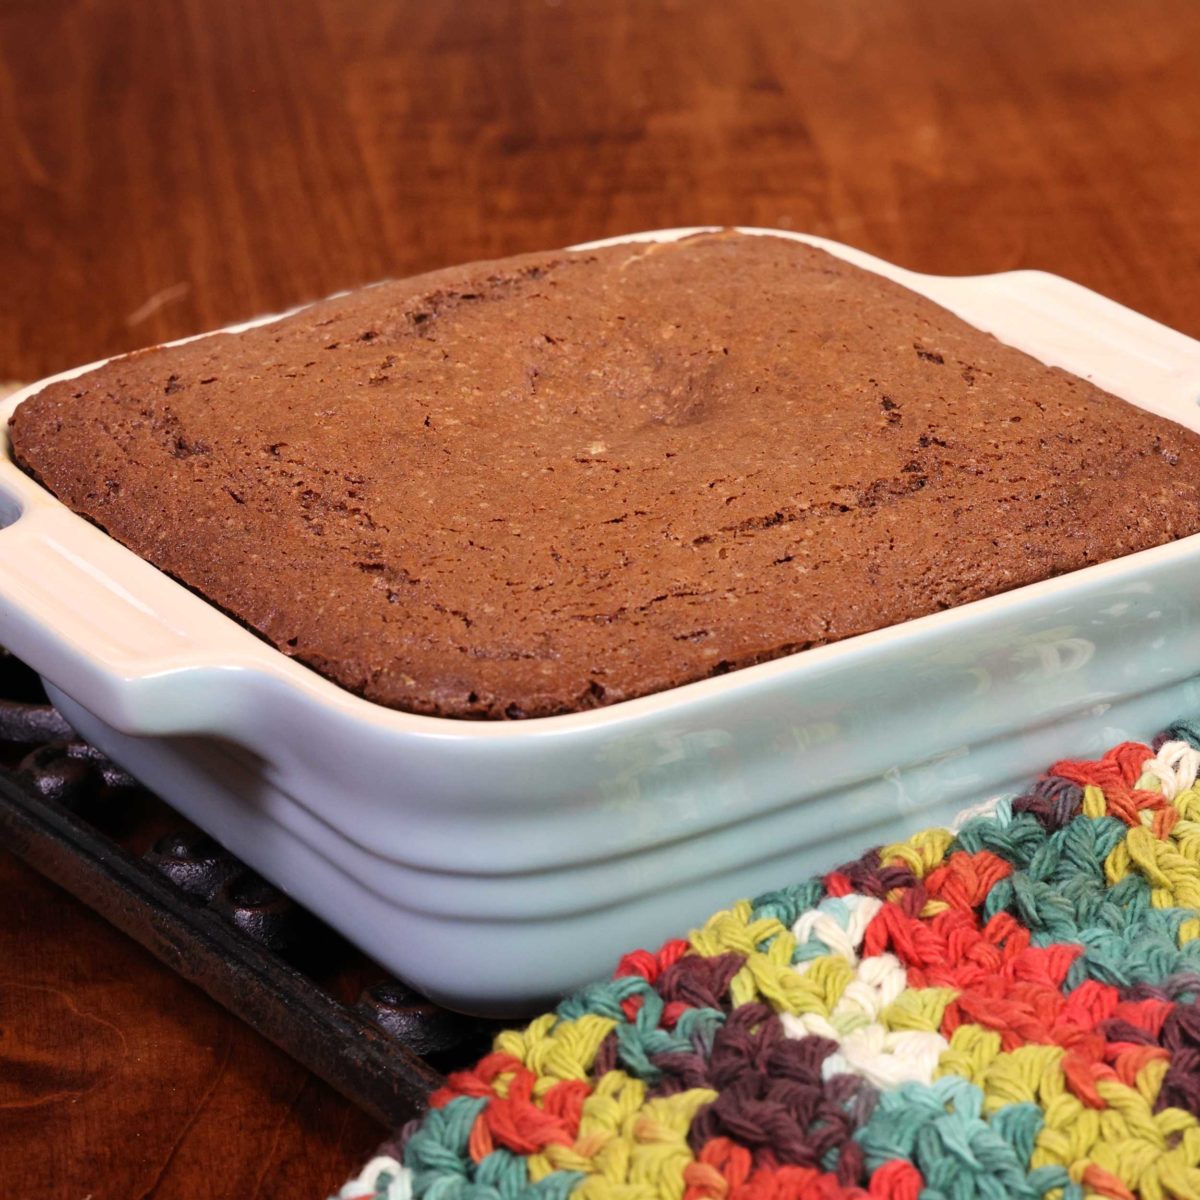
- Pour the batter into the prepared baking dish. Bake for 40–45 minutes, or until a toothpick inserted into the center comes out clean.
- Cool the cake in the baking dish for 30 minutes. You can either frost the cake in the dish once fully cool or turn it out onto a wire rack to frost separately.
Make the Frosting
In a medium bowl, beat softened butter until light and fluffy. Add sifted powdered sugar, sifted cocoa powder, vanilla, and heavy cream. Beat until smooth and fluffy.
Adjusting Consistency: If too thick, add more cream 1/4 teaspoon at a time until it reaches your desired consistency.
Frosting Options:
- Vanilla Buttercream from our Vanilla Cupcakes recipe (double the amount for full coverage).
- Cream Cheese Frosting from our Pumpkin Bars recipe.
- This rich chocolate buttercream frosting is what’s shown in the photos and included as part of this recipe.
Expert Tips
- Use Softened Butter: The butter should be soft enough to press with your finger and leave an indentation, but still hold its shape.
- Measure Flour Accurately: Don’t scoop directly from the bag. Loosen the flour, spoon it into a dry measuring cup, and level it off with a knife.
- Check Oven Temperature: Many ovens run too hot or too cool. Use an oven thermometer to ensure accurate baking temperature.
- Use the Recommended Baking Dish Size: This recipe works best in a 5×7-inch or 5×5-inch baking dish. The 5×7-inch dish offers more space and reduces the risk of overflow. If using a 5×5-inch dish, place it on a rimmed baking sheet to catch potential spills.
Frequently Asked Questions
Cover the cake and store it in the refrigerator. It will stay fresh for up to 5 days. Let it sit at room temperature for about 20 minutes before serving for the best texture and flavor.
Yes, the unfrosted cake can be wrapped tightly and frozen for up to 2 months. Thaw in the refrigerator overnight, then frost before serving.
Ways To Use Leftover Ingredients
If you have any ingredients leftover from this recipe, check out our Leftover Ingredients Recipe Finder or you might like to consider using them in any of these single serving and small batch recipes:


If you’ve tried this little Devil’s Food Cake or any recipe on One Dish Kitchen please let me know how you liked it by rating the recipe and telling me about it in the comment section below.
Also, if you take a picture please tag us on Instagram (@onedishkitchen) we’d love to see it!
Mini Devil’s Food Cake
Watch How To Make This
Ingredients
- ½ cup all-purpose flour
- ¼ teaspoon baking soda
- ¼ teaspoon baking powder
- ¼ teaspoon salt
- 4 tablespoons unsalted butter -softened
- 6 tablespoons granulated sugar
- 3 tablespoons brown sugar -packed
- 1 large egg
- ½ tablespoon vegetable oil or canola or avocado oil
- ½ tablespoon vanilla extract
- 3 tablespoons unsweetened cocoa powder
- 3 tablespoons hot coffee
- ¼ cup sour cream
For the Frosting
- 4 tablespoons unsalted butter -softened
- 1 cup powdered sugar -sifted
- 2 tablespoons unsweetened cocoa powder -sifted
- ½ teaspoon vanilla extract
- 2 tablespoons heavy cream
Instructions
- Preheat oven to 350°F (177°C). Lightly butter a 5×7-inch baking dish and set aside.
- In a small bowl, sift together the flour, baking soda, baking powder, and salt. Set aside.
- Using a hand mixer on medium speed, beat the butter and sugar for 2 minutes until light and fluffy.
- With the mixer on low, beat in the egg, then add the oil and vanilla. Mix until fully combined.
- In a separate small bowl, whisk the cocoa powder and hot coffee until smooth.
- On low speed, mix the chocolate-coffee mixture into the batter.
- With the mixer still on low, add half of the flour mixture. Mix in the sour cream, then add the remaining flour mixture and mix until just combined.
- Pour the batter into the prepared baking dish. Bake for 40–45 minutes, or until a toothpick inserted into the center comes out clean.
- Cool the cake in the baking dish for 30 minutes. You can either frost the cake in the dish once fully cool or turn it out onto a wire rack to frost separately.
Make the Frosting
- In a medium bowl, beat softened butter until light and fluffy. Add sifted powdered sugar, sifted cocoa powder, vanilla, and heavy cream. Beat until smooth and fluffy.Adjusting Consistency: If too thick, add more cream 1/4 teaspoon at a time until it reaches your desired consistency.
Notes
- Use Softened Butter: The butter should be soft enough to press with your finger and leave an indentation, but still hold its shape.
- Measure Flour Accurately: Don’t scoop directly from the bag. Loosen the flour, spoon it into a dry measuring cup, and level it off with a knife.
- Check Oven Temperature: Many ovens run too hot or too cool. Use an oven thermometer to ensure accurate baking temperature.
- Use the Recommended Baking Dish Size: This recipe works best in a 5×7-inch or 5×5-inch baking dish. The 5×7-inch dish offers more space and reduces the risk of overflow. If using a 5×5-inch dish, place it on a rimmed baking sheet to catch potential spills.
Nutrition
The information shown is an estimate provided by an online nutrition calculator. It should not be considered a substitute for a professional nutritionist’s advice.


I haven’t made this yet, but it sure looks delicious!