This post may contain affiliate links. Please read our disclosure policy.
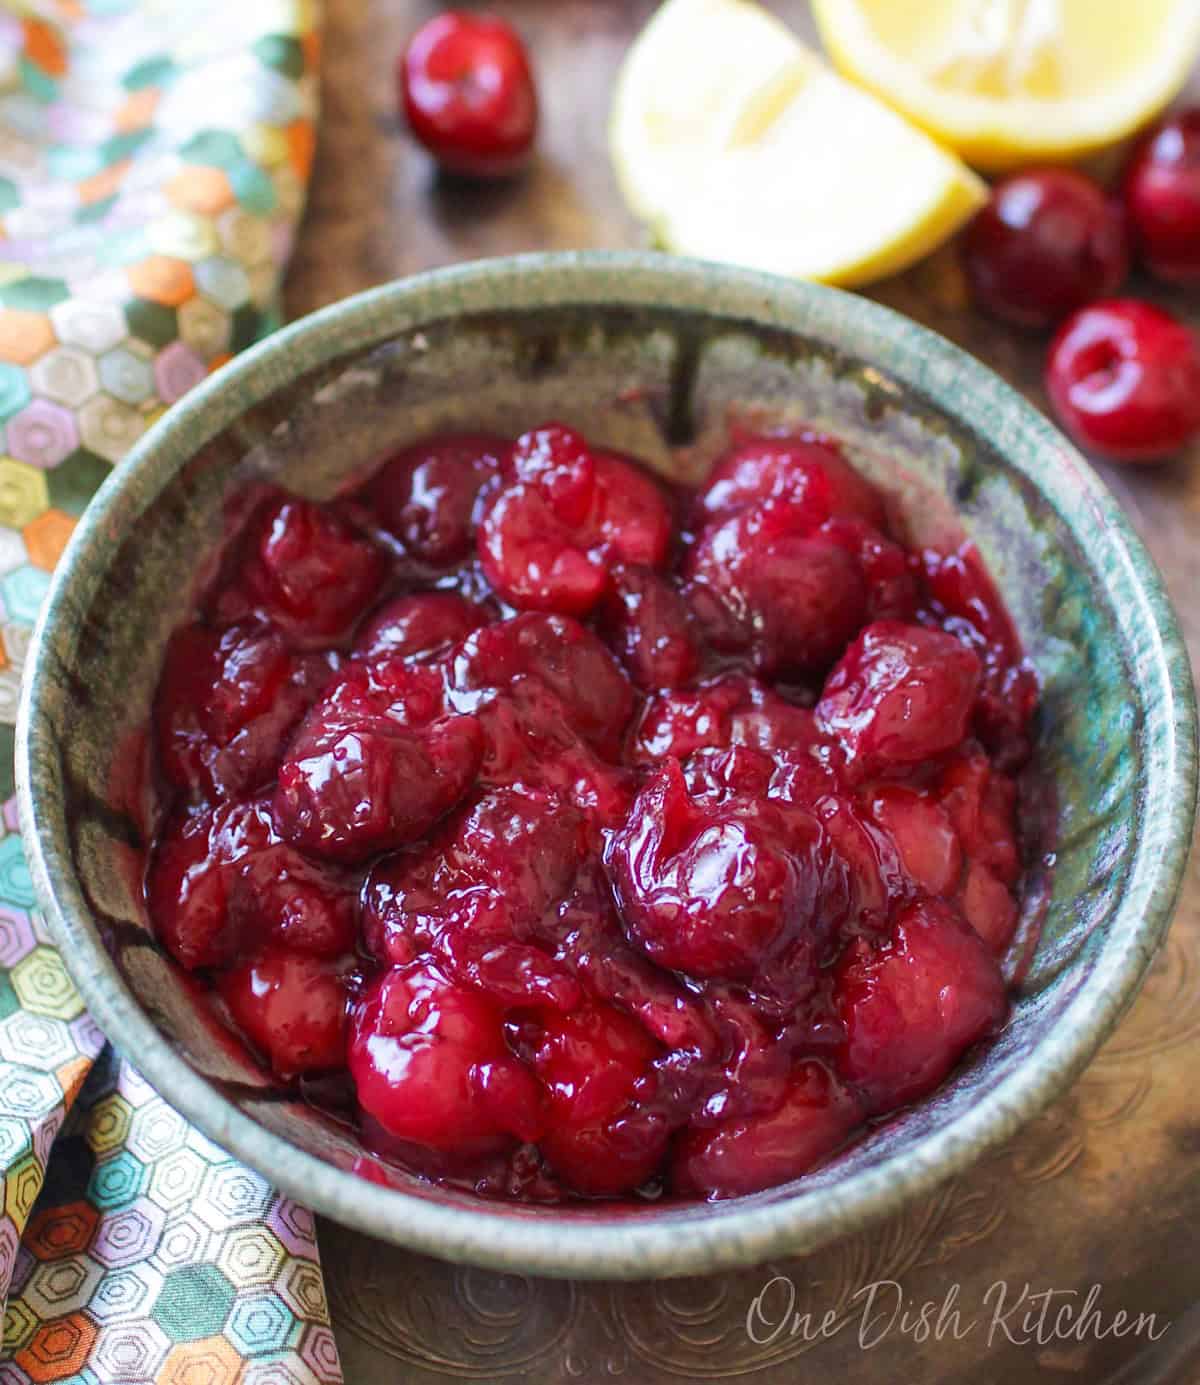
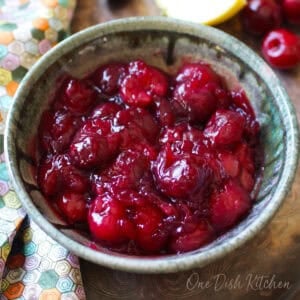
Small batch cherry pie filling made from scratch and ready in about 15 minutes. This easy stovetop recipe makes just the right amount for one pie, a crisp, or a simple dessert for one or two.
Featured Comment
“This is WAY better than the canned cherry pie filling.”
– Dina
Why You’ll Love This Recipe
- Small Batch Size: This cherry pie filling makes just enough for one pie, crisp, or dessert for one or two people.
- Made From Scratch: Skip canned filling and make homemade cherry pie filling with simple ingredients.
- Ready in About 15 Minutes: Cooked on the stovetop and thickened quickly for fast baking projects.
- Works With Fresh or Frozen Cherries: Use what you have on hand without changing the method.
- Adjustable Sweetness: Easily control the sugar depending on whether you use sweet or tart cherries.
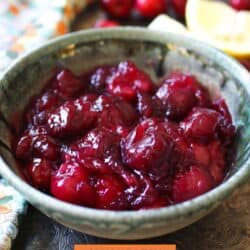
As the cherries cook, they soften and release their juices, turning into a deep red filling that’s thick enough to coat a spoon. The fruit stays tender but holds its shape, and the sauce becomes smooth and glossy as it simmers.
I make this small batch cherry pie filling when I want real cherry flavor, not the overly sweet taste of canned filling. Spoon it into a small pie crust, layer it over a small cheesecake, top a single serving of pancakes, or add it to a bowl of homemade vanilla ice cream. The balance of sweet and tart, along with the soft texture of the cherries, makes every bite taste homemade and fresh.

Ingredients
If you have any ingredients leftover from this small batch cherry pie filling recipe, check out our Leftover Ingredients Recipe Finder.
- Cherries: Fresh cherries give the best texture and bold flavor. Sweet cherries make a naturally sweeter filling, while tart or sour cherries create that classic cherry pie taste. Frozen cherries work well too. Thaw and drain them first so your homemade cherry pie filling doesn’t turn watery.
How To Remove Cherry Pits
If using fresh cherries, remove the pits before cooking.
- Chopstick or straw: Insert through the stem end and push straight through until the pit pops out.
- Cherry pitter: The easiest method. Place the cherry in the tool and press to push the pit out cleanly.
- Pastry tip: Set a large piping tip upside down on the counter. Press the cherry stem-side down onto the tip to push the pit out.
- Lemon Juice: A squeeze of fresh lemon juice brightens the flavor and balances the sweetness. It enhances the cherries without overpowering them. Lime juice can be used if needed.
- Sugar: Sugar sweetens the filling and helps release the cherry juices as it cooks. Adjust the amount depending on whether you use sweet or tart cherries. Start with the suggested amount and add more only after tasting.
- Cornstarch: Cornstarch thickens the filling and creates that thick, glossy texture you expect in a cherry pie filling recipe. It helps the filling set so it holds its shape in pies, crisps, or cobblers.
- Water: Water blends with the cornstarch to form a smooth thickening mixture. It ensures even cooking and helps achieve the perfect pie filling consistency.
Recipe Variations
This small batch cherry pie filling is easy to customize.
- Spiced Cherry Pie Filling: Add ⅛ teaspoon cinnamon or a small pinch of nutmeg for a warm flavor that pairs well with tart cherries.
- Almond Cherry Filling: Stir in ⅛ teaspoon almond extract for a classic bakery-style flavor that enhances the cherries.
- Mixed Berry Filling: Replace part of the cherries with blueberries or raspberries for a cherry berry pie filling.
- Lower Sugar Version: Reduce the sugar slightly if using very sweet cherries. Taste and adjust after cooking.
- Cherry Pie Filling Without Cornstarch: Use arrowroot powder in equal amounts as a substitute thickener.
How To Make Cherry Pie Filling
See the recipe box below for ingredient amounts and full recipe instructions.
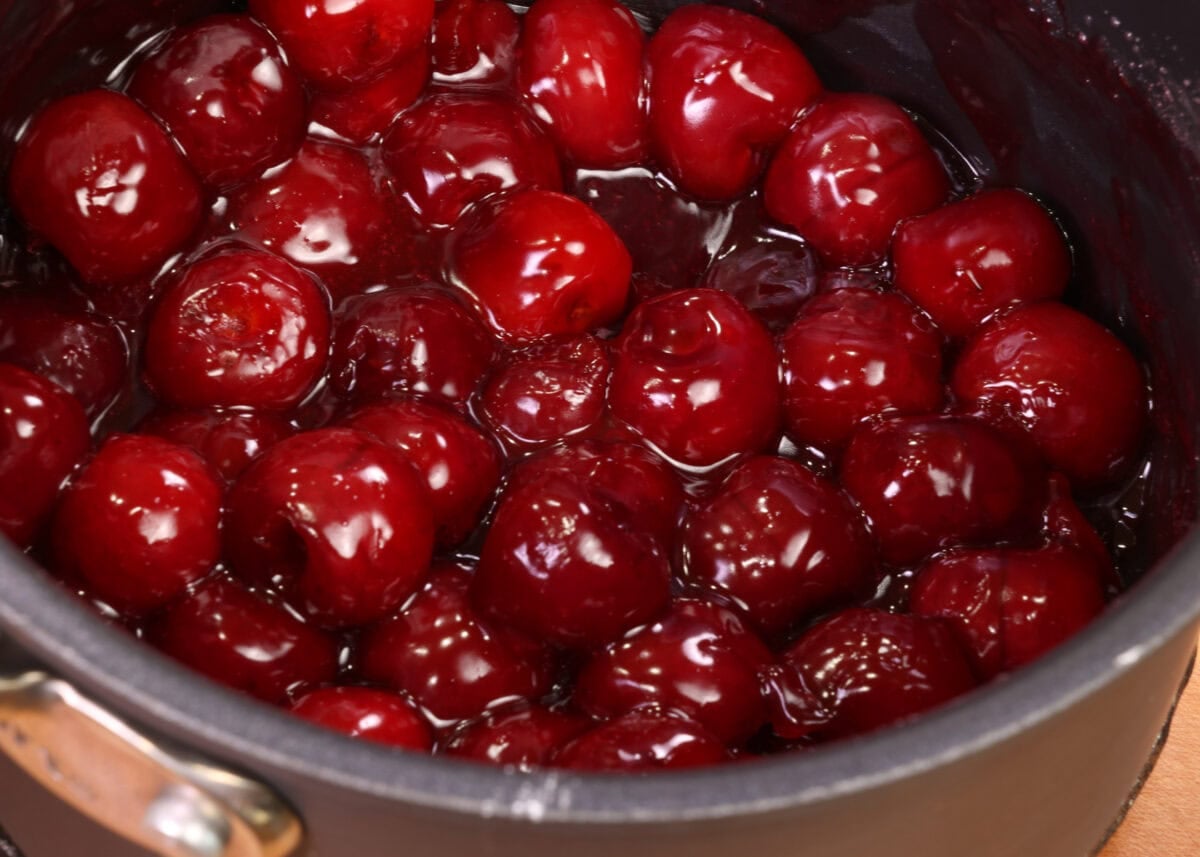
- Combine the ingredients: Add the cherries, sugar, lemon juice, cornstarch, and water to a small saucepan. Stir until the cornstarch is fully blended.
- Bring to a boil: Place the saucepan over medium heat and cook, stirring frequently, until the mixture comes to a gentle boil.
- Simmer until thickened: Reduce the heat to low and simmer for about 5 minutes. Stir occasionally until the cherries soften and the filling becomes thick and glossy.
- Cool: Remove from the heat and let the cherry pie filling cool. It will continue to thicken as it cools.
- Chill: Transfer to a jar or bowl and refrigerate until ready to use. filling will continue to thicken as the cherries soften, enhancing its flavor and texture.
Store covered in the refrigerator for up to one week – recipe yields about 1 cup.
Expert Tips
- Use Ripe or High-Quality Cherries: Fresh, ripe cherries give the best flavor. If using frozen cherries, thaw and drain excess liquid to prevent a thin filling.
- Cook Until Thick and Glossy: Simmer the cherry pie filling until it bubbles and looks thick and shiny. The mixture should coat the back of a spoon. It will thicken more as it cools.
- Do Not Skip the Boil: Cornstarch must reach a full simmer to activate properly. If the filling does not boil briefly, it may not thicken.
- Cool Before Using: Let the filling cool completely before adding it to a pie crust, crisp, or cheesecake. This helps it set properly and prevents a soggy crust.
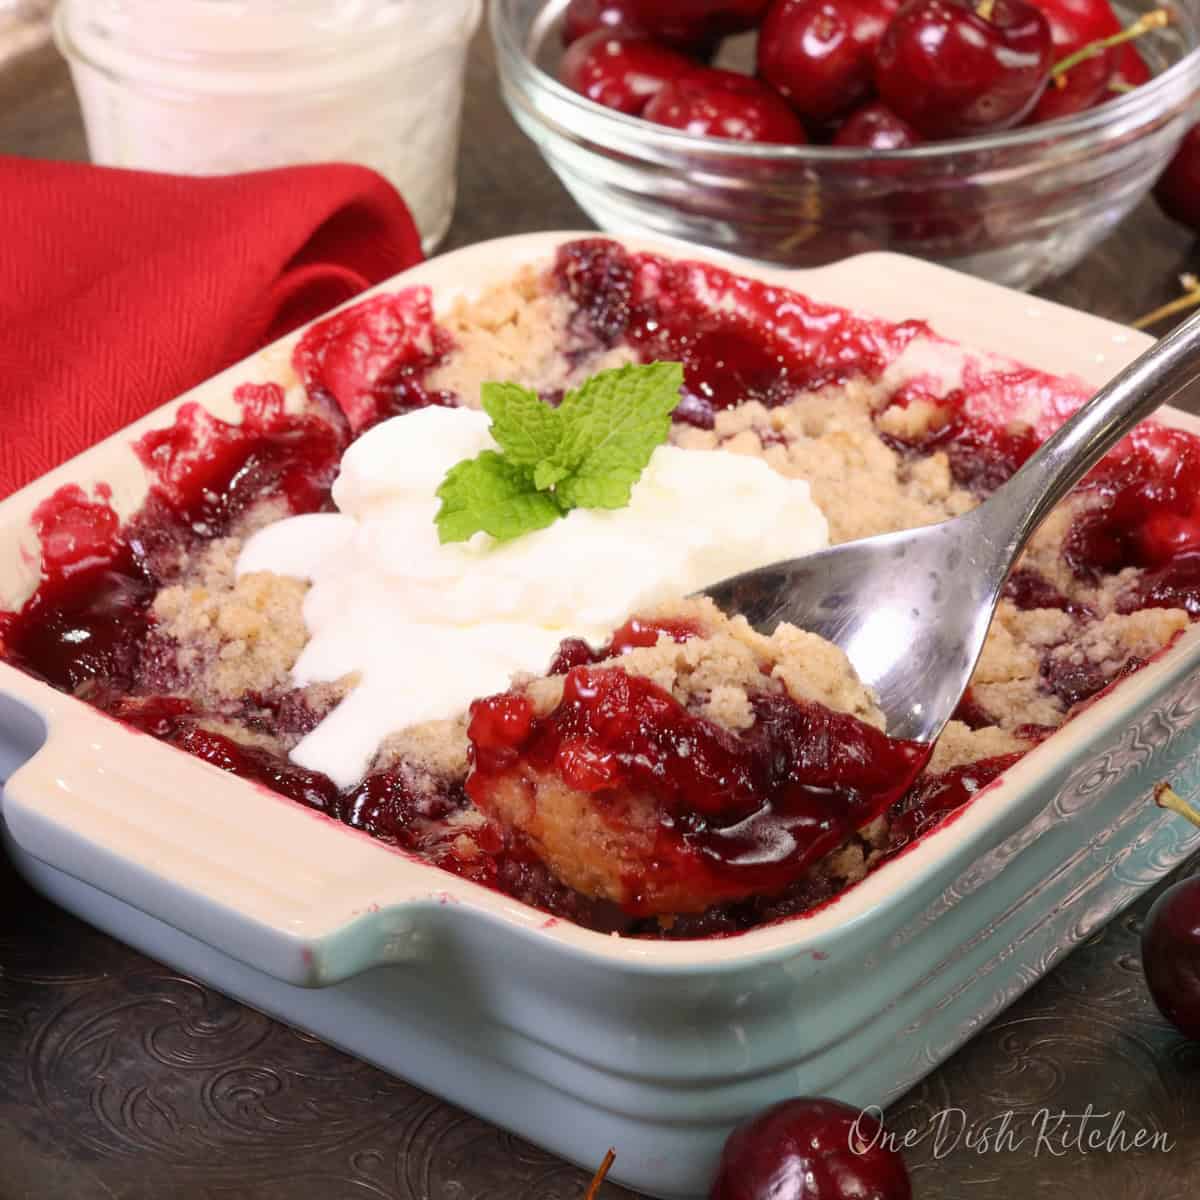
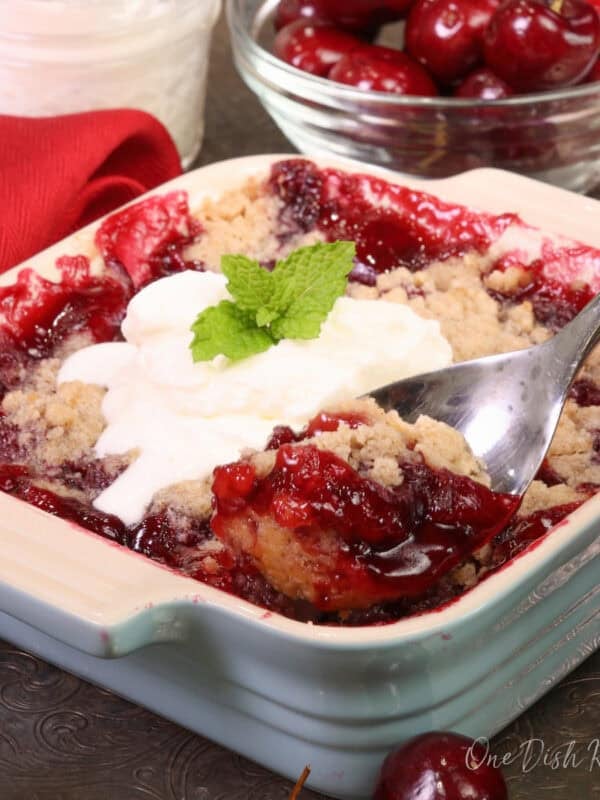
Ways To Use Cherry Pie Filling
This small batch cherry pie filling works in more than just pie. Here are simple ways to use it:
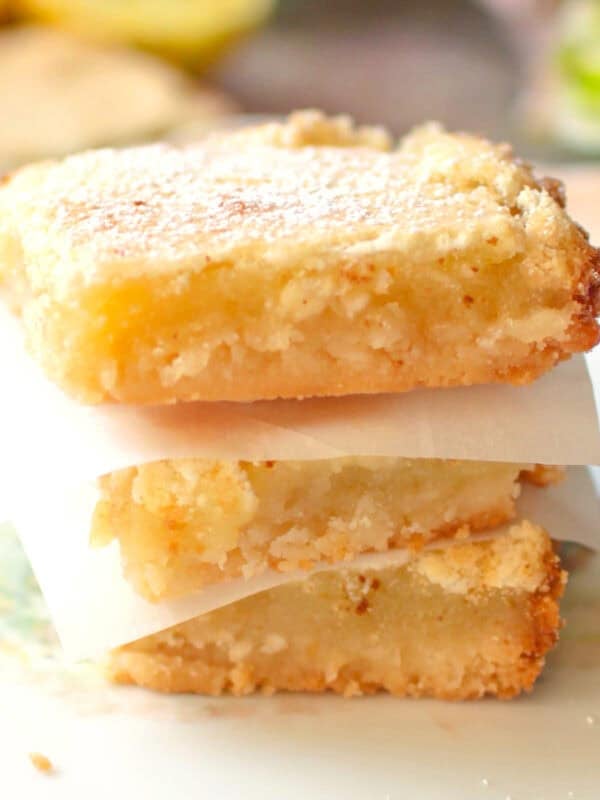
- Make a Cherry Crisp: Use this filling in place of the fruit in our peach crisp for one or single serving blueberry crisp to create a cherry version.
- Top Pancakes or French Toast: Spoon it over small sheet pan pancakes or single serving french toast for a warm fruit topping.
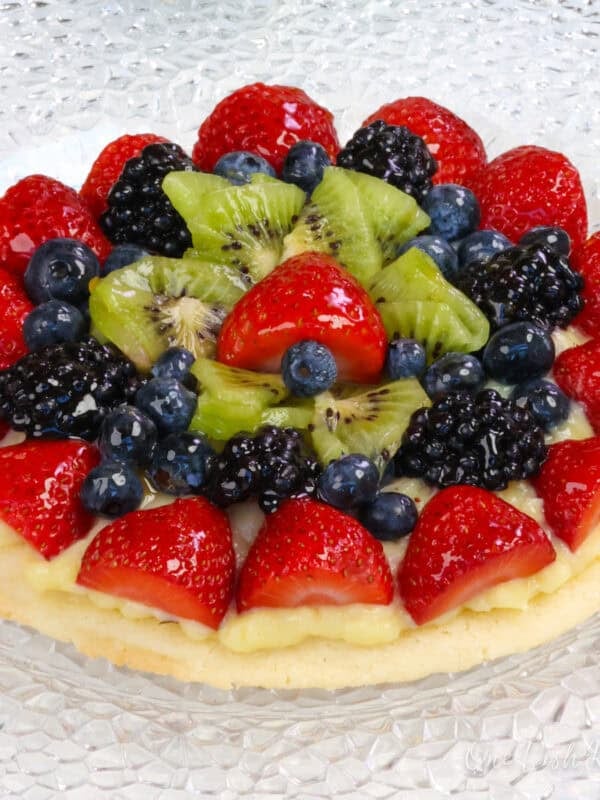
- Add It To Ice Cream: Serve it over vanilla ice cream for an easy dessert for one.
- Swirl Into Yogurt and Granola: Stir it into plain yogurt and top with butter pecan granola for added texture and flavor.
- Use It In Dump Cake: Make a simple cherry dump cake using this homemade cherry pie filling as the base.
- Pair With Chocolate Cake: Spoon it over a mini devil’s food cake or a classic chocolate and cherry combination.
Frequently Asked Questions
Cherry pie filling is thickened with cornstarch. The mixture must come to a full simmer for the cornstarch to activate. It will thicken further as it cools.
Store small batch cherry pie filling in an airtight container in the refrigerator for up to one week.
Yes. Thaw and drain frozen cherries before cooking to prevent excess liquid from thinning the filling.
Yes. Prepare the filling in advance and refrigerate it. It can be used cold or gently reheated before adding to desserts.
The filling may not have simmered long enough, or it did not reach a full boil. Cornstarch needs heat to properly thicken.
Ways To Use Leftover Ingredients
If you have any ingredients leftover from this recipe, check out our Leftover Ingredients Recipe Finder or you might like to consider using them in any of these single serving and small batch recipes:
If you’ve tried this homemade cherry pie filling or any recipe on One Dish Kitchen please let me know how you liked it by rating the recipe and telling me about it in the comment section below.
Also, if you take a picture please tag us on Instagram (@onedishkitchen) we’d love to see it!
Small Batch Cherry Pie Filling
Equipment
Ingredients
- 1 cup cherries -pitted
- 2 tablespoons sugar
- 1 tablespoon lemon juice
- ½ tablespoon cornstarch
- 2 tablespoons water
Instructions
- Add the cherries, sugar, lemon juice, cornstarch, and water to a 1 quart saucepan. Stir until the cornstarch is fully dissolved.
- Place the saucepan over medium heat and cook, stirring frequently, until the mixture comes to a boil.
- Reduce the heat to low and simmer for about 5 minutes, stirring occasionally, until the cherries soften and the filling thickens and coats the back of a spoon.
- Remove from the heat and let the cherry pie filling cool to room temperature. It will continue to thicken as it cools.
- Transfer to a jar or bowl and refrigerate until ready to use.Keep covered in the refrigerator for up to one week.
Notes
- Use Ripe or High-Quality Cherries: Fresh, ripe cherries give the best flavor. If using frozen cherries, thaw and drain excess liquid to prevent a thin filling.
- Cook Until Thick and Glossy: Simmer the cherry pie filling until it bubbles and looks thick and shiny. The mixture should coat the back of a spoon. It will thicken more as it cools.
- Do Not Skip the Boil: Cornstarch must reach a full simmer to activate properly. If the filling does not boil briefly, it may not thicken.
- Cool Before Using: Let the filling cool completely before adding it to a pie crust, crisp, or cheesecake. This helps it set properly and prevents a soggy crust.
Nutrition
The information shown is an estimate provided by an online nutrition calculator. It should not be considered a substitute for a professional nutritionist’s advice.


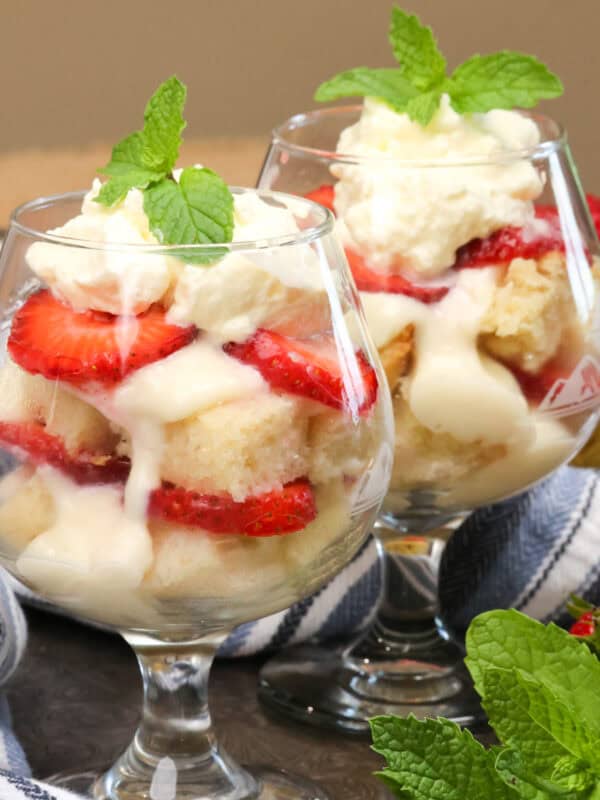
This would make a terrific dessert by itself or topped with whipped cream or in a cherry shortcake or in a cherry crisp.