This post may contain affiliate links. Please read our disclosure policy.
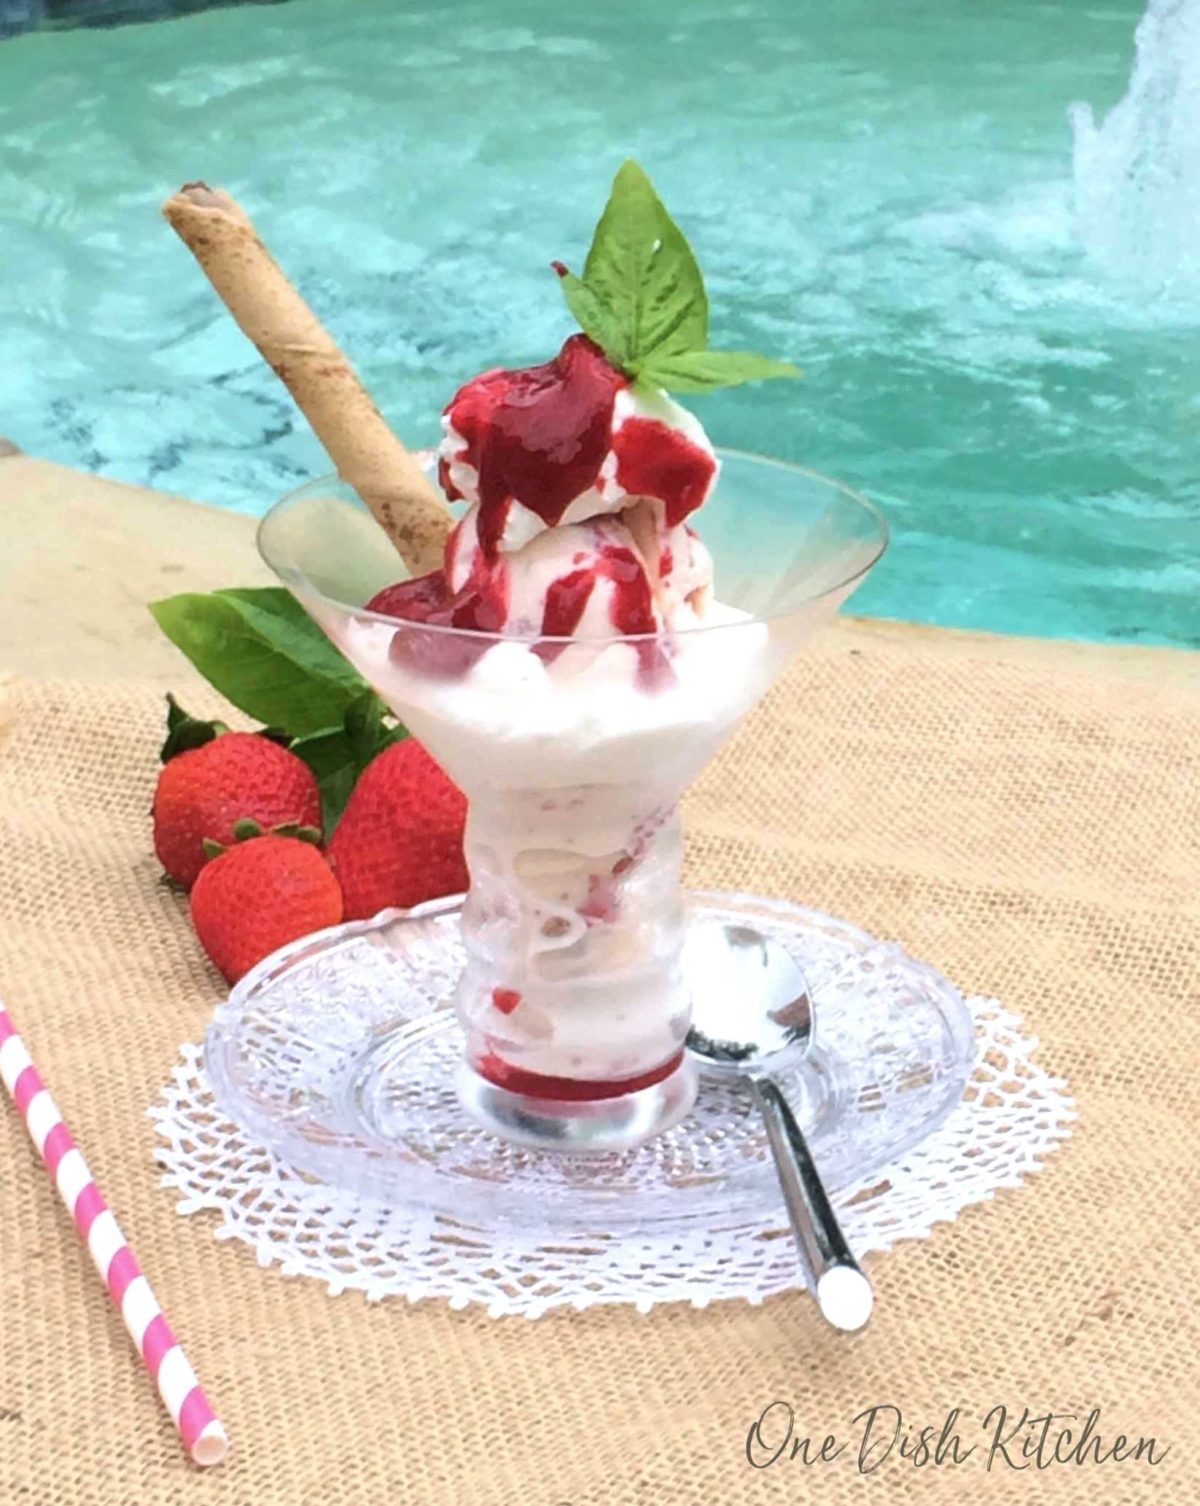
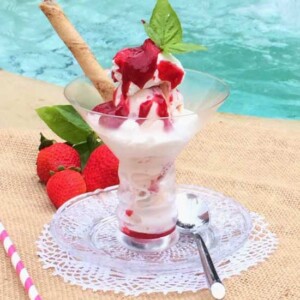
Craving a showstopping dessert that’s surprisingly simple to make? Look no further than the Knickerbocker Glory! This classic British sundae is a feast for the eyes and the stomach, featuring layers of creamy ice cream, fresh fruit, sweet sauce, and fluffy whipped cream. The best part? You can easily whip up a single serving at home in just minutes.
Looking for a few small batch and single serving ice cream recipes? You’re sure to love our collection including classic our single serving vanilla ice cream recipe, our ultra-chocolatey chocolate ice cream for one, sweet single serve strawberry ice cream, rich and nutty Butter Pecan Ice Cream, and refreshingly indulgent Mint Chocolate Chip Ice Cream.
Table of Contents
- Why You’ll Love This Recipe
- What Is A Knickerbocker Glory?
- Ingredients
- How To Make Raspberry Coulis (fruit sauce)
- How To Make A Knickerbocker Glory
- Spruce Up Your Sundae: Alternative Toppings For Your Knickerbocker Glory
- Expert Tips
- Frequently Asked Questions
- Ways To Use Leftover Ingredients
- Knickerbocker Glory Recipe
Why You’ll Love This Recipe
- Single Serving: No need to share! This recipe is perfect for satisfying your sweet tooth without leftovers.
- Simple Ingredients: You may have most of what you need on hand already.
- Customizable: Get creative with your favorite fruits, ice cream flavors, and toppings.
- Quick and Easy: This recipe comes together in minutes, making it ideal for busy weeknights or weekend treats.
- Impressive Presentation: The layered visual of the Knickerbocker Glory makes it a fun and festive dessert.
What Is A Knickerbocker Glory?
The Knickerbocker Glory is a traditional British dessert resembling a tall, layered ice cream sundae. Its origins are a bit of a mystery, possibly originating in the US in the early 1900s before finding its way across the pond and becoming a beloved treat in UK ice cream parlors.

Ingredients
If you have any ingredients leftover from this Knickerbocker Glory recipe, check out our Leftover Ingredients Recipe Finder.
- Fruit: In this recipe, I’ve used 4-5 fresh strawberries. However, feel free to switch it up according to your preference. Fresh or canned peaches and blueberries work wonderfully too. Mixing different fruits also adds a delightful variety to the sundae. If you’ve got extra strawberries, consider using them to make a single serve trifle or a small batch of strawberry pie filling.
- Coulis: A coulis brings a lovely burst of flavor, and it’s essentially a smooth sauce made from puréed and strained fruits or vegetables. For this recipe, I chose to use a raspberry coulis for its vibrant color and rich taste. It complements many desserts beautifully – imagine drizzling it over a small flourless chocolate cake or panna cotta for one! The recipe included in this post guides you through making it easily. However, if you’re short on time or prefer convenience, don’t hesitate to use a store-bought fruit sauce instead. These ready-to-use sauces are a fantastic and hassle-free alternative, bringing a similar vibrant touch to your dessert.
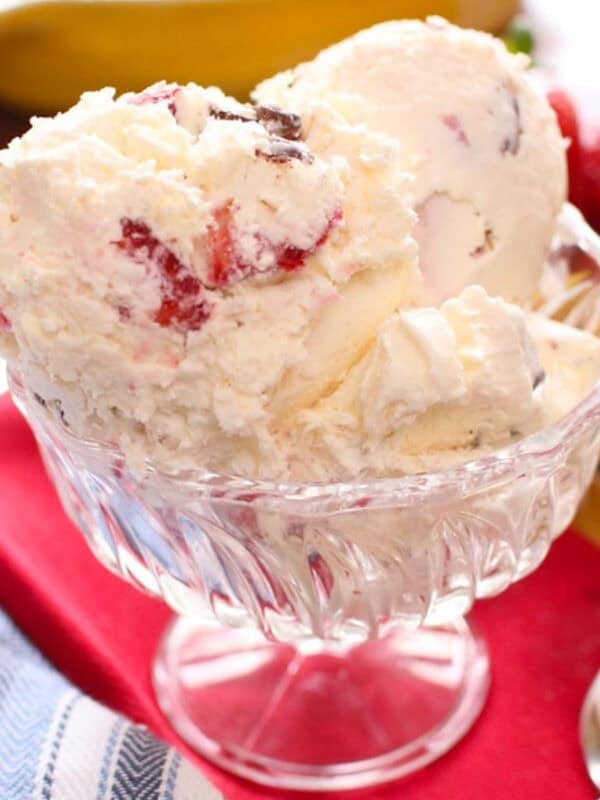
- Ice cream: You have complete freedom here to choose your favorite flavor. Whether it’s classic vanilla and strawberry, or something more adventurous, it’s up to you. For those looking for alternatives, dairy-free and low-sugar ice creams are great options.
- Whipped cream: Homemade whipped cream can elevate this dessert, but if you’re short on time or prefer convenience, store-bought whipped cream is perfectly fine too. For a dairy-free version, coconut whipped cream is a fantastic substitute.
- A cookie for garnish: Just a simple addition to top off your Knickerbocker Glory. Any type of cookie that you enjoy can be used for that extra crunch and flavor.
How To Make Raspberry Coulis (fruit sauce)
Although you can purchase a pre-made fruit sauce for convenience, a homemade coulis is easier to make than you might think and adds a burst of fresh, tangy flavor. Here’s how to make it:
- Start with Fresh Raspberries: Take 6 ounces of fresh raspberries and place them in a small saucepan over medium-low heat.
- Add Sweetness and Zest: Mix in 2 tablespoons of sugar and 1/2 teaspoon of lemon juice.
- Stir and Simmer: Heat the mixture, stirring gently, until the sugar dissolves completely. This should take about 5 minutes.
- Blend to Perfection: After removing from heat, transfer the raspberry mixture into a blender. Puree until smooth.
- Strain for Smoothness: To get rid of the seeds, pour the pureed mixture through a fine sieve into a bowl. You might need to press down on the mixture to extract as much liquid as possible.
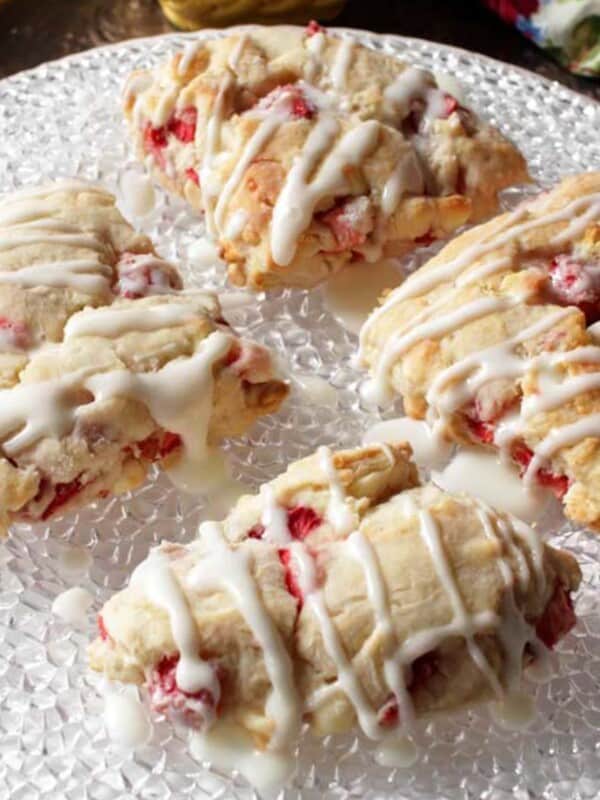
- Ready to Use: The coulis is now ready! This quantity is enough for about 3 to 4 servings. Use some of the coulis in a Knickerbocker Glory and save the rest to add to small batch cream scones, our pancakes recipe, small batch drop biscuits, or to top a mini chocolate lava cake. Homemade coulis will keep well in the refrigerator for 5 to 7 days. It also freezes beautifully.
Common Question: Why don’t I need to use a thickener to make fruit coulis? Many fruits, like raspberries, have natural pectin, which thickens as it cooks. This means that when you gently simmer the fruit, it naturally starts to thicken without the need for additional agents.
How To Make A Knickerbocker Glory
Assembling your Knickerbocker Glory is a fun and easy process. Here’s a clear step-by-step guide to creating this delightful dessert. While vanilla and strawberry ice cream are typical choices for their classic flavors, feel free to get creative with any ice cream flavor you love!
- Start with Fruit: Place a layer of sliced strawberries at the bottom of the glass.
- First Layer of Coulis: Spoon a generous amount of raspberry coulis over the strawberries.
- Vanilla Ice Cream: Scoop some vanilla ice cream on top of the coulis layer.
- Whipped Cream Addition: Add a layer of whipped cream over the vanilla ice cream.
- Include More Fruit: Now, add the remaining sliced strawberries for a fresh fruit layer.
- Strawberry Ice Cream Layer: Now, scoop strawberry ice cream on top of the fruit.
- More Whipped Cream: Add another layer of whipped cream on top of the strawberry ice cream.
- Final Coulis Drizzle: Generously drizzle more raspberry coulis over the top.
- Cookie Garnish: Finish off by garnishing with a cookie for that extra crunch and visual appeal.
Remember, while vanilla and strawberry ice creams are classic choices for a Knickerbocker Glory, don’t hesitate to mix and match with your favorite flavors to make this dessert uniquely yours!
Spruce Up Your Sundae: Alternative Toppings For Your Knickerbocker Glory
While the classic combination of fruit, ice cream, and whipped cream is delicious, feel free to get creative and personalize your Knickerbocker Glory with a variety of toppings! Here are some ideas to inspire you:
- Nuts and Seeds: Add a delightful crunch with chopped almonds, peanuts, hazelnuts, or sunflower seeds.
- Shaved Chocolate or Chocolate Chips: Ideal for chocolate lovers, adding both texture and rich chocolate flavor.
- Edible Flowers: For an elegant and Instagram-worthy touch, garnish with edible flowers.
- Sauces and Syrups: Drizzle chocolate sauce, caramel syrup, or honey for a sweet, gooey layer.
- Candy Pieces: Chop up your favorite candy bars or use candy sprinkles for a fun and colorful topping.
Expert Tips
- Chill the Glass: Serve your Knickerbocker Glory in a chilled glass for an extra refreshing experience.
- Homemade Whipped Cream: Making your own whipped cream can be a game changer for flavor.
- Layer Wisely: Layer your ingredients carefully to create a visually appealing dessert.
Frequently Asked Questions
Yes, you can use frozen fruit in a pinch. However, it’s important to thaw the fruit completely and drain any excess liquid before adding it to your Knickerbocker Glory. Frozen fruit can sometimes be softer and release more water, potentially affecting the texture of your sundae.
A tall, clear glass like a sundae glass or even a large wine glass works well.
Start with fruit at the bottom, then add a layer of coulis, followed by ice cream, and top it off with whipped cream. Repeat the layers if your glass is tall enough. The aim is to get a mix of each element in every spoonful.
Serve it in a tall glass to showcase the beautiful layers. A long spoon is ideal for reaching the different layers and mixing them if desired.
It’s best enjoyed immediately after assembling. Preparing it too far in advance can cause the layers to melt or become soggy. However, you can prepare the individual components like coulis and slice the fruit ahead of time.
Ways To Use Leftover Ingredients
If you have any ingredients leftover from this recipe, check out our Leftover Ingredients Recipe Finder or you might like to consider using them in any of these single serving and small batch recipes:
If you’ve tried this Knickerbocker Glory recipe or any recipe on One Dish Kitchen please let me know how you liked it by rating the recipe and telling me about it in the comment section below.
If you take a picture please tag us on Instagram (@onedishkitchen) we’d love to see it!
Knickerbocker Glory
Equipment
- Dessert glass
Ingredients
- 4-5 strawberries , sliced
- ⅛ cup raspberry coulis (see recipe notes for instructions). Alternatively, use store-bought fruit sauce.
- 1 scoop vanilla ice cream
- 1 scoop strawberry ice cream
- ½ cup whipped cream
- 1 wafer cookie (to garnish)
Instructions
- Start with Fruit: Place a layer of sliced strawberries at the bottom of the glass.
- First Layer of Coulis: Spoon a generous amount of raspberry coulis over the strawberries.
- Vanilla Ice Cream: Scoop some vanilla ice cream on top of the coulis layer.
- Whipped Cream Addition: Add a layer of whipped cream over the vanilla ice cream.
- Include More Fruit: Now, add the remaining sliced strawberries for a fresh fruit layer.
- Strawberry Ice Cream Layer: Now, scoop strawberry ice cream on top of the fruit.
- More Whipped Cream: Add another layer of whipped cream on top of the strawberry ice cream.
- Final Coulis Drizzle: Generously drizzle more raspberry coulis over the top.
- Cookie Garnish: Finish off by garnishing with a cookie for that extra crunch and visual appeal.
Notes
-
- Chill the Glass: Serve your Knickerbocker Glory in a chilled glass for an extra refreshing experience.
-
- Homemade Whipped Cream: Making your own whipped cream can be a game changer for flavor.
-
- Layer Wisely: Layer your ingredients carefully to create a visually appealing dessert.
-
- Start with Fresh Raspberries: Take 6 ounces of fresh raspberries and place them in a saucepan over medium-low heat.
-
- Add Sweetness and Zest: Mix in 2 tablespoons of sugar and 1/2 teaspoon of lemon juice.
-
- Stir and Simmer: Heat the mixture, stirring gently, until the sugar dissolves completely. This should take about 5 minutes.
-
- Blend to Perfection: After removing from heat, transfer the raspberry mixture into a blender. Puree until smooth.
-
- Strain for Smoothness: To get rid of the seeds, pour the pureed mixture through a fine sieve into a bowl. You might need to press down on the mixture to extract as much liquid as possible.
-
- Ready to Use: The coulis is now ready! This quantity is enough for about 3 to 4 servings. Use some in this knickerbocker glory and save the rest to add to cream scones, pancakes, biscuits, or to top a chocolate lava cake.
Nutrition
The information shown is an estimate provided by an online nutrition calculator. It should not be considered a substitute for a professional nutritionist’s advice.


Oh my gosh! This was amazing. I definitely recommend making the coulis – it was exceptional!
What a scrumptious treat that’s perfect for hot summer nights!
So creamy and delicious. Never had a coulis before but it was so good and easy to make. Will make again.
I kept thinking that delicious treat reminded me of something…and then I realized – it’s like the British version of a parfait!
I love all things ice cream, and this looks amazing!
best. name. ever.
I’ve never had one before but now- Craving one!
Oh my goodness all of this is just sooo good! All the creaminess… yummy!