This post may contain affiliate links. Please read our disclosure policy.
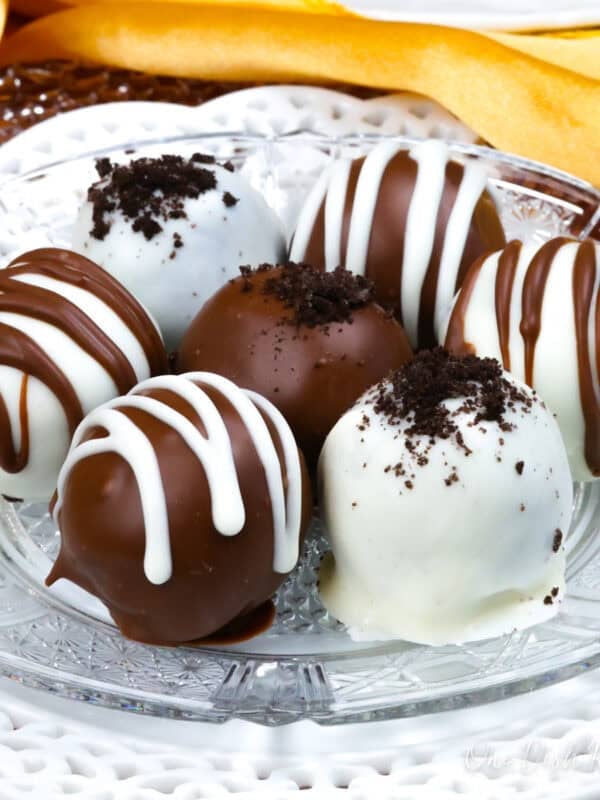
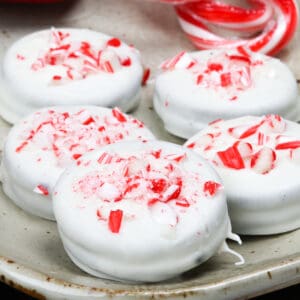
Make easy Chocolate Covered Oreos at home with just two ingredients. This quick, no-bake dessert features crunchy Oreos coated in smooth, glossy chocolate, perfect for holidays, parties, or gifting.

Why You’ll Love This Recipe
- Quick & Easy: This no-bake dessert comes together in minutes – just melt, dip, and decorate.
- Customizable: Use white, milk, or dark chocolate and add sprinkles or toppings to match any holiday or celebration.
- Small Batch: Makes about 12 chocolate covered Oreos, the perfect amount for a sweet snack or dessert platter.
- Simple Ingredients: Only Oreos and chocolate melts are required, with optional decorations for extra flair.
- Perfect for Gifting: These glossy, homemade cookies make thoughtful gifts for birthdays, holidays, or party favors.
What I love most about these Chocolate Covered Oreos is how simple yet special they feel. With just a few ingredients, you can make something that looks beautiful and tastes incredible.
I’ve made these for holidays, birthdays, and even just because – and they’re always a hit. Whether you decorate them with festive sprinkles or keep them classic, they’re the kind of easy treat that brings a little joy to any day.
If you’re looking for more quick and easy small batch desserts, try some of my favorites: small batch peanut butter fudge, small batch peppermint bark, small batch buckeyes, small batch rum balls, and small batch Oreo balls. Each one is simple to make and perfect for when you want a sweet homemade treat.

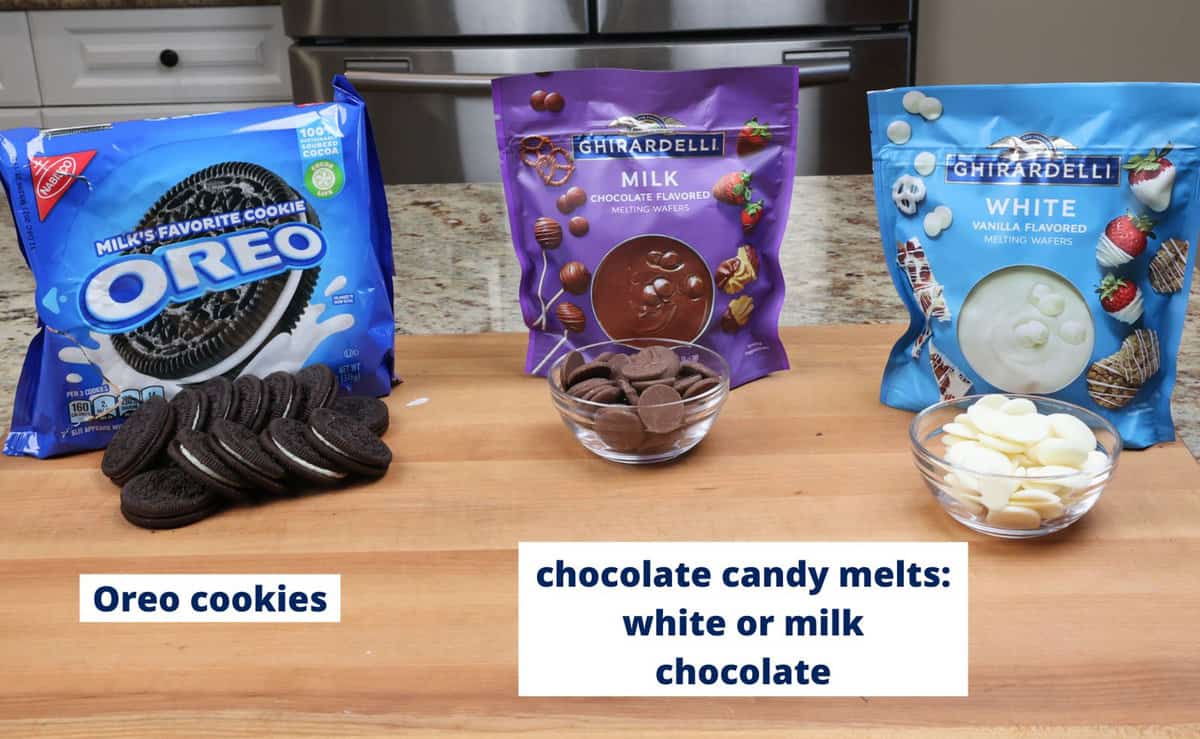
Ingredients
If you have any ingredients leftover from this candy coated Oreos recipe, check out our Leftover Ingredients Recipe Finder.
- Oreos: Use your favorite variety – classic, Golden, Peppermint, or Double Stuf all work well. They add the perfect crunch and chocolate flavor. Have extras? Try them in recipes like a single Oreo brownie or mini French silk pie.
- Chocolate Candy Melts: These create a smooth, glossy coating that hardens beautifully. I recommend Ghirardelli melting wafers or Guittard chocolate for the best flavor and consistency. You can also use melted chocolate, almond bark, or chocolate chips mixed with 1/4 teaspoon of coconut or vegetable oil for easier dipping. Melt slowly to prevent scorching. Leftover candy melts are perfect for a small batch of microwave fudge and homemade chocolate candies.
- Sprinkles (Optional): Add a fun, decorative touch. Use seasonal sprinkles, crushed candy, or finely chopped nuts to match any occasion.
Recipe Variations
Explore these fun twists to customize your chocolate-covered Oreos:
- White Chocolate Raspberry: Dip the Oreos in white chocolate and top with freeze-dried raspberry pieces for a bright, fruity bite.
- Caramel Drizzle: After coating in chocolate, drizzle warm caramel across each cookie for added sweetness and texture.
- Sea-Salt Crunch: Sprinkle a pinch of flaked sea salt onto the wet chocolate for a classic sweet-and-savory finish.
- Festive Themed: Use colored candy melts, seasonal sprinkles, or crushed candy canes to match holidays like Christmas, Halloween, Valentine’s Day.
- Chocolate-Drizzle Contrast: Dip in dark or milk chocolate, let set, then drizzle with a contrasting white (or vice versa) for a professional look and layered flavor.
How To Make Chocolate Covered Oreos
These step-by-step photos and instructions help you visualize how to make a small batch of chocolate covered Oreo cookies. See the recipe box below for ingredient amounts and full recipe instructions.
- Prepare the Baking Sheet: Line a baking sheet with parchment or wax paper and set it aside.
- Melt the Chocolate: Melt the chocolate according to the package directions. If using a microwave, heat in 15-second intervals, stirring between each until smooth. Want to melt chocolate without a microwave? See the tip box below for an easy water bath method.
Pro Tip: Melting Chocolate Without A Microwave
- Fill a small saucepan with 1 inch of water and bring it to a gentle simmer.
- Place a heatproof glass or metal bowl over the saucepan, making sure it doesn’t touch the water.
- Add chocolate pieces to the bowl. Stir frequently as they melt, about 3–4 minutes.
- Carefully remove the bowl and wipe the bottom dry before dipping your Oreos.
This gentle method prevents burning and gives your chocolate a professional, shiny finish.

- Dip the Oreos: Using a fork, dip one Oreo at a time into the melted chocolate. Turn to coat fully, then lift and gently tap the fork on the bowl’s edge to remove excess chocolate. Place coated Oreos on the prepared baking sheet.

- Decorate: While the chocolate is still soft, add sprinkles or toppings. For a chocolate drizzle, let the first layer harden, then drizzle melted chocolate of another kind over the top.
Pro Tip: Have fun with decorating! Try drizzling, piping designs, or dipping half an Oreo in each color for a marbled look.

Expert Tips
- Use Quality Chocolate: Choose high-quality chocolate or melting wafers for a smooth, glossy finish and rich flavor.
- Melt Slowly: Heat chocolate in 15-second intervals, stirring each time. Avoid overheating to prevent dull or grainy chocolate.
- Dip with a Fork: A fork helps coat Oreos evenly and lets excess chocolate drip off easily.
- Let Them Set: Allow the chocolate to harden completely before handling for a clean, professional look.
- Avoid Moisture: Keep water out of your melted chocolate, just a few drops can cause it to seize.
- Store Properly: Store chocolate-covered Oreos in an airtight container at room temperature for up to 2 weeks, or refrigerate if your kitchen is warm.
Ways To Enjoy Chocolate Covered Oreos
These Chocolate Covered Oreos aren’t just delicious, they’re fun to share and perfect for every occasion.
- Party Dessert Tray: Arrange them on a platter with other bite-sized treats like small batch pecan pralines, small batch thumbprint cookies, or shortbread bites.
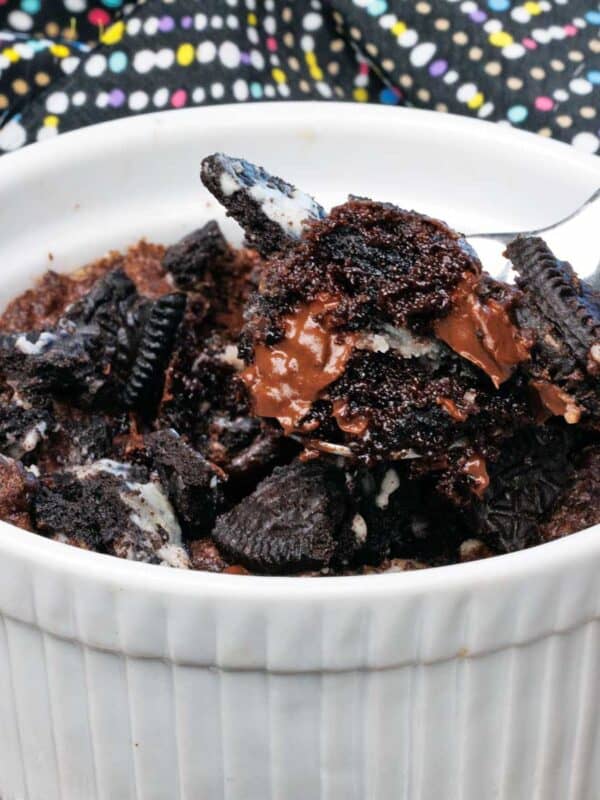
- Ice Cream Topping: Crumble over homemade vanilla ice cream for an easy, indulgent dessert.
- Sweet Snack: Pair one (or two!) with a cup of coffee or tea for a simple afternoon treat.
- Homemade Gift: Package in small boxes or cellophane bags tied with ribbon for holidays, birthdays, or party favors.

Frequently Asked Questions
Use high-quality melting wafers like Ghirardelli or Guittard for the smoothest, shiniest finish. You can also use almond bark, candy melts, or chocolate chips mixed with a little coconut or vegetable oil.
They stay fresh for up to 2 weeks when stored in an airtight container at room temperature. If your kitchen is warm, refrigerate them.
Yes. Place them in a single layer on a baking sheet to freeze, then transfer to an airtight container with parchment between layers. Thaw in the fridge before serving.
It usually takes about 20–30 minutes at room temperature or 10 minutes in the refrigerator.
Yes. They’re great for prepping ahead, just store them in an airtight container until ready to serve or package for gifting.
Ways To Use Leftover Ingredients
If you have any ingredients leftover from this recipe, check out our Leftover Ingredients Recipe Finder or you might like to consider using them in any of these single serving and small batch recipes:

If you’ve made this quick and easy chocolate covered Oreos recipe, I’d love to hear how they turned out for you. Please rate the recipe and share your thoughts in the comments below.
Snapped a photo? Tag us on Instagram; we’d be thrilled to see your creation!
Small Batch Chocolate Covered Oreos
Ingredients
- 12 Oreo cookies or use another brand of sandwich cookie
- 8 ounces chocolate candy melts -use white or milk chocolate, or both
- sprinkles (optional)
Instructions
- Line a baking sheet with parchment or wax paper and set it aside.
- Melt the chocolate according to the package directions. If using a microwave, heat in 15-second intervals, stirring between each until smooth. Want to melt chocolate without a microwave? See the Notes below for an easy water bath method.
- Using a fork, dip one Oreo at a time into the melted chocolate. Turn to coat fully, then lift and gently tap the fork on the bowl’s edge to remove excess chocolate. Place coated Oreos on the prepared baking sheet.
- While the chocolate is still soft, add sprinkles or toppings. For a chocolate drizzle, let the first layer harden, then drizzle melted chocolate of another kind over the top.Pro Tip: Have fun with decorating! Try drizzling, piping designs, or dipping half an Oreo in each color for a marbled look.
Notes
- Use Quality Chocolate: Choose high-quality chocolate or melting wafers for a smooth, glossy finish and rich flavor.
- Melt Slowly: Heat chocolate in 15-second intervals, stirring each time. Avoid overheating to prevent dull or grainy chocolate.
- Dip with a Fork: A fork helps coat Oreos evenly and lets excess chocolate drip off easily.
- Let Them Set: Allow the chocolate to harden completely before handling for a clean, professional look.
- Avoid Moisture: Keep water out of your melted chocolate, just a few drops can cause it to seize.
- Store Properly: Store chocolate-covered Oreos in an airtight container at room temperature for up to 2 weeks, or refrigerate if your kitchen is warm.
- Fill a small saucepan with 1 inch of water and bring it to a gentle simmer.
- Place a heatproof glass or metal bowl over the saucepan, making sure it doesn’t touch the water.
- Add chocolate pieces to the bowl. Stir frequently as they melt, about 3–4 minutes.
- Carefully remove the bowl and wipe the bottom dry before dipping your Oreos.
Nutrition
The information shown is an estimate provided by an online nutrition calculator. It should not be considered a substitute for a professional nutritionist’s advice.


Great recipe.
Thank you!