This post may contain affiliate links. Please read our disclosure policy.
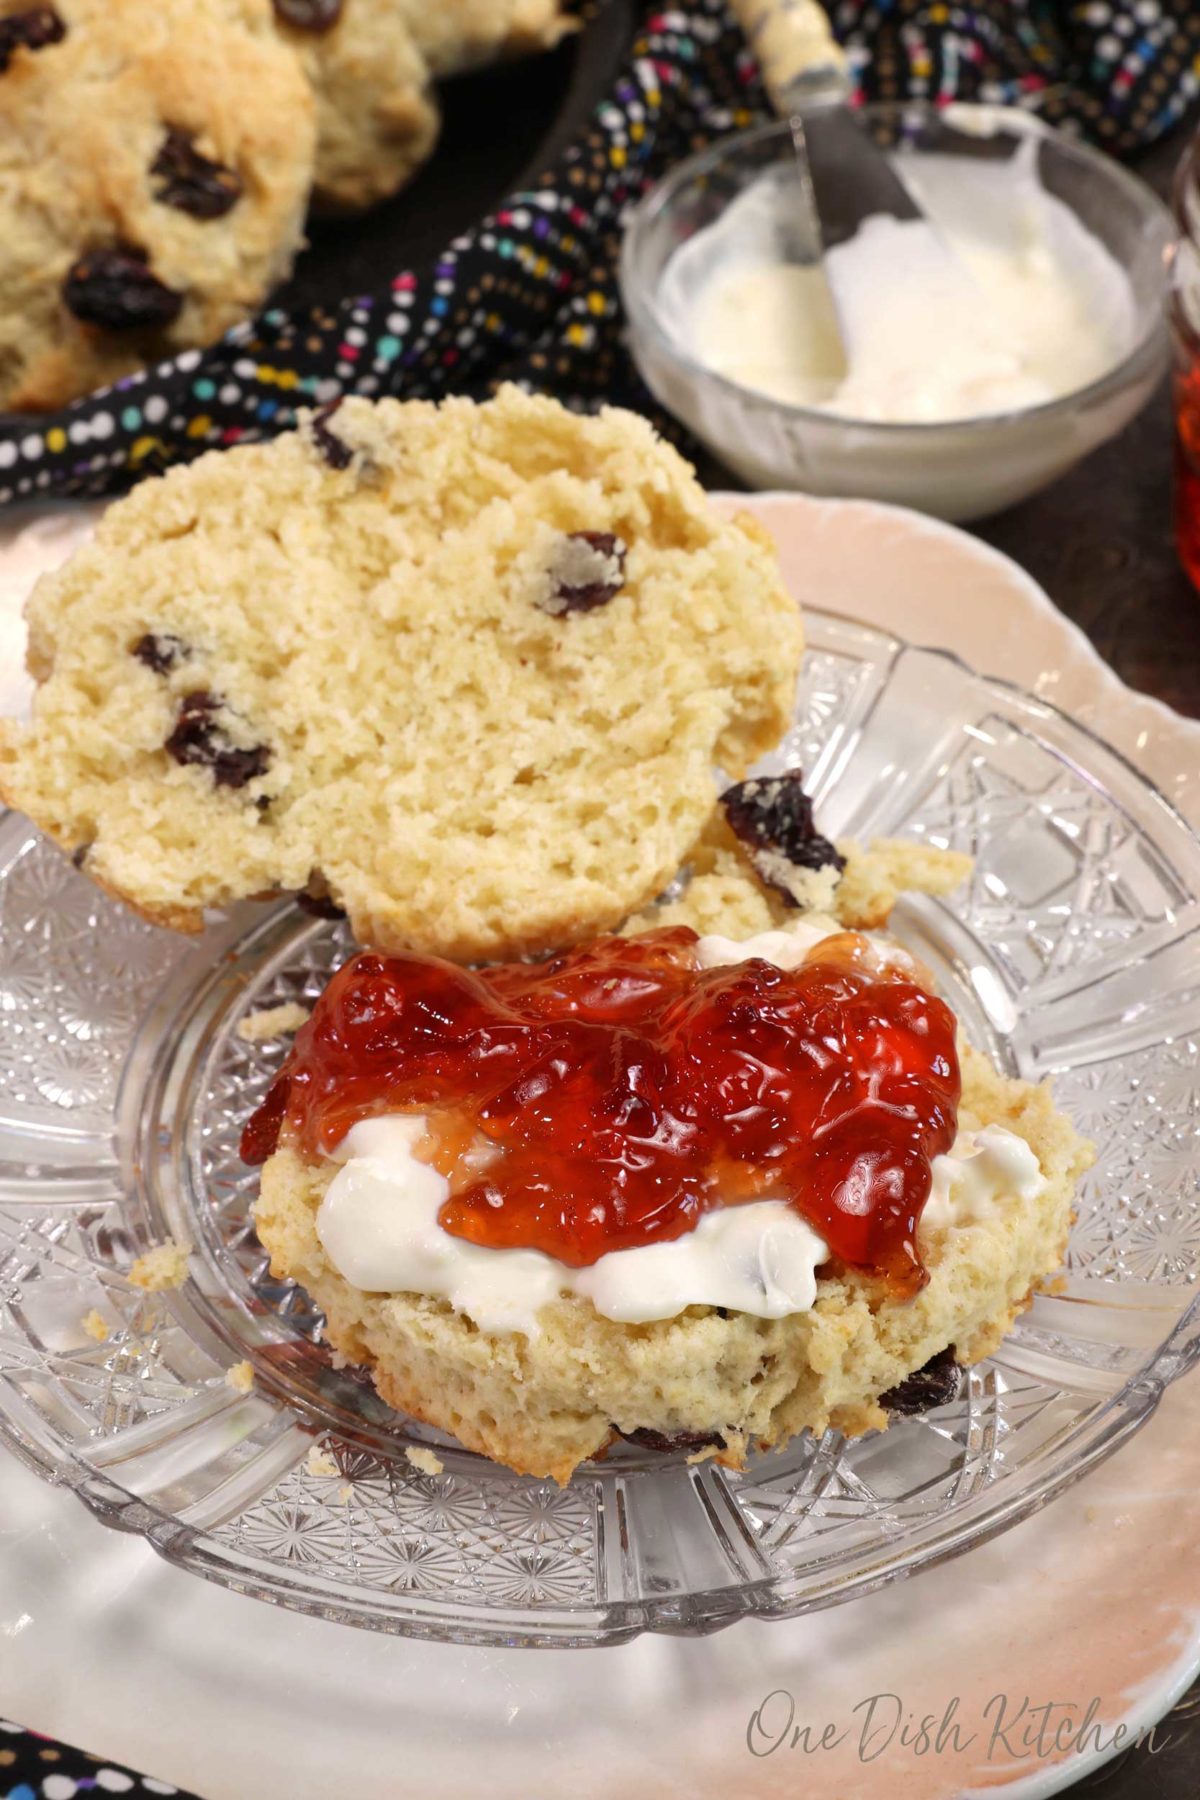
Turn heavy cream into a rich, thick spread with this small batch clotted cream recipe. With just one ingredient and time, the cream transforms into a luscious topping perfect for scones and pastries. It’s incredibly simple to make and far better than store-bought!
Featured Comment
“Tried it for the Queen’s Platinum Jubilee with great success!”
– Michelle
Why You’ll Love This Recipe
- Easy to Make: Just pour the cream into a dish and let the oven do the work.
- Perfectly Portioned: Made for one or two people, so nothing goes to waste.
- Budget-Friendly: Homemade clotted cream costs much less than store-bought.
- No Special Equipment: All you need is an oven and a shallow baking dish
- Versatile: Enjoy it with scones, pastries, or as a creamy topping for desserts.
Clotted cream is a rich, thick cream traditionally served with scones and jam. Made by slowly heating heavy cream, then letting it cool, the natural fats rise to the surface and form thick “clots” that create its signature texture.
This beloved cream originated in Devon and Cornwall, in southwest England, where it’s often called Devonshire cream or Cornish cream. I fell in love with clotted cream during a trip to England, where I enjoyed it the classic way—piled onto a warm scone with a spoonful of jam. Making it at home is surprisingly simple, and the results are just as indulgent!
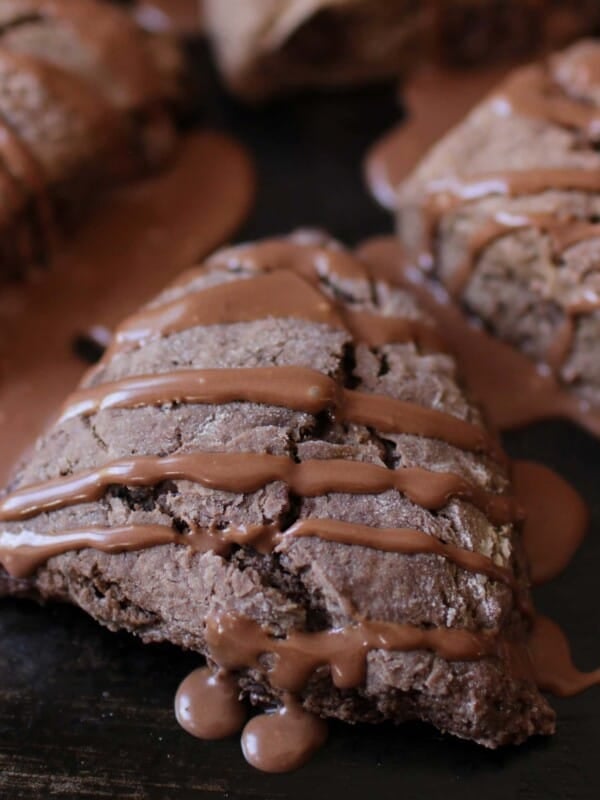
Enjoy the rich, creamy texture of homemade clotted cream with scones. It pairs perfectly with our small batch cream scones, small batch strawberry scones, lemon scone recipe, or even savory ham and cheese scones.

Ingredient Notes
Choosing the Right Cream for Clotted Cream
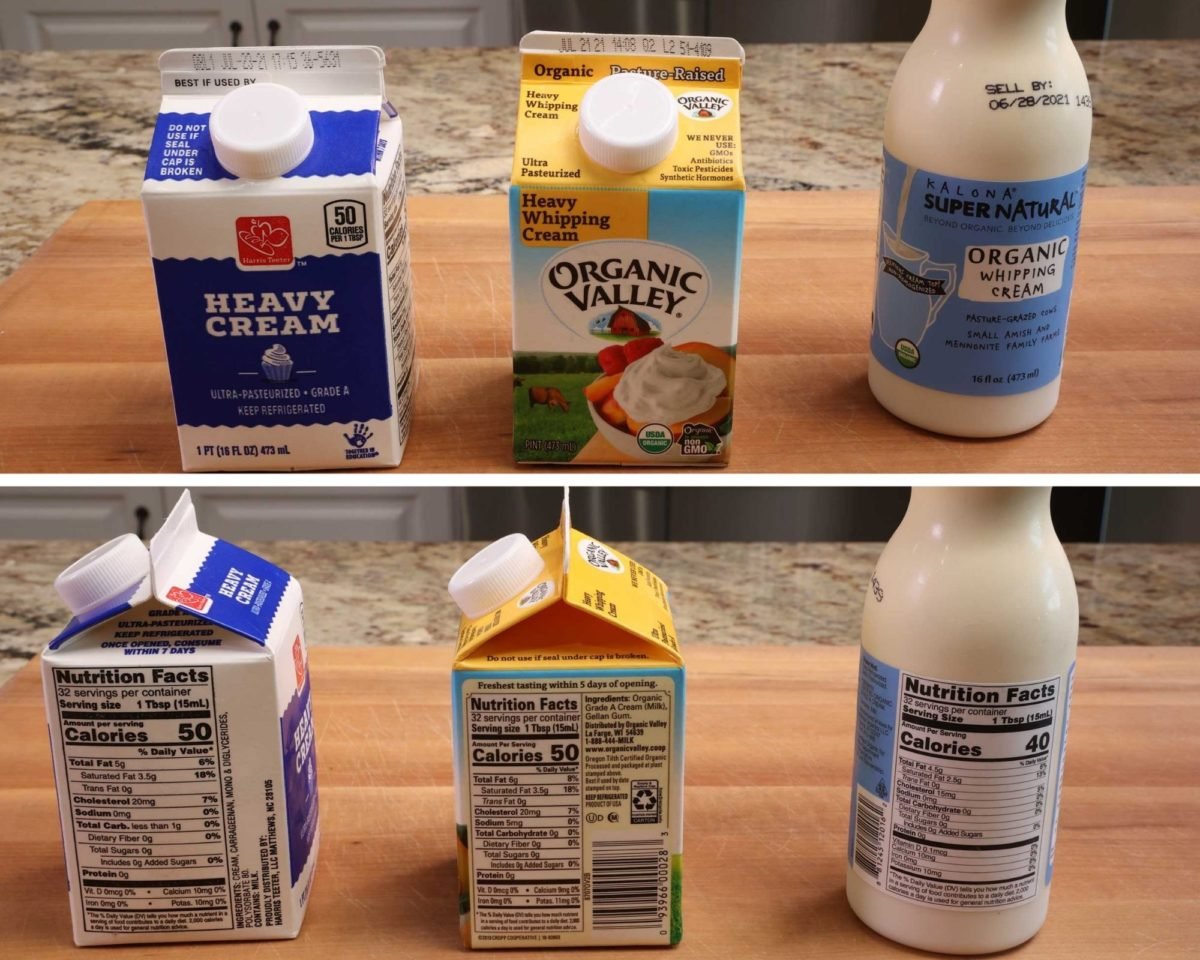
- Heavy Cream: The only ingredient needed for homemade clotted cream. This recipe uses one pint of heavy cream to create a rich, spreadable topping. While most recipes call for regular pasteurized cream, it’s not always easy to find. We tested both pasteurized and ultra-pasteurized cream, and both work—though with slight differences.
- Pasteurized Heavy Cream (Preferred): This cream undergoes minimal processing, allowing better curd formation. If available, it’s the best choice.
- Ultra-Pasteurized Heavy Cream (Works Too): This cream is heated to a higher temperature for a longer shelf life. It still produces clotted cream, though the curds may not separate as distinctly.
Since pasteurized cream can be hard to find, I tested ultra-pasteurized options as well. The recipe photos show clotted cream made with ultra-pasteurized cream, so you can see the results for yourself.
Creams Tested:
- Ultra-Pasteurized Heavy Cream (grocery store brand like Harris Teeter)
- Ultra-Pasteurized Heavy Whipping Cream (local co-op brand like Organic Valley)
- Pasteurized Heavy Whipping Cream (local creamery brand)
Clotted Cream: Pasteurized vs. Ultra-Pasteurized Cream
From the photos below, you can see that both ultra-pasteurized and pasteurized heavy cream produce similar results. While pasteurized cream is often recommended, ultra-pasteurized cream still works well, making clotted cream accessible even if pasteurized cream is hard to find.
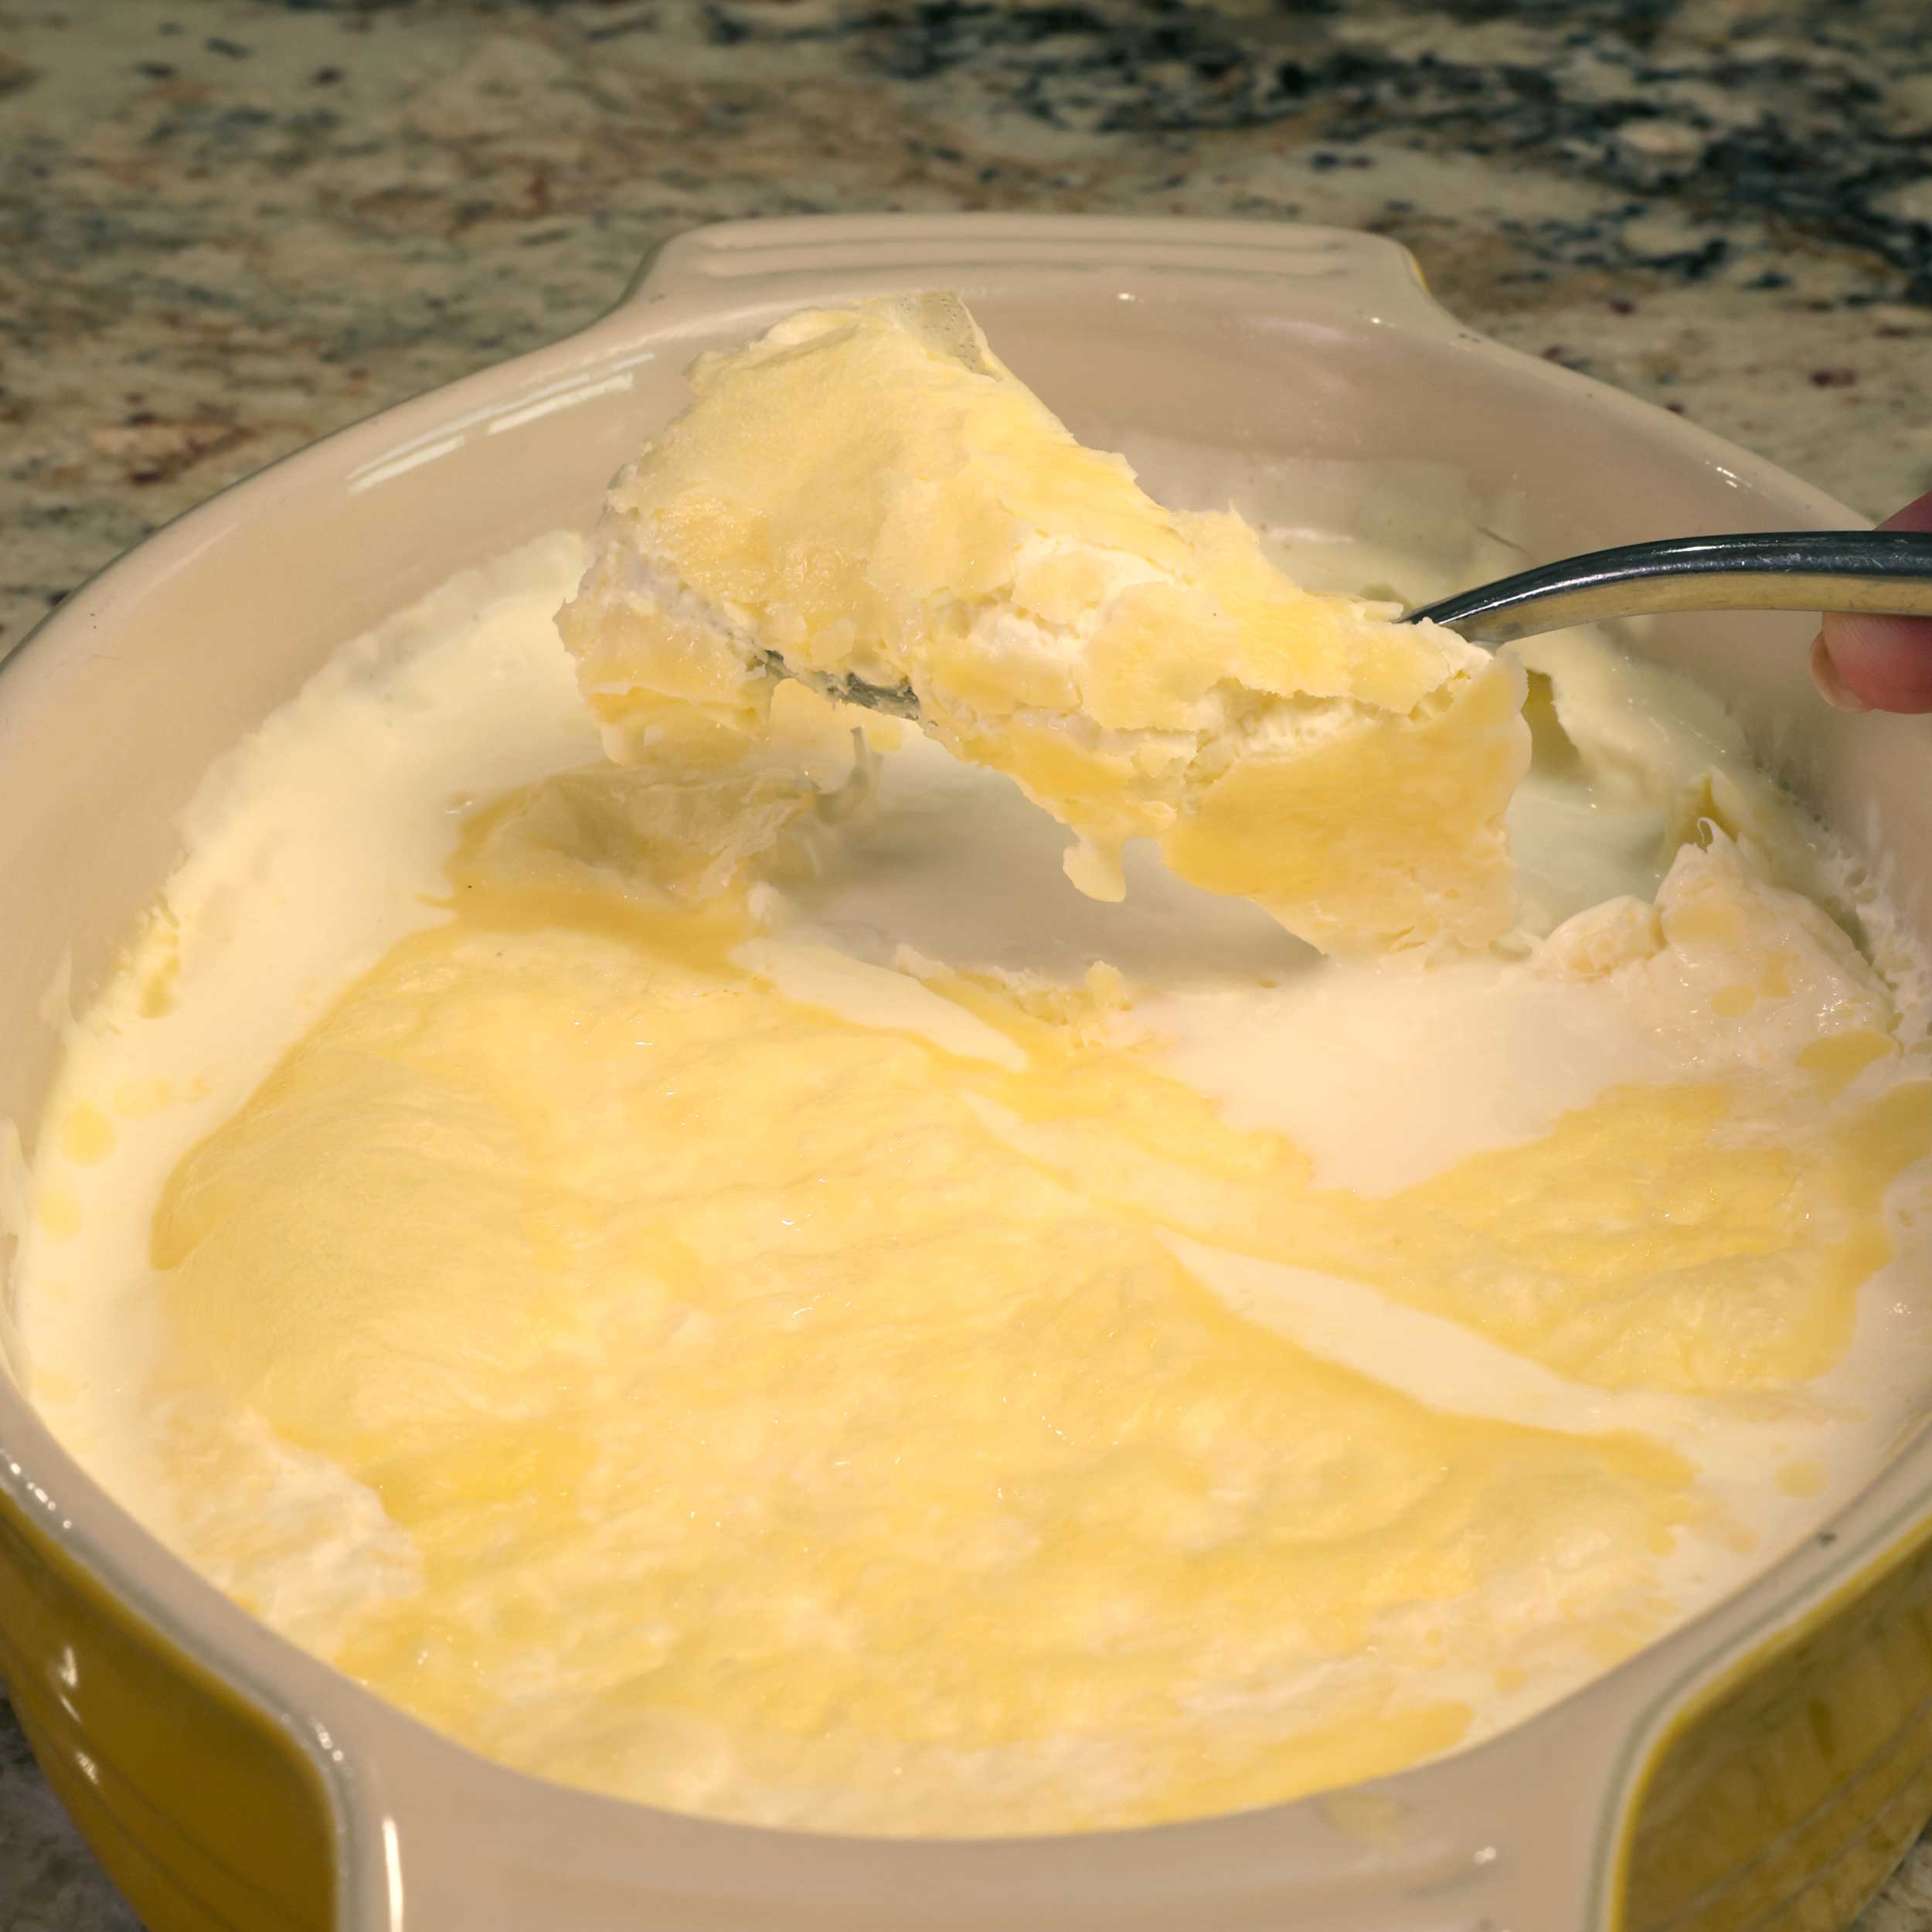
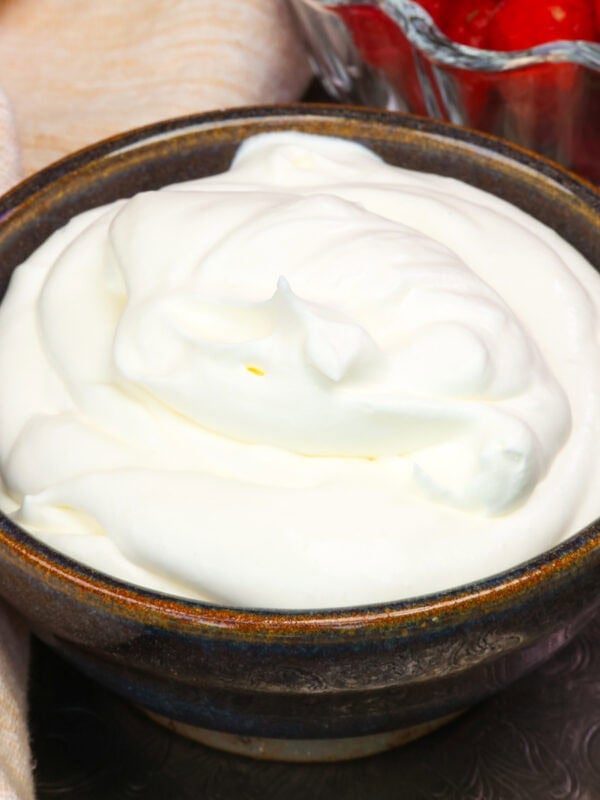
Clotted cream made with ultra-pasteurized cream
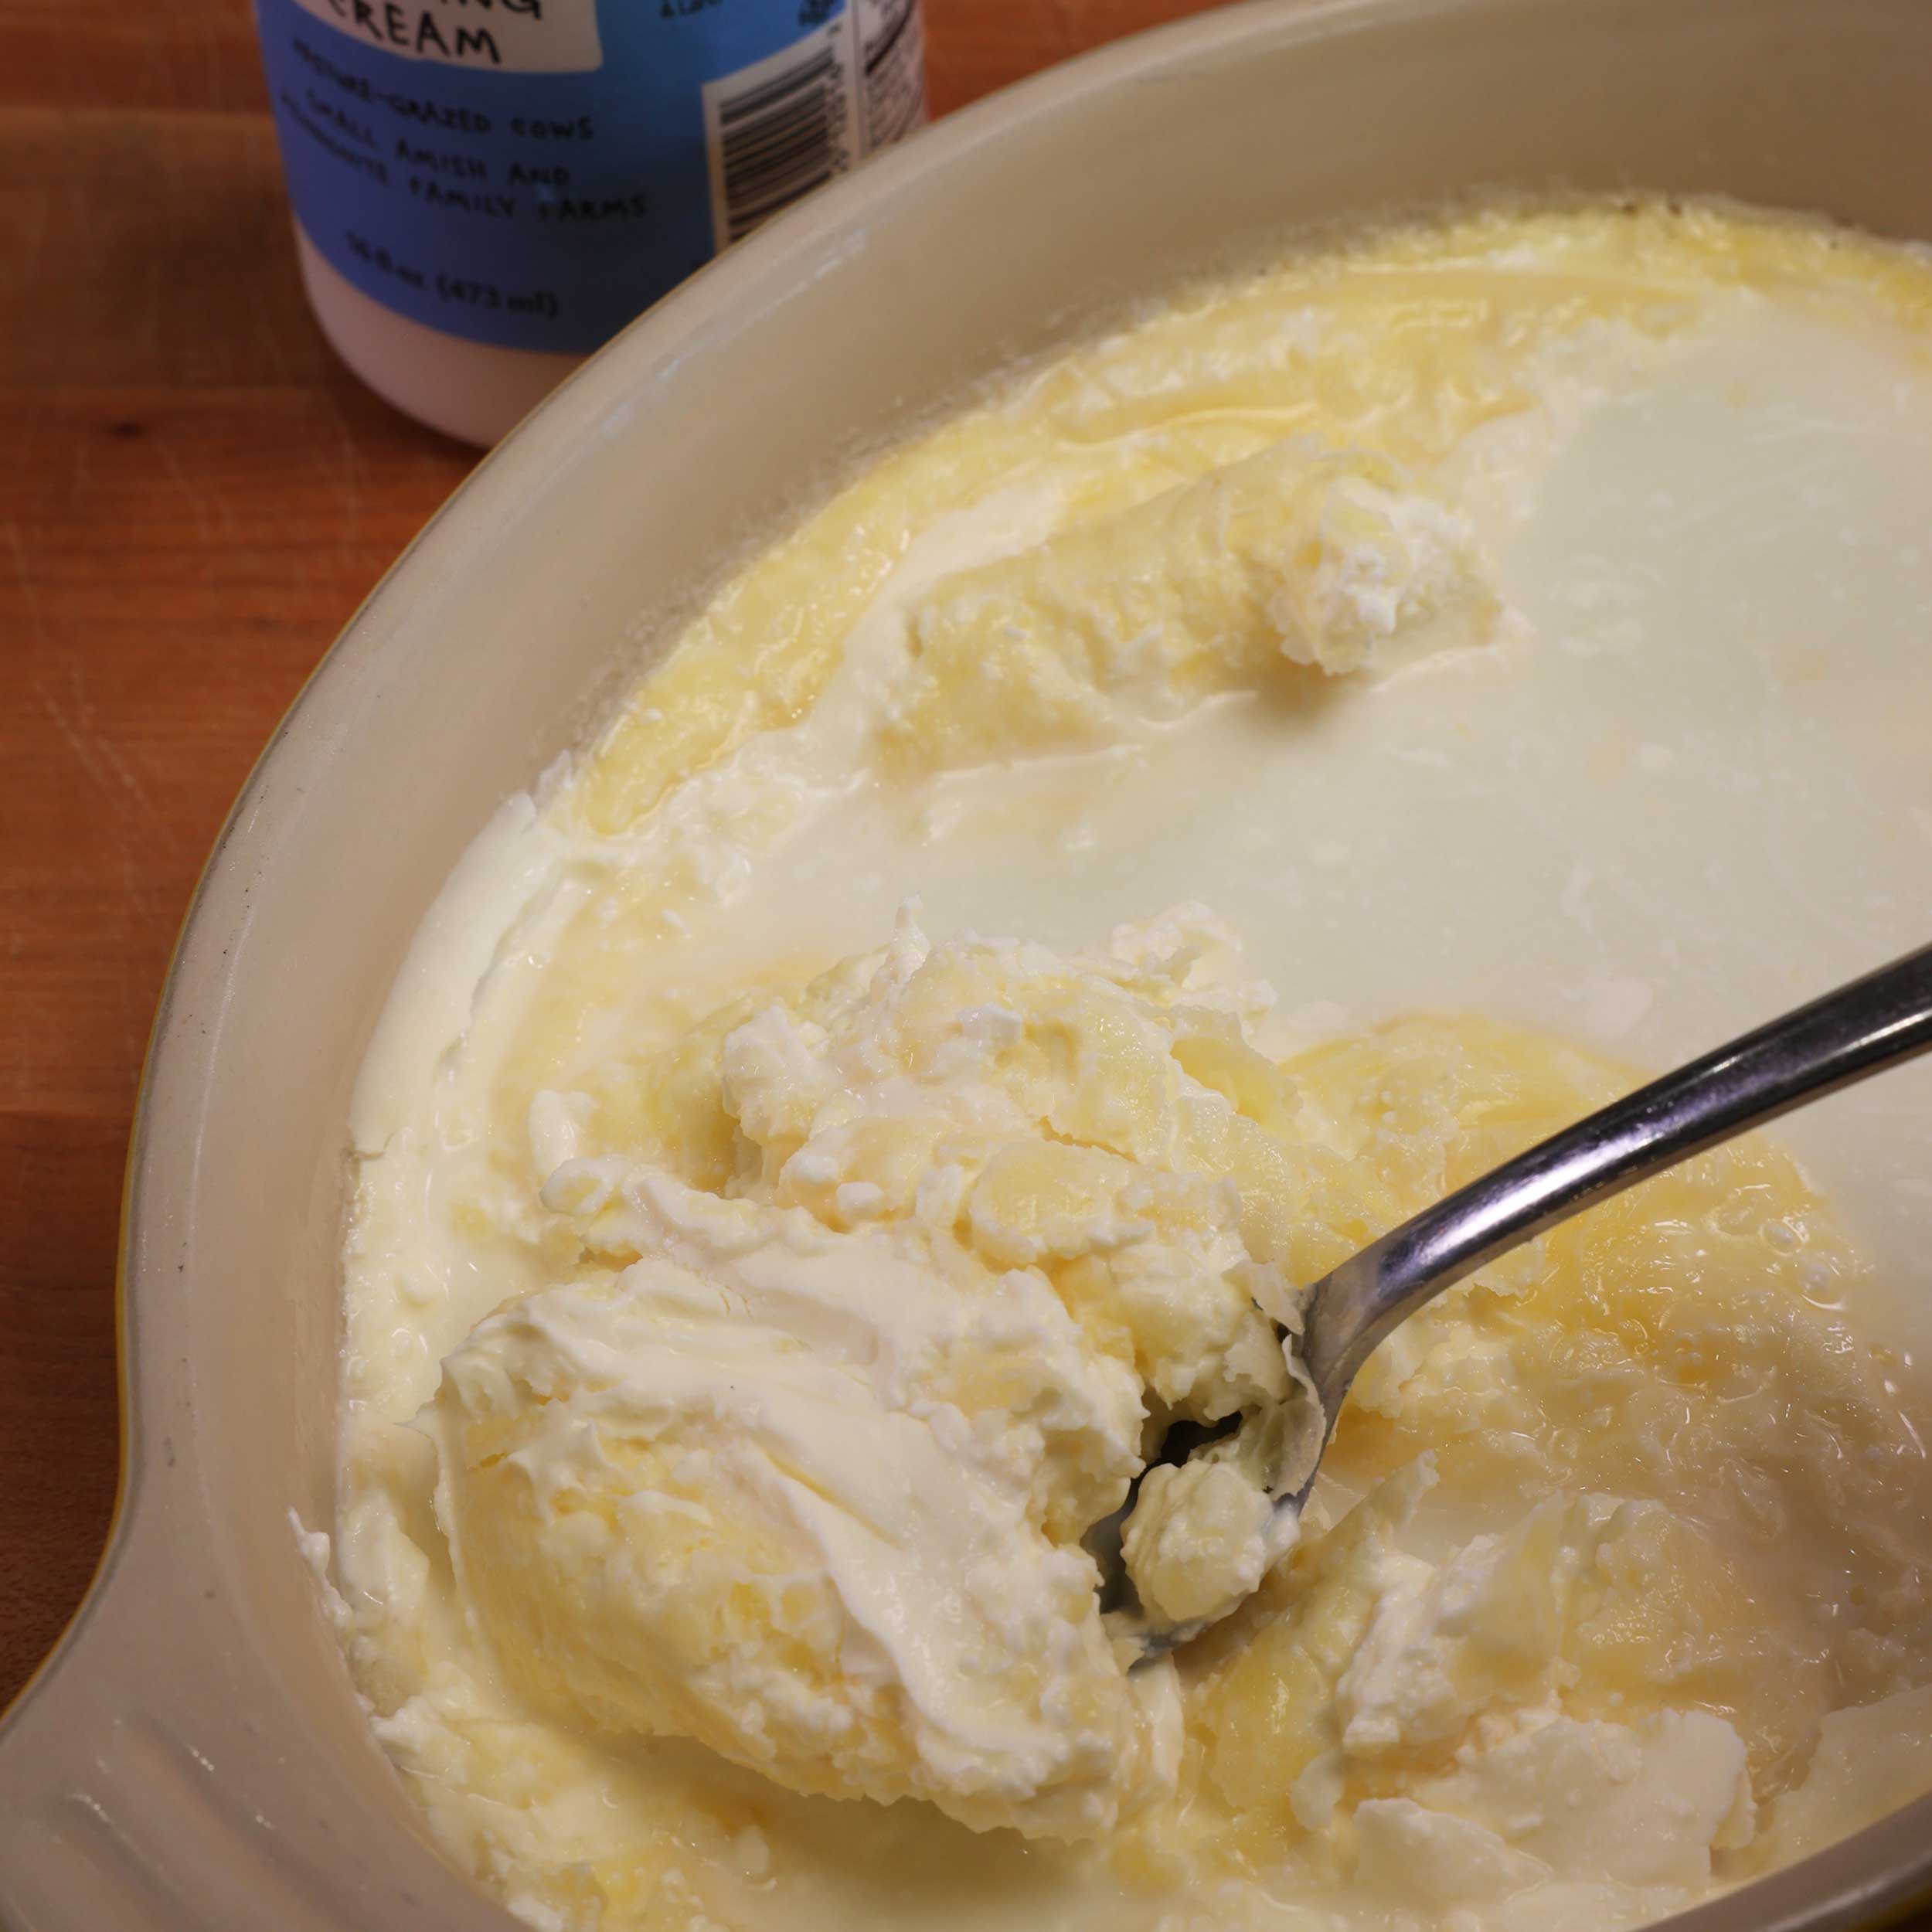
Clotted cream made with pasteurized cream
How To Make Clotted Cream
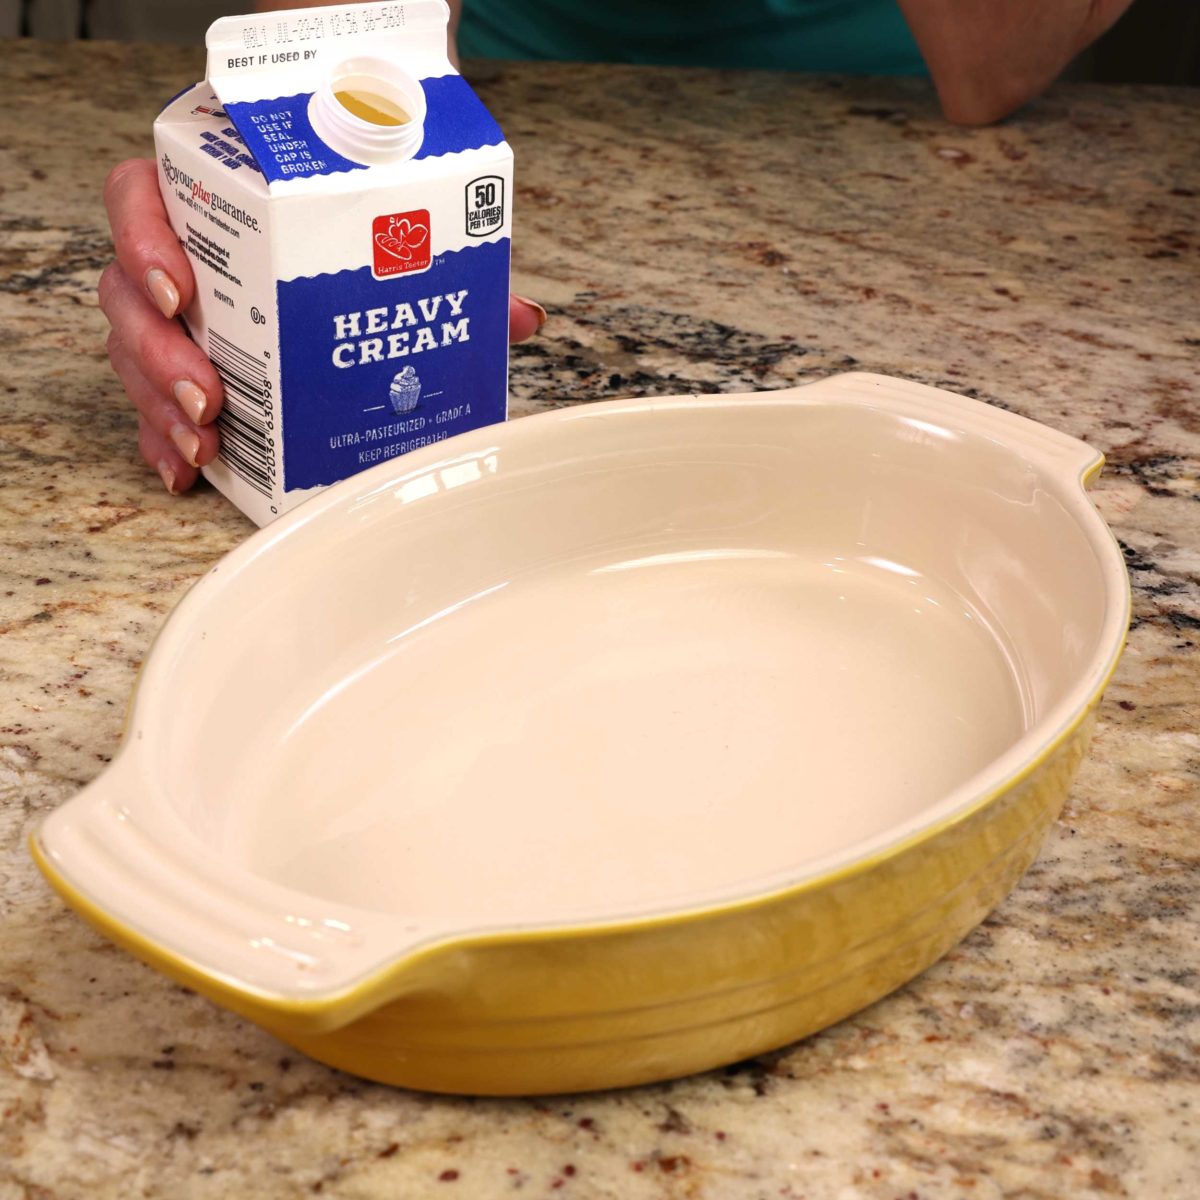
Choose Your Baking Dish
For this small batch recipe, a shallow baking dish is key. A wider surface area allows the cream to heat evenly, leading to the best results. Here are two good options:
- 6×8-inch oval baking dish or a 6×8-inch rectangular baking dish
- 5×7-inch baking dish
Now, let’s make clotted cream!
Instructions
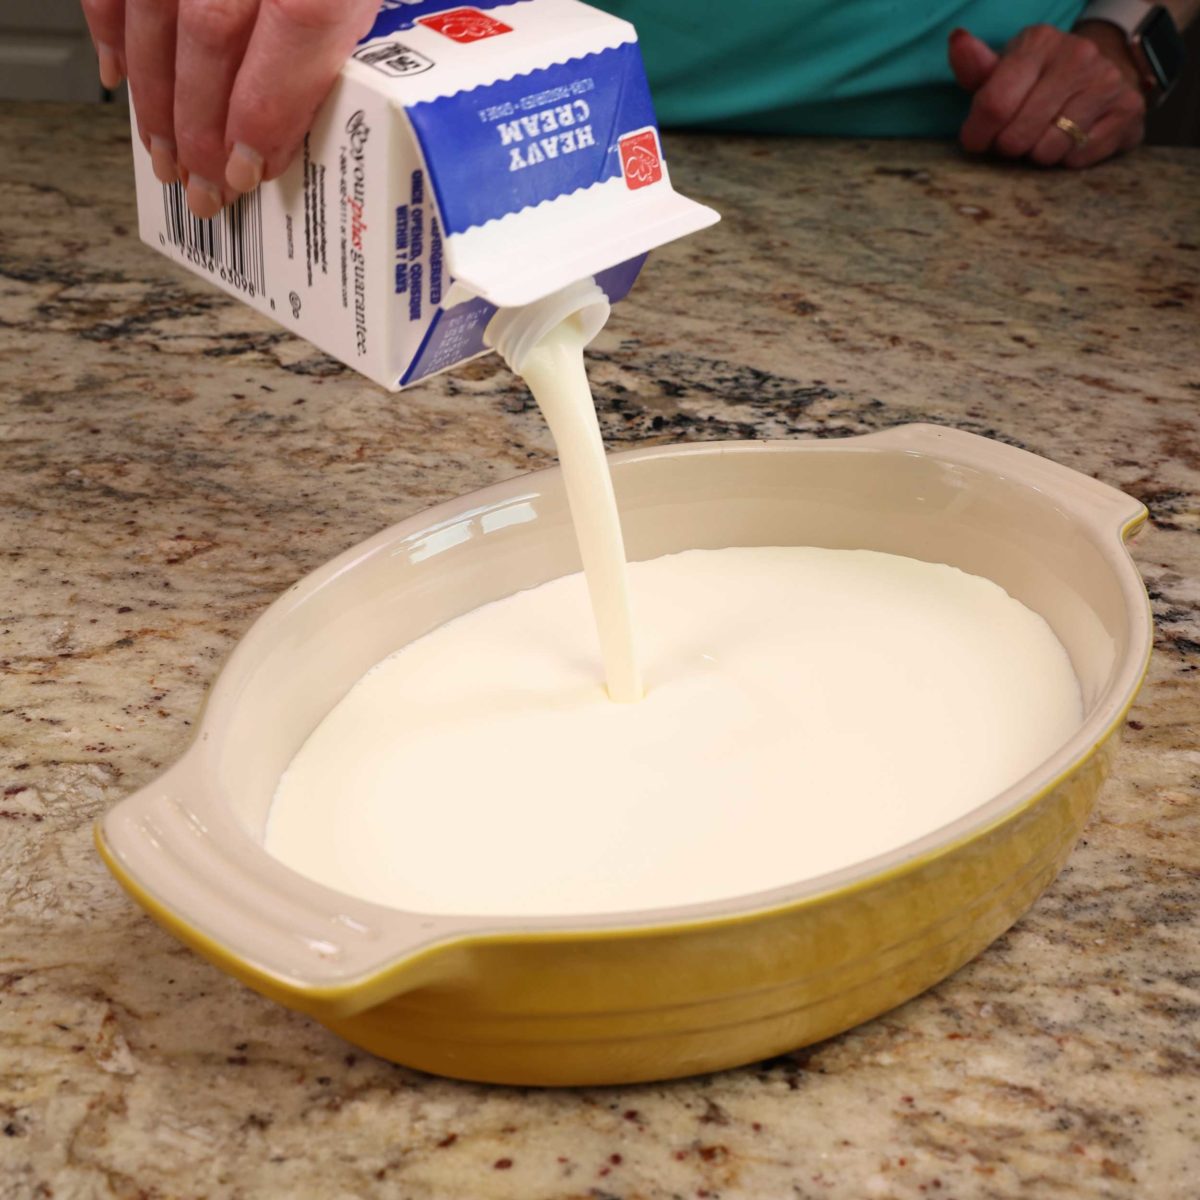
- Preheat the oven to 175°F (80°C). Pour one pint of heavy cream into an 6×8-inch or a 5×7-inch oven-safe dish and place it in the oven. Bake for 12 hours—this works well overnight.
Important: Some ovens shut off automatically after several hours. Check your manual and set an alarm if needed.
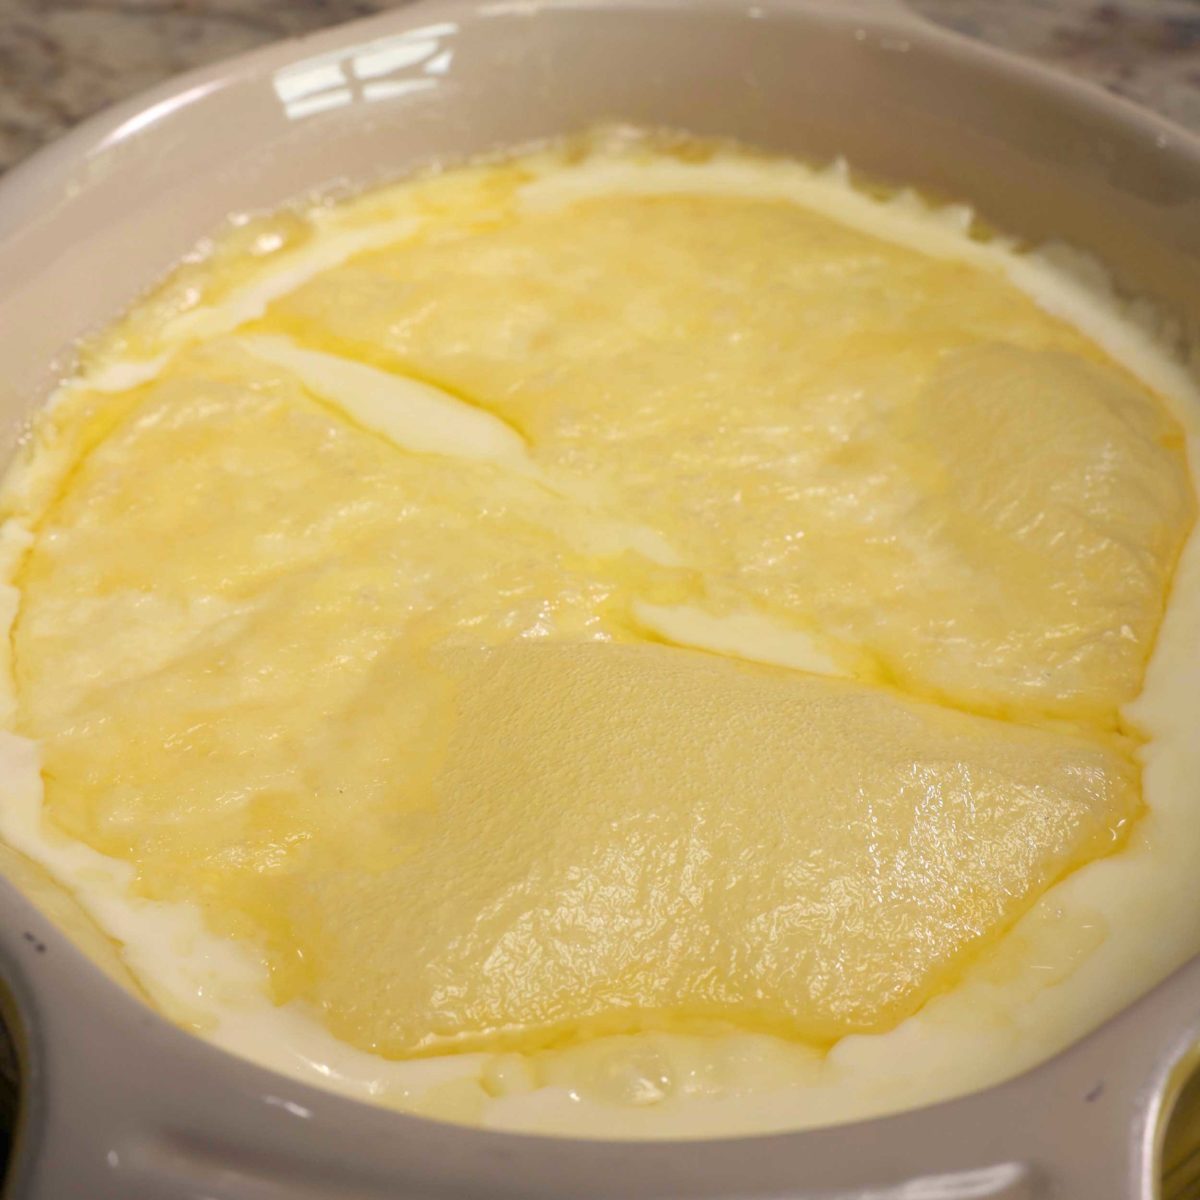
- Remove from the oven. A yellowish layer will have formed on top—that’s your clotted cream.
- Cool at room temperature, then cover and refrigerate for at least 12 hours to set.
- Scoop out the clotted cream. Use a spoon to transfer the thick, buttery cream into a jar, leaving the liquid (whey) behind. This whey is great for baking scones.
The finished clotted cream will have a rich, creamy texture, similar to crème fraîche but even smoother and slightly sweet. You can enjoy it as is or stir it for a lighter consistency.
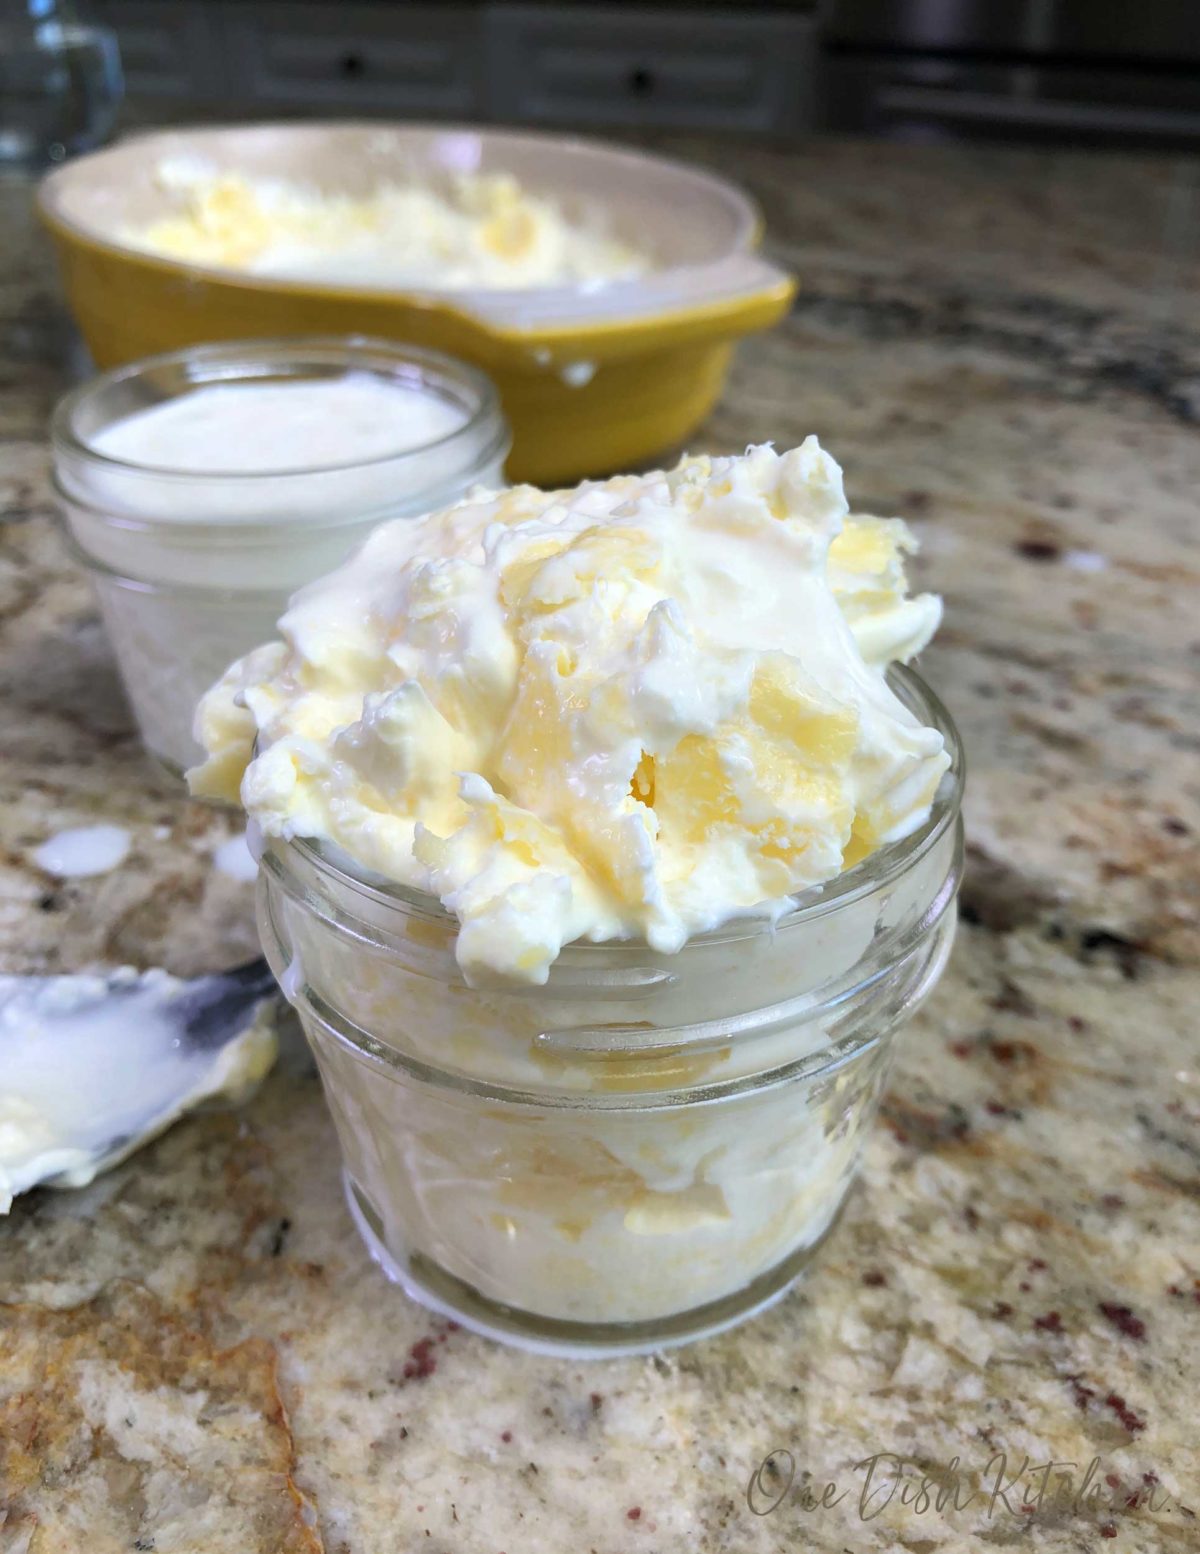
Yields 1 cup of clotted cream.
Expert Tips
- Check your oven settings. Some ovens have an auto shut-off feature. If yours does, set an alarm to turn it back on so the cream bakes for the full 12 hours.
- Making more? Use a larger dish. This recipe doubles easily, but you’ll need a bigger dish, like a 9×13-inch baking pan, to ensure even heating.
- Save the leftover liquid. The whey left in the dish after making clotted cream is great for baking—especially in scones. Use it as a substitute for milk in recipes.
What To Serve With Clotted Cream
Homemade clotted cream is rich, creamy, and surprisingly versatile. Try it with:
- Spread it on warm cream cones with our refrigerator jam for a classic cream tea.
- Add a spoonful to single serving pancakes or waffle for one for a rich breakfast or brunch.
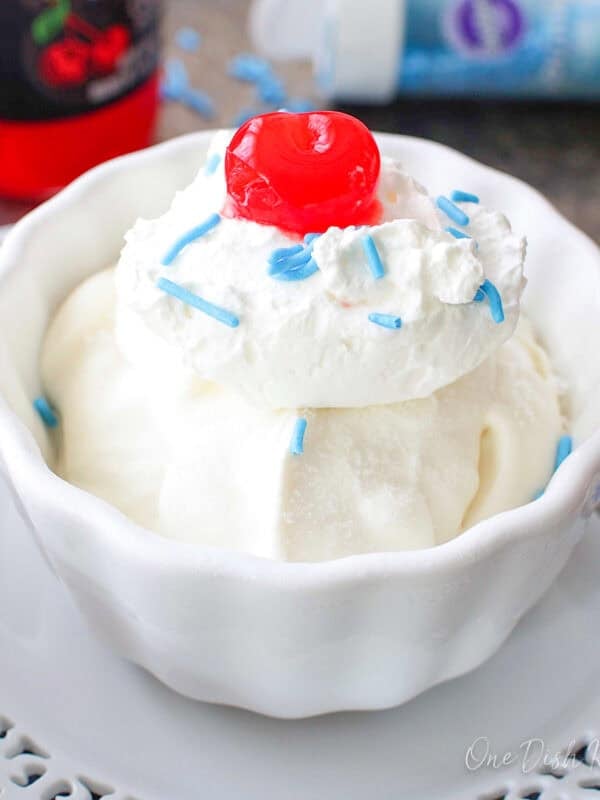
- Top fresh berries with clotted cream and a drizzle of honey or maple syrup.
- Stir into hot coffee for a smooth, velvety finish.
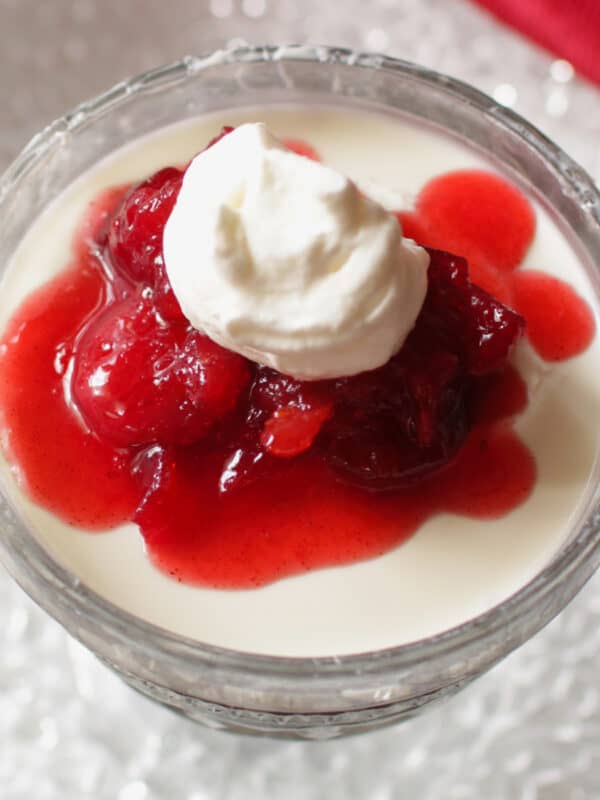
- Serve over small batch baked apples for a warm and creamy dessert.
Frequently Asked Questions
This can happen if the cream wasn’t baked long enough or didn’t have enough fat content. Make sure you’re using heavy cream (not light cream or half-and-half) and that the oven maintained a low, steady temperature.
No, do not stir the cream. The goal is to let the fats rise and form clots undisturbed.
Stored in an airtight container in the refrigerator, homemade clotted cream lasts up to 5 days.
The leftover liquid is great for baking scones, pancakes, or adding to soups and sauces as a milk substitute.
Ways To Use Leftover Ingredients
If you have any ingredients leftover from this recipe, check out our Leftover Ingredients Recipe Finder or you might like to consider using them in any of these single serving and small batch recipes:
If you’ve tried this small batch clotted cream or any recipe on One Dish Kitchen please let me know how you liked it by rating the recipe and telling me about it in the comment section below.
Also, if you take a picture please tag us on Instagram (@onedishkitchen) we’d love to see!
Small Batch Clotted Cream

Equipment
- 6×8 inch baking dish or a 5×7 inch baking dish
Ingredients
- 1 pint heavy cream (2 cups) Pasteurized cream is preferred but ultra-pasteurized can work in a pinch. See notes below.
Instructions
- Preheat the oven to 175°F (80°C). Pour the heavy cream into a 6×8 or a 5×7-inch baking dish and place it in the oven. Bake for 12 hours—this works well overnight.Important: Some ovens shut off automatically after several hours. Check your manual and set an alarm if needed.
- Remove from the oven. A yellowish layer will have formed on top—that’s your clotted cream.
- Cool at room temperature, then cover and refrigerate for at least 12 hours to set.
- Scoop out the clotted cream. Use a spoon to transfer the thick, buttery cream into a jar, leaving the liquid (whey) behind. This whey is great for baking scones or biscuits.
- The finished clotted cream will have a rich, creamy texture, similar to crème fraîche but even smoother and slightly sweet. You can enjoy it as is or stir it for a lighter consistency.
Notes
-
- Check your oven settings. Some ovens have an auto shut-off feature. If yours does, set an alarm to turn it back on so the cream bakes for the full 12 hours.
-
- Making more? Use a larger dish. This recipe doubles easily, but you’ll need a bigger dish, like a 9×13-inch baking pan, to ensure even heating.
-
- Save the leftover liquid. The whey left in the dish after making clotted cream is great for baking—especially in scones. Use it as a substitute for milk in recipes.
- Heavy Cream: The only ingredient needed for homemade clotted cream. While most recipes call for regular pasteurized cream, it’s not always easy to find. We tested both pasteurized and ultra-pasteurized cream, and both work—though with slight differences.
- Pasteurized Heavy Cream (Preferred): This cream undergoes minimal processing, allowing better curd formation. If available, it’s the best choice.
- Ultra-Pasteurized Heavy Cream (Works Too): This cream is heated to a higher temperature for a longer shelf life. It still produces clotted cream, though the curds may not separate as distinctly.
Nutrition
The information shown is an estimate provided by an online nutrition calculator. It should not be considered a substitute for a professional nutritionist’s advice.


This sounds like a great job for my crockpot lunch warmer. Supposedly it heats to 195 degrees.
I don’t know if this would helps or hurts things, but it might be a good way to prep homogenized cream: freeze it first. The water crystals can break the emulsion. I ran into this a month ago and threw the cream away. Wish I tried clotting it.
Unfortunately, my air fryer is too small for two batches side by side and my older oven too erratic to use for clotting.
Btw, every other recipe I’ve seen says to cover the clotted cream before chilling 12 hours. Not sure what difference that makes except keeping you from making a mess.
Is I possible to make in slow cooker on low setting?
I have not tested making clotted cream in a slow cooker.
Can this be made in a dehydrator set at 175?
I haven’t tested making clotted cream in a dehydrator.
This turned out pretty good for me! I did end up using ultra pasteurized heavy cream since regular pasteurized is difficult to find in America. I did use a 6×8 dish and only refrigerated for 8 hours before scraping cream from top and fluffing. It was a little sticky at first but used a fork and spatula to fluff and was good. I used the existing cream from the bottom to make the English scones from One Dish Kitchen and they turned out great! Thanks Joanie for the delicious and easy English recipes!
I’m so happy you enjoyed the clotted cream. Thank you so much for your feedback.
I really appreciate that you addressed the UHT (ultra pasteurized issue). I live in a part of the world where that is the only option for all dairy products. For years I was told you couldn’t make clotted cream as a result. But thanks to you, I now know I can. I made the recipe once and it was fantastic. Even got a thumbs up from my British neighbor who knows the real thing! And, again, this is using UHT (ultra pasteurized) heavy cream. So it’s a hit and I’m currently making some more as I write this. I have one question. Can you let it refrigerate for more than 12 hours before you take the clotted cream off the top? In other words, is it more a 12 hours minimum or dies it have to be taken off at 12 hours? (Hoping my question makes sense.) The reason I’m asking is because on this batch the 12 hours will be up in the middle of the night. And I would rather get a good night’s sleep and wait til morning to scrape the clotted cream off the top (of the liquid). Will waiting 18 hours to do this step be a problem, do you think? Please let me know as I’ve tried Googling it and can’t find the answer. And thank you again for an amazing recipe!!!
It’s great to hear that you and your neighbor enjoyed the clotted cream! In my own experience, leaving the clotted cream in the refrigerator for more than 12 hours, like waiting until morning, hasn’t caused any issues. It should work out just fine for you too.
Used ultra pasteurized as that was all I could find. The top layer seems more like separated milkfat, is that right?
I find that there is a greater separation of curds from liquid when I use regular pasteurized cream but as shown in the photos, we used ultra-pasteurized cream successfully. The top layer is the part you want, it is the thick layer that looks almost like a “crust” and this is your clotted cream. The liquid below is the leftover whey and it can be used in any baked goods that call for using milk.
Could you make this in an instant on tge yogurt setting?
Hi Lisa, although I haven’t tested this recipe in the Instant Pot other readers have told me they have made clotted cream on the yogurt setting with success.