This post may contain affiliate links. Please read our disclosure policy.
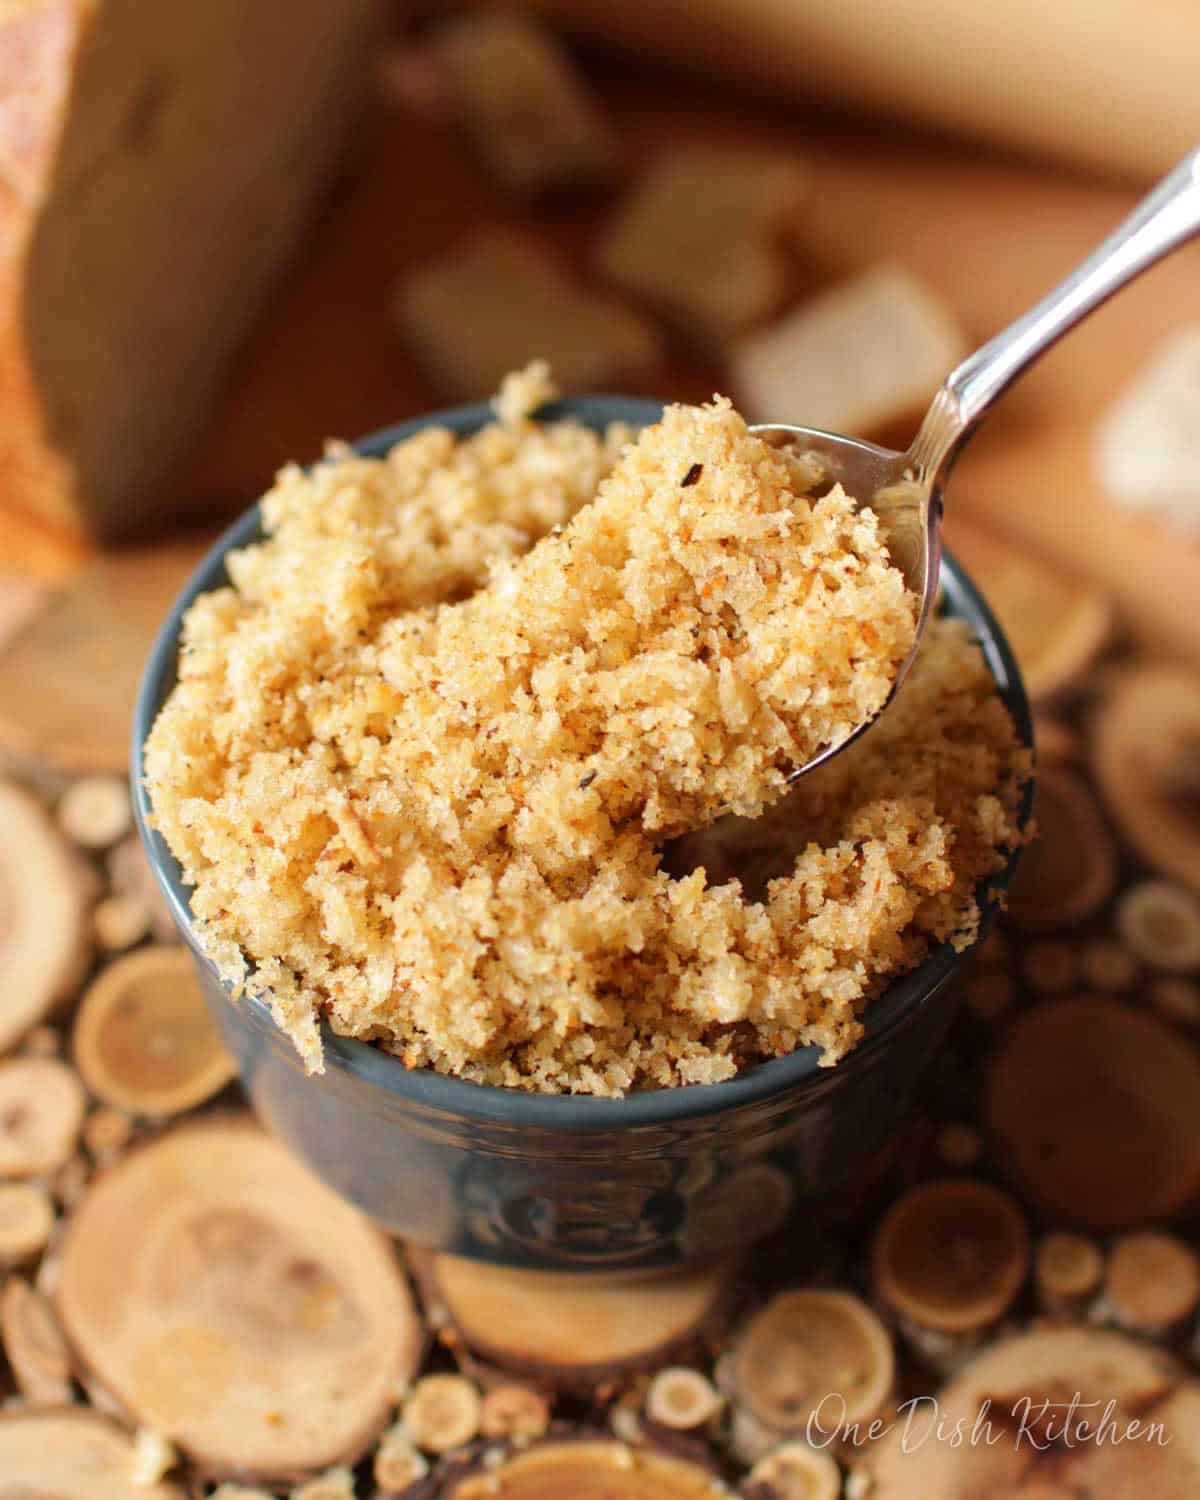
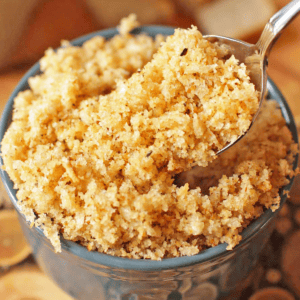
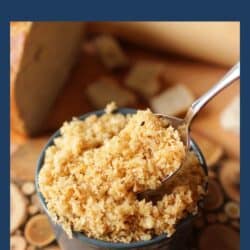
Turn leftover bread into fresh, homemade breadcrumbs with this easy small batch recipe. Ready in minutes, they’re perfect for topping casseroles, coating chicken, or adding crunch to your favorite dishes, so much better than store-bought.
Featured Comment
“Great instructions for making something so easy instead of buying premade breadcrumbs…”
– Amanda
Why You’ll Love This Recipe
- Simple & Quick: Made with just a few ingredients and ready in minutes.
- Versatile: Use in casseroles, as a crispy coating, or to add texture to dishes.
- Customizable: Adjust the seasonings and texture to suit your recipe.
I love making a small batch of breadcrumbs because it’s the perfect way to use up leftover bread without waste. It’s quick, budget-friendly, and so much fresher than store-bought.
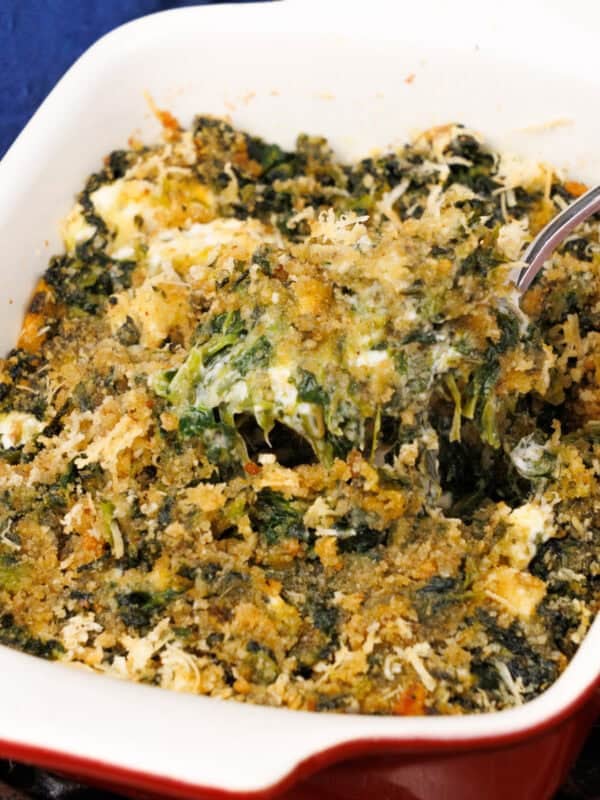
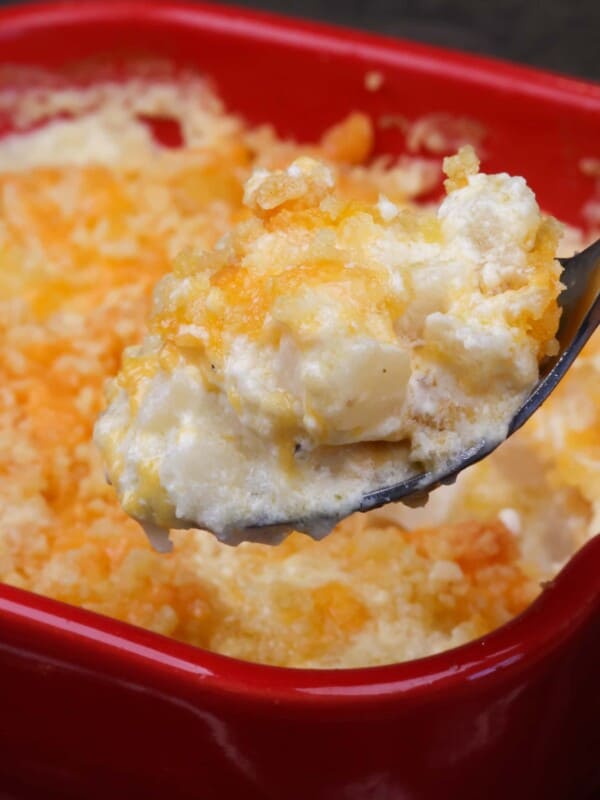
Homemade breadcrumbs add flavor and texture to so many dishes. Use them in small jalapeño poppers, chicken divan for one, small meatloaf recipe, or my single serve chicken cordon bleu. They also make a great crispy coating for small batch chicken nuggets or a golden topping for a small broccoli casserole.

Ingredients
If you have any ingredients leftover from this small batch breadcrumbs recipe, check out our Leftover Ingredients Recipe Finder.
- Bread: Use any bread you have – white, whole wheat, sourdough, or gluten-free all work. Herb or garlic bread adds extra flavor.
- Olive Oil: I use extra virgin olive oil, but avocado, vegetable, or canola oil work too.
- Salt and Herbs: Season with your favorite dried herbs and spices to customize the flavor.
Recipe Variations
Customize homemade breadcrumbs with these simple variations:
- Italian-Style: Add dried basil, oregano, and garlic powder for extra flavor. Great for chicken Parmesan for one or a small batch of turkey meatballs.
- Spicy: Mix in chili flakes or cayenne for heat. Try it in baked buffalo chicken tenders.
- Herb-Infused: Use rosemary, thyme, and parsley for a fragrant blend. Great with my small batch crab cakes recipe.
- Sweet: Stir in cinnamon and a little sugar for a sweet-savory option. Try it in my mini sweet potato casserole.
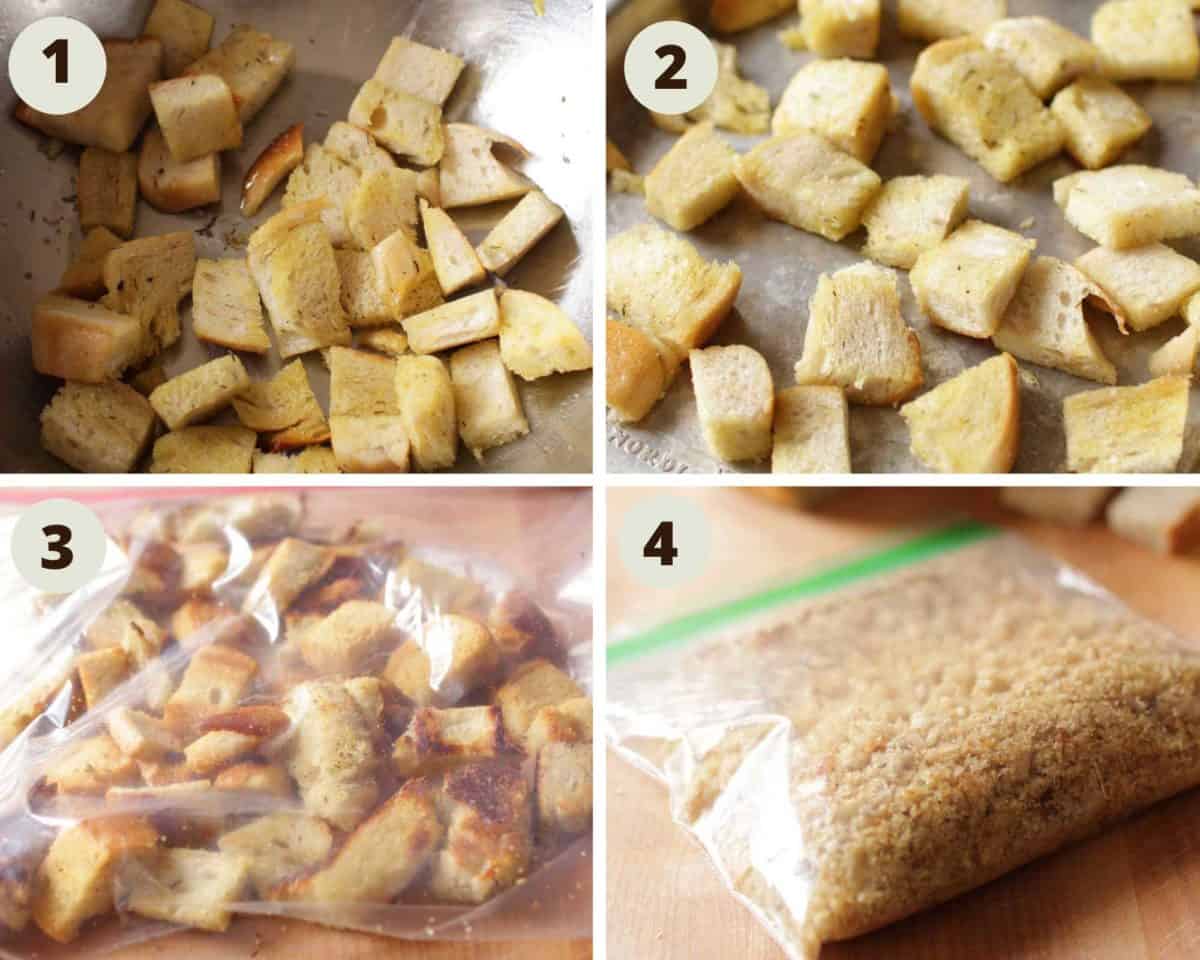
How To Make Breadcrumbs
These photos and instructions help you visualize how to make this easy small batch breadcrumbs recipe. See the recipe box below for ingredient amounts and full recipe instructions.
- Prepare the Bread: Cut or tear the bread into small pieces and toss them with olive oil, salt, and herbs.
- Bake: Spread the bread pieces on a baking sheet and bake until they are crisp and dry.
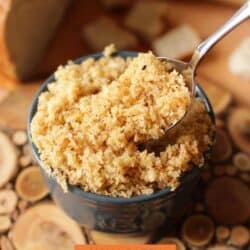
- Crush the Bread: Once cooled, place the bread pieces in a zippered bag and crush them with a rolling pin to your desired consistency.
Pro Tip: For finer breadcrumbs, crush them more thoroughly or pulse them in a food processor.
- Store: Transfer the breadcrumbs to an airtight container or bag and store them until ready to use.
Expert Tips
- Texture: For finer breadcrumbs, crush with a rolling pin or pulse in a food processor with seasonings until you reach your desired consistency.
- Storage: Store in an airtight container for up to two months.
- Best Bread to Use: Day-old bread works best since it’s drier and toasts more evenly.
Frequently Asked Questions
Yes, fresh bread works for this recipe, but the breadcrumbs will be softer and less crumbly than those made from stale bread. For best results, lightly toast fresh bread before using it.
Store breadcrumbs in an airtight container in the refrigerator for up to one week. For longer storage, freezing is recommended to maintain freshness and prevent mold.
Absolutely! Store breadcrumbs in an airtight container in the freezer for up to two months. Freezing prevents moisture buildup, which can lead to mold. Frozen breadcrumbs thaw quickly and can be used directly in recipes without defrosting.
For extra crispy breadcrumbs, toast the bread slices before crumbling or process the breadcrumbs and toast them on a baking sheet until golden brown.
Yes! Use a toaster or skillet to toast your bread until dry and golden, then crumble or process it as usual.
Panko breadcrumbs, a Japanese-style breadcrumb, are known for their light, airy, and crispy texture. Unlike traditional breadcrumbs, panko is made from bread without crusts that is processed into flakes and then dried. These flakes are larger and create a crunchier coating.
Ways To Use Leftover Ingredients
If you have any ingredients leftover from this recipe, check out our Leftover Ingredients Recipe Finder or you might like to consider using them in any of these single serving and small batch recipes:
If you’ve tried this small batch breadcrumbs recipe or any recipe on One Dish Kitchen please let me know how you liked it by rating the recipe and telling me about it in the comment section below.
Also, if you take a picture please tag us on Instagram (@onedishkitchen) we’d love to see it!
Small Batch Homemade Breadcrumbs
Equipment
- rolling pin or food processor
Ingredients
- 2 cups cubed or torn bread
- 3 tablespoons olive oil
- ⅛ teaspoon kosher salt
- ⅛ teaspoon dried herbs (dried herbs (dried basil, rosemary, herbs de Provence, or garlic powder work well)
Instructions
- Prepare the Bread: Preheat your oven to 400°F (200°C). Place the bread pieces in a medium-sized bowl. Drizzle with olive oil, then sprinkle with salt and dried herbs. Toss until the bread is evenly coated. Taste a piece and adjust the seasoning as needed.
- Toast the Bread: Spread the seasoned bread pieces evenly on a small baking sheet. Bake for 8–10 minutes, or until golden brown and crisp.
- Crush the Bread: Allow the toasted bread to cool completely. For a cleaner process, place the bread in a zip-top bag, seal it, and use a rolling pin to crush it into fine crumbs. Alternatively, pulse the bread in a food processor until you achieve your desired consistency.
Notes
-
- Texture: For finer breadcrumbs, crush with a rolling pin or pulse in a food processor with seasonings until you reach your desired consistency.
- Storage: Store in an airtight container for up to two months.
- Best Bread to Use: Day-old bread works best since it’s drier and toasts more evenly.
Nutrition
The information shown is an estimate provided by an online nutrition calculator. It should not be considered a substitute for a professional nutritionist’s advice.


Are you supposed to let the bread dry before toasting, or is the toasting the drying process?
Thank you for sharing this recipe!
The toasting dries the bread.
Absolutely loved them. Will make again as I am doing today LOL.
I find this recipe very interesting. One other way I have found works very well. Take a slice of bread remove crust if desired (panco) Wad into a ball and drop into a blender. Quickly pulse until desired consistency. Spread evenly on baking tray to dry and or toast in the oven. If desired you can season with Italian seasoning before wadding into a ball an shredding into crumbs. Toss with or coat lightly with melted butter before using as a topping casseroles ect.
To free up your oven or to stop it from burning in spots, just microwave the crumbs in a glass bowl for 30 seconds, toss/stir repeat until crispy!
Hi. How do you store it? Thank you!
Store the bread crumbs in an airtight container. They should keep at room temperature for a few days and in the freezer for up to one month. If they need to be crisped up a little after freezing, just toss them into a hot skillet for 1-2 minutes until they crisp up.
These went great in the meatballs I wanted to make, I used 1/8 tsp garlic powder as you recommended and they smelled so good even before I baked them.
Great instructions for making something so easy instead of buying premade breadcrumbs. BTW, panko breadcrumbs don’t begin as “bread”. They are made to be breadcrumbs from the start. The Japanese have a special process that creates the larger, fluffier crumbs.
From South Africa. The best small dish recipes ever. I am enjoying making each one you share with us. Thank you I have become a cook in my late years.
I can eat we’ll living on my own. Thank you! Thankyou Eileen
Thank you so much, Eileen. I’m so happy to know you are enjoying the recipes.
I can’t tell you how greatful I am that someone is showing us how to break down receipes into smaller portions why u are not on food network heaven only knows. Now that I’ve been following you my food but budget has gotten smaller and I’m not wasting food. Pancakes were awesome.
Thank you so much, Mary! I’m so glad you’re finding the recipes helpful.
At what temperature?
Bake at 400° F (200° C).