This post may contain affiliate links. Please read our disclosure policy.
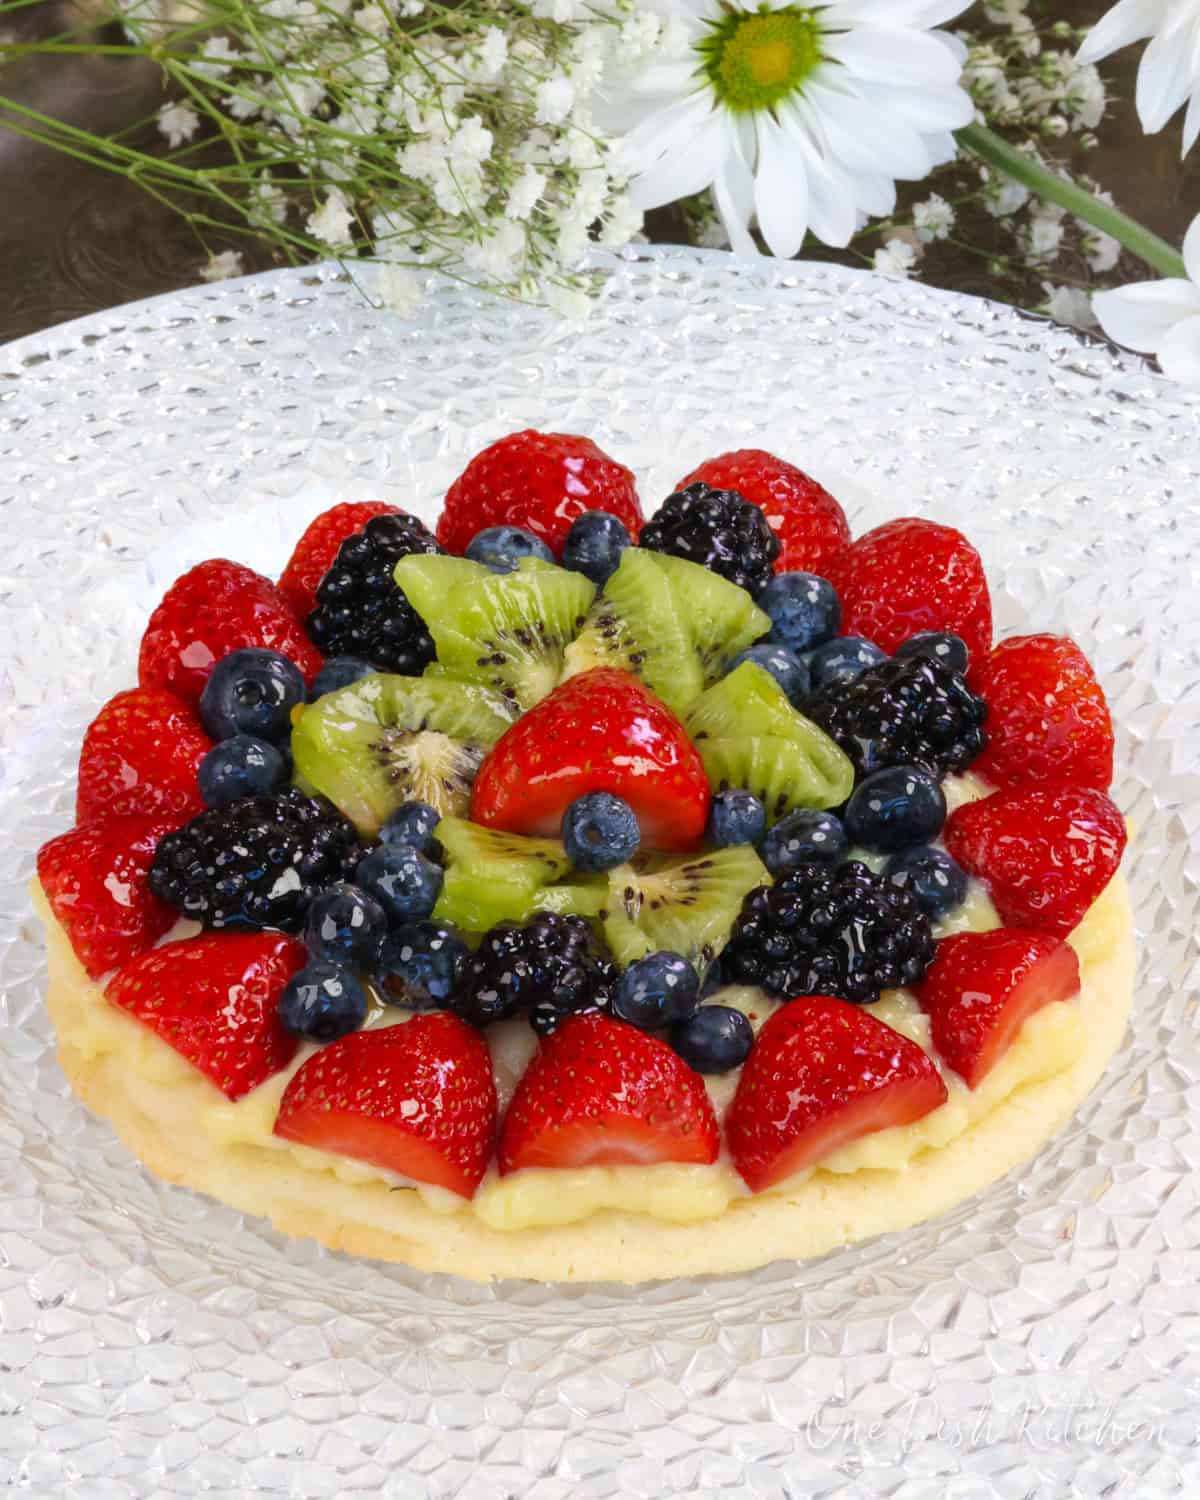
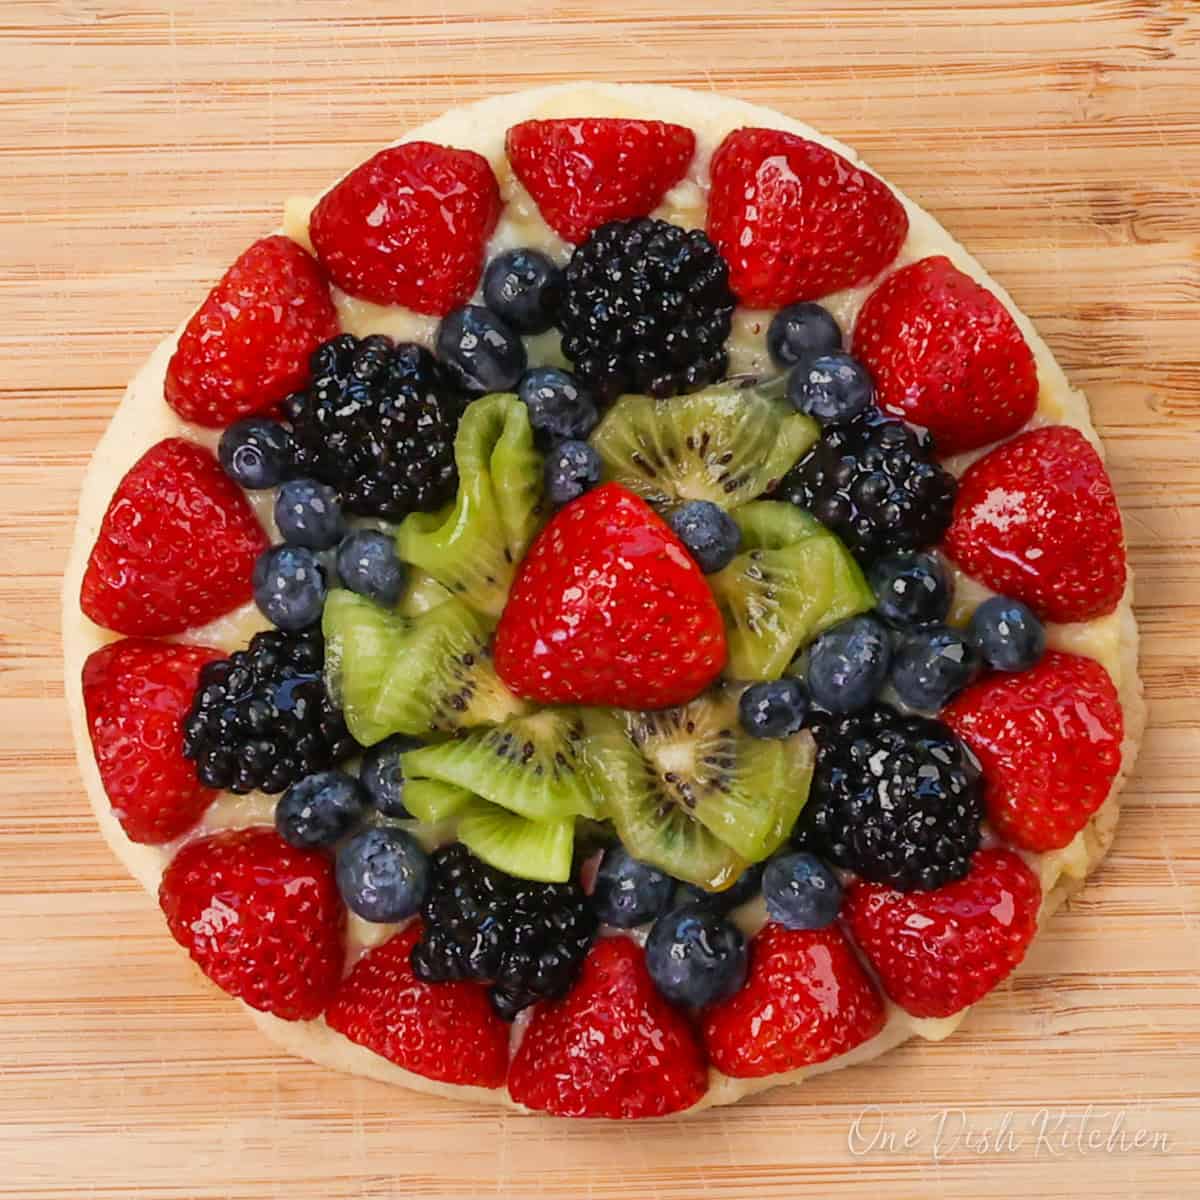
This small fresh fruit tart features a crisp, buttery shortbread crust filled with rich, lightly sweetened custard and topped with colorful fresh fruit. This tart comes together easily and makes a stunning treat for any occasion.
Why You’ll Love This Recipe
- Easy to Make: Simple steps with no special equipment needed.
- Simple Ingredients: Uses everyday ingredients and basic techniques.
- Beautiful Presentation: A showstopper dessert that looks impressive.
- Perfect Size: Ideal for one or two people.
- Customizable: Mix and match fruits based on what’s in season.
There’s something special about a fruit tart that looks like it came from a fancy pastry shop, but was made right in your kitchen. I love this recipe because it’s simple and approachable, even for someone who doesn’t bake often.
The crust is buttery and crisp, the custard is smooth and rich, and the fruit adds natural sweetness and color.
You can make the parts ahead of time, so when it’s time to put it all together, it feels easy and stress-free. The glaze is the final step that makes the tart look like a gem. Whether you’re making it for yourself or to share, it’s a beautiful, fresh dessert that always impresses.
Looking for more impressive small desserts perfectly sized for one or two? Try our chocolate lava cake for one, mini boston cream pie, chocolate soufflé for one, individual trifle, mini pavlova, or single serving flan.

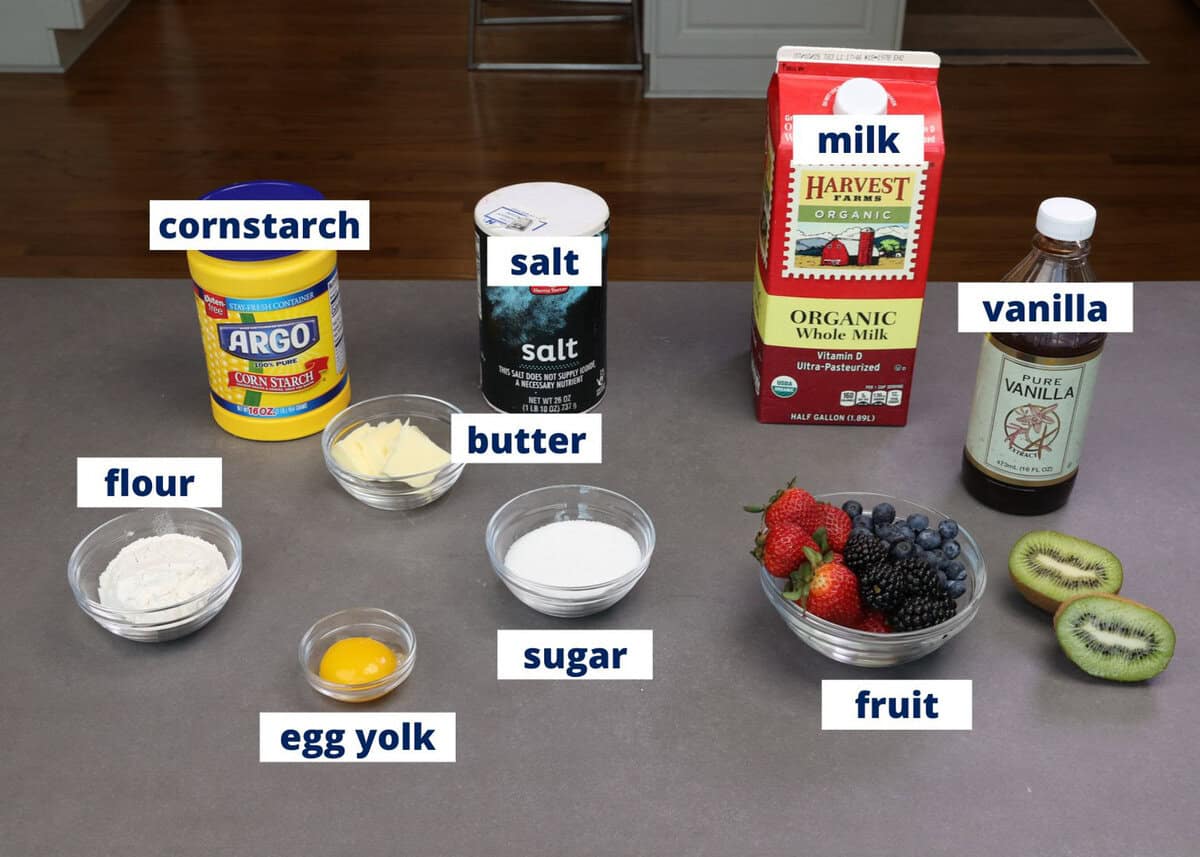
Ingredients
If you have any ingredients leftover from this easy fruit tart recipe, check out our Leftover Ingredients Recipe Finder.
For the Tart Crust
We use our Mini Shortbread Pie Crust recipe:
- Butter
- Sugar
- All-Purpose Flour
- Cornstarch
- Salt
For the Custard (Pastry Cream)
This is our Single Serving Custard recipe:
- Whole Milk
- Sugar
- Egg Yolk: Use the egg white in our mini angel food cake, single serving chocolate cake, or meringue cookies recipes.
- Cornstarch
- Vanilla Extract
For the Fruit Topping
- Use your favorite fruits: Strawberries, blueberries, blackberries, peaches, mango, kiwi, or a mix.
For the Glaze
- Apricot Jam or Peach Jam: Gently brushed over the fruit to add shine and keep the fruit from weeping juices into the tart.
See recipe card below for a full list of ingredients and measurements.
Recipe Variations
With just a few small changes, you can turn this fruit tart into a completely different dessert. Here are some easy ways to switch things up using the same crust and custard base:
- Fig Tart: Top the custard with sliced fresh figs and finish with a drizzle of honey.
- Chocolate Custard Tart: Replace the vanilla custard with our rich chocolate pudding.
- Lemon Glaze: Instead of apricot jam, brush a thin layer of warm homemade lemon curd over the fruit for a bright, citrusy finish.
- Mini Tarts: Divide the crust into two smaller portions for individual tarts.
How To Make A Fresh Fruit Tart
These photos and instructions help you visualize how to make a mini fruit tart. See the recipe card below for ingredient amounts and full recipe instructions.
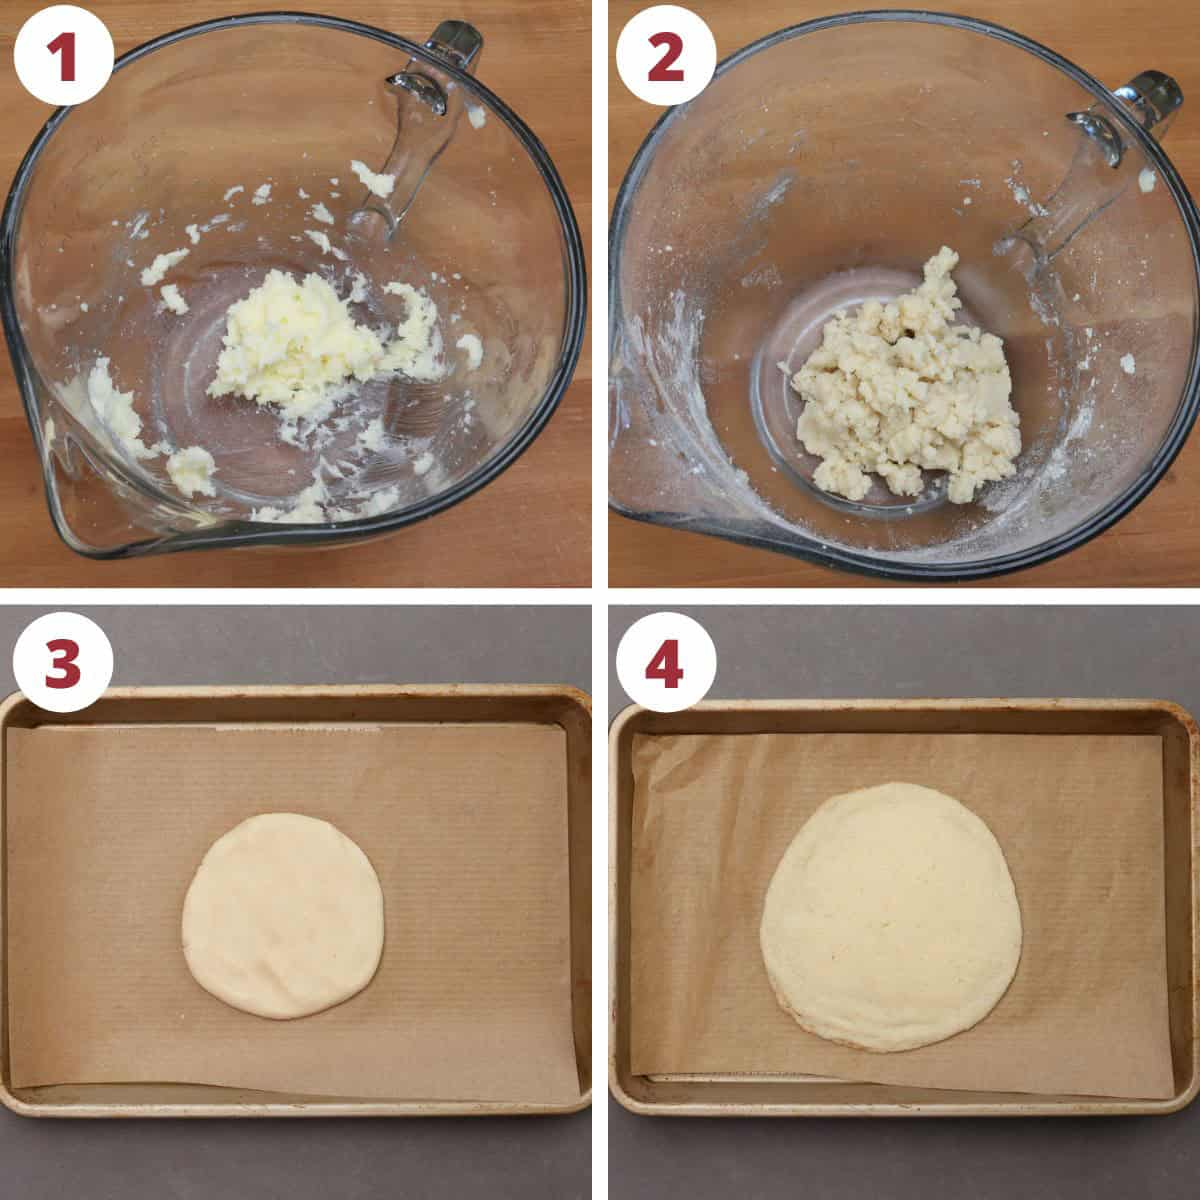
Make the Crust
- In a medium bowl, use an electric hand mixer to beat the butter and sugar until smooth.
- Add the flour, cornstarch, and salt. Mix until a dough forms.
- Transfer the dough to a parchment paper-lined baking sheet. Shape into a ball, then flatten into a ¼-inch thick circle using your hands.
- Bake at 350°F for 8 to 12 minutes, until lightly golden. Let cool completely.
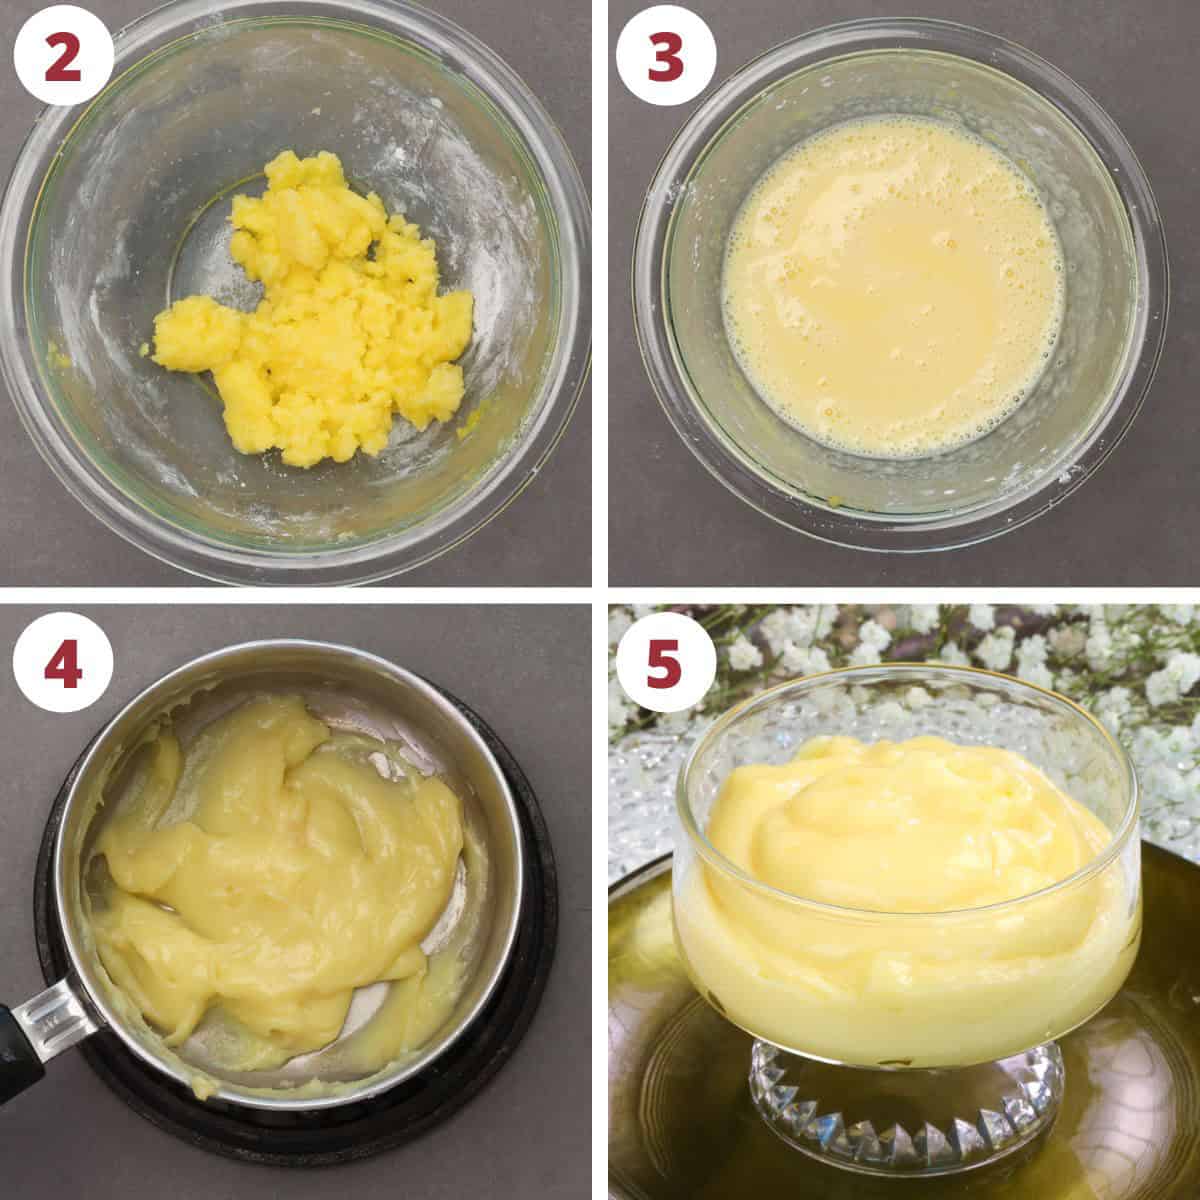
Make the Custard
- In a 1-quart saucepan over medium heat, warm the milk until bubbles form around the edges, 6 to 8 minutes. Stir often to keep it from scorching.
- In a separate bowl, stir the egg yolk and sugar together. Add the cornstarch and stir until smooth.
- Slowly add the hot milk to the egg mixture, 1 tablespoon at a time, whisking constantly so the egg doesn’t cook.
- Pour the mixture back into the saucepan. Cook over medium heat, whisking constantly, until thick and smooth, about 4 to 5 minutes. Remove from heat and stir in the vanilla.
- Transfer to a bowl, press plastic wrap directly on the surface, and chill for about 2 hours until cold.
Assemble the Tart
- Spoon the chilled custard over the cooled crust and spread evenly.
- Arrange the fruit on top in a decorative pattern.
- Warm the apricot jam until thin, then brush it over the fruit using a pastry brush.
Expert Tips
- Make in Stages: You can make the crust and custard a day or two ahead and assemble the tart just before serving. Or make it all the same day if you prefer.
- Cool Completely: Let both the crust and custard cool fully before adding fruit.
- Use Light Jam: Apricot or peach jam gives a clean shine without altering the fruit’s color.
- Decorate with Confidence: Use a mix of colors and shapes for a beautiful, eye-catching tart.
Frequently Asked Questions
Make sure the crust is fully baked and cooled, the custard is thick and cold, and the fruit is glazed.
Once assembled, it’s best eaten within a day. The crust and custard will last 1-2 days separately.
You can, but the glaze helps preserve the fruit and gives the tart a beautiful finish.
Yes, just double the crust and custard ingredients. You’ll also need more fruit to cover the larger surface. Form a bigger round on a baking sheet and bake as directed.

Ways To Use Leftover Ingredients
If you have any ingredients leftover from this recipe, check out our Leftover Ingredients Recipe Finder or you might like to consider using them in any of these single serving and small batch recipes:
If you’ve tried this individual fruit tart recipe or any recipe on One Dish Kitchen please let me know how you liked it by rating the recipe and telling me about it in the comment section below.
Also, if you take a picture please tag us on Instagram (@onedishkitchen) we’d love to see it!
Small Fresh Fruit Tart

Equipment
Ingredients
For the Crust
- 2 ½ tablespoons salted butter -softened to room temperature
- 2 tablespoons granulated sugar
- ¼ cup all-purpose flour
- 1 tablespoon cornstarch
- ⅛ teaspoon salt
For the Custard (Pastry Cream)
- ½ cup whole milk
- 1 large egg yolk
- ¼ cup granulated sugar
- 1 tablespoon cornstarch
- ¼ teaspoon vanilla extract
For the Tart
- assorted fresh fruits: strawberries, blueberries, blackberries, kiwi, peaches, raspberries, or a mix
- 2-3 tablespoons apricot jam
Instructions
Make the Crust
- In a medium bowl, use an electric hand mixer on medium speed to beat the butter and sugar until smooth.
- Add the flour, cornstarch, and salt. Mix until a dough forms.
- Transfer the dough to a parchment paper-lined baking sheet. Shape into a ball, then flatten into a ¼-inch thick circle using your hands.
- Bake at 350°F for 8 to 12 minutes, until lightly golden. Let cool completely.
Make the Custard (Pastry Cream)
- In a 1-quart saucepan over medium heat, warm the milk until bubbles form around the edges, 6 to 8 minutes. Stir often to keep it from scorching.
- In a separate bowl, stir the egg yolk and sugar together. Add the cornstarch and stir until smooth.
- Slowly add the hot milk to the egg mixture, 1 tablespoon at a time, whisking constantly so the egg doesn’t cook.
- Pour the mixture back into the saucepan. Cook over medium heat, whisking constantly, until thick and smooth, about 4 to 5 minutes. Remove from heat and stir in the vanilla.
- Transfer to a bowl, press plastic wrap directly on the surface, and chill for about 2 hours until cold.
Assemble the Fruit Tart
- Spoon the chilled custard over the cooled crust and spread evenly.
- Arrange the fruit on top in a decorative pattern.
- Warm the apricot jam in the microwave for about 10 to 15 seconds or until thin and spreadable. Using a pastry brush, gently brush the jam over the fruit to add shine and help preserve it.
Notes
- Make in Stages: You can make the crust and custard a day or two ahead and assemble the tart just before serving. Or make it all the same day if you prefer.
- Cool Completely: Let both the crust and custard cool fully before adding fruit.
- Use Light Jam: Apricot or peach jam gives a clean shine without altering the fruit’s color.
- Decorate with Confidence: Use a mix of colors and shapes for a beautiful, eye-catching tart.
Nutrition
The information shown is an estimate provided by an online nutrition calculator. It should not be considered a substitute for a professional nutritionist’s advice.


This was a hit. I did have an issue with the dough. The first batch I added all the ingredients at once. I was busy talking instead of paying attention to what I was doing. It still turned out ok. The crust was lacy and crispy. It actually tasted great. I handled the second try properly, however, it came out very hard. I made them ahead of time. Did that make the second one hard? In any case, This was a hit for everyone. Excellent taste, normal ingredients and very easy to make.
I’m so glad it was a hit and that everyone enjoyed it. The shortbread crust can become hard if it’s baked a little too long or if it sits uncovered too long after baking. Making it ahead of time can also cause it to firm up as it cools and rests, especially if it’s stored in the refrigerator. For a more tender crust, baking just until lightly golden and assembling the tart closer to serving usually works best.
This looks delicious! Can it be made with frozen fruit, or will that make things too wet as the fruit thaws?
It’s past fresh fruit season in my part of Canada, but we have a freezer full of raspberries that we picked from our yard this summer.
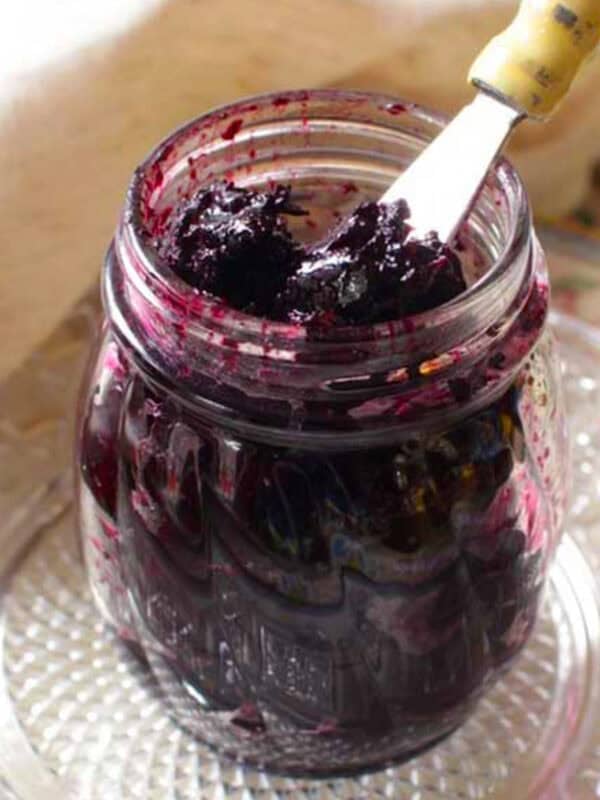
That sounds lovely — how nice to have homegrown raspberries! I recommend using fresh fruit for this tart since frozen fruit can release too much liquid as it thaws. You might enjoy using your raspberries to make our refrigerator jam instead — it’s a softer, more “French-style” jam that thickens naturally as it cooks and would be wonderful spooned over the tart – https://onedishkitchen.com/easy-small-batch-refrigerator-jam/
This recipe is good as written, but I’d rather have lemon filling. What and how much should I add to make it lemon? Zest, juice, extract? Thanks for sharing such delightful recipes with the rest of us mortals, lol 😆
Thank you so much for your kind words. I’m so glad you’re enjoying the recipes! For a lemon version of the tart, I recommend using our small batch lemon curd recipe instead of the vanilla custard. It has a bright, tangy flavor and would be a lovely match for the fruit and crust – https://onedishkitchen.com/small-batch-lemon-curd-recipe/
Good recipe.
Thank you.