This post may contain affiliate links. Please read our disclosure policy.
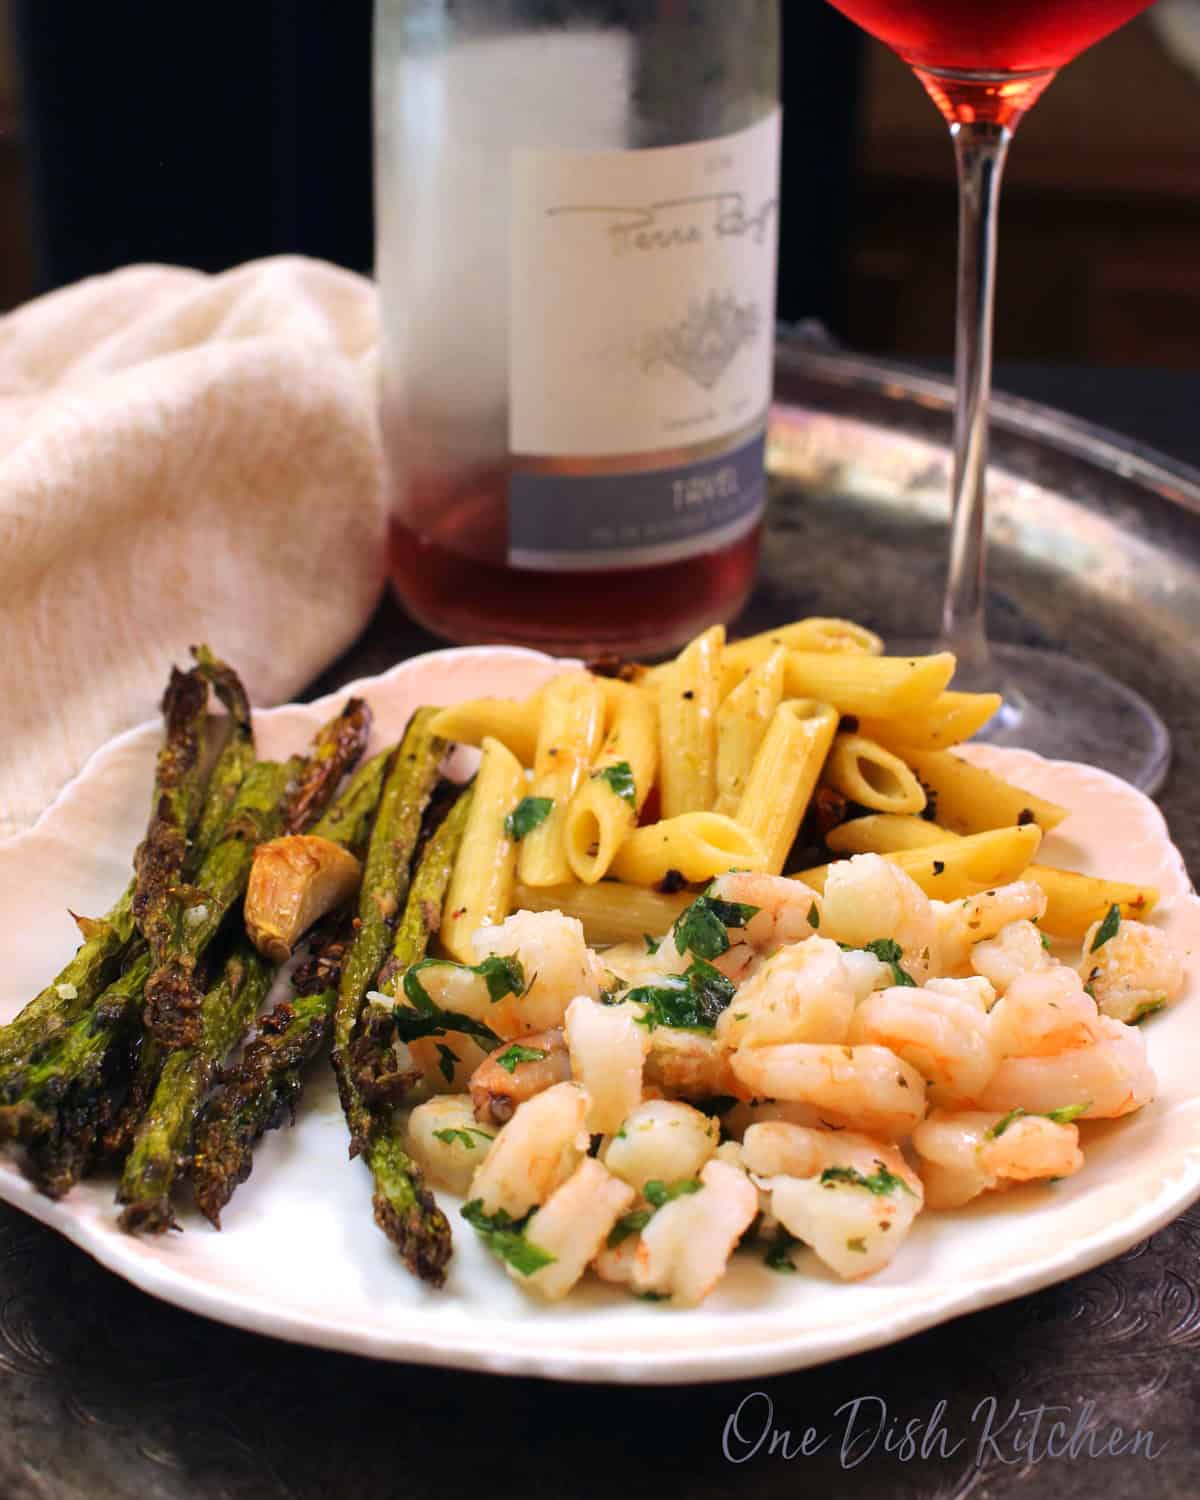
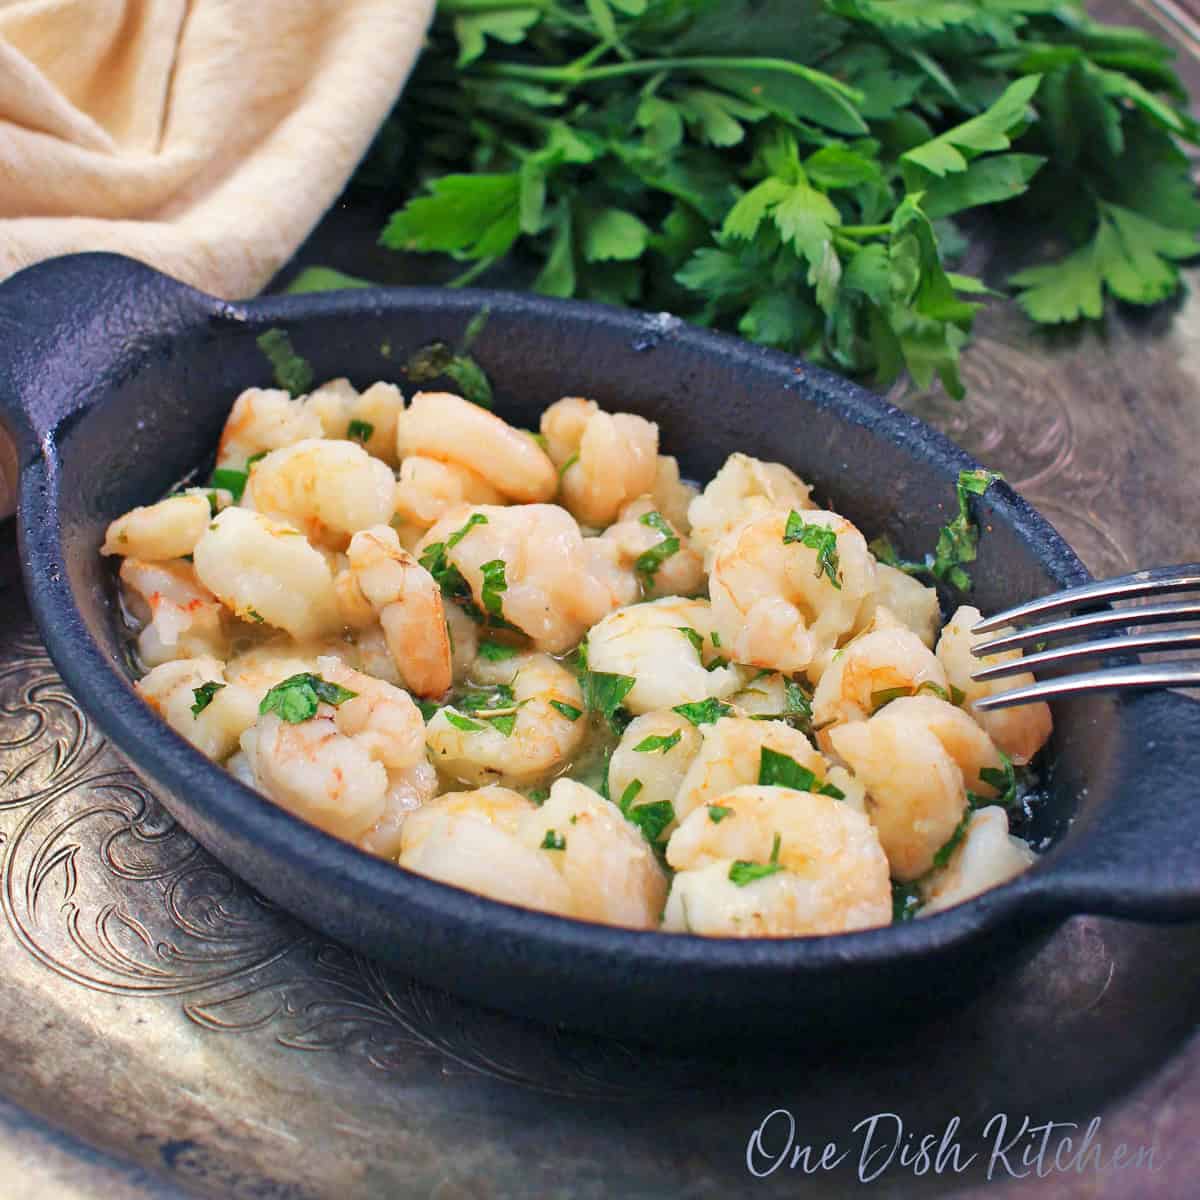
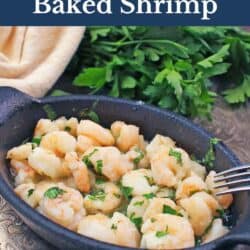
This baked shrimp recipe is one of my favorite quick meals. Juicy shrimp are tossed in a lemony butter sauce and baked to perfection in just 10 minutes. It’s bright, flavorful, and perfect when you want something easy and delicious without spending much time in the kitchen.
Featured Comment
“These are fantastic and super easy.”
– Mary Jane
Why You’ll Love This Recipe
- Quick Cooking: Ready in just 10 minutes.
- Bold Flavor: Made with lemon juice, butter, and Italian seasoning.
- Easy to Customize: Swap in your favorite herbs and spices.
- Perfectly Portioned: Designed for one, with no leftovers.
What I love most about this single serving baked shrimp recipe is how effortlessly elegant it feels. With just a handful of ingredients and a quick bake in the oven, you get tender, flavorful shrimp nestled in a buttery lemon sauce that tastes like something from a restaurant.
This is one of my go-to meals when I want something special but don’t want to spend much time in the kitchen. It’s simple, bright, and always hits the spot. I think you’re going to love how easy it is to make and how impressive it looks on the plate.
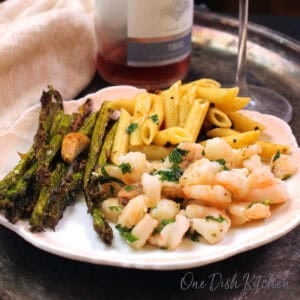
Serve these shrimp alongside single serving pasta al limone and sautéed green beans for a beautiful, well-rounded meal. You can also use them in shrimp tacos for one, toss them into a single serving shrimp quinoa bowl, or spoon them over creamy shrimp and grits for one. They’re versatile, delicious, and easy to work into any dish you love.

Ingredients
If you have any ingredients leftover from this easy baked shrimp recipe, check out our Leftover Ingredients Recipe Finder.
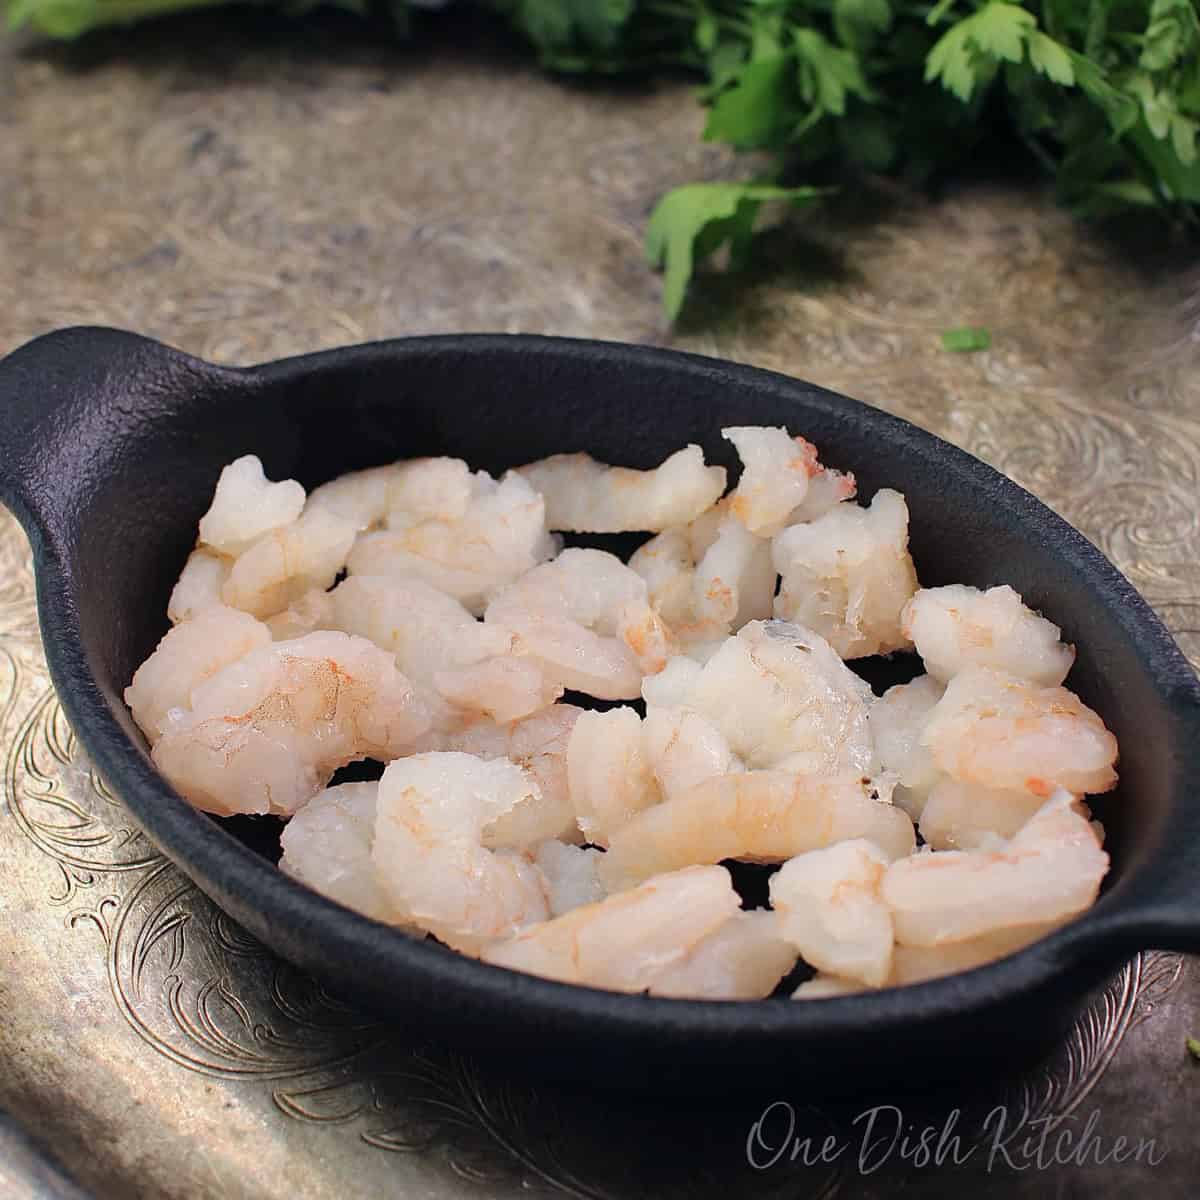
- Shrimp: Use 4 ounces of peeled and deveined shrimp, fresh or thawed from frozen. Keeping a bag of frozen shrimp on hand makes it easy to portion out just what you need for a single serving recipe. Use extra shrimp in recipes like single serving BBQ shrimp, single serving shrimp and grits, pad thai for one, or single serving shrimp fettuccine.
- Lemon Juice: Freshly squeezed lemon juice gives the best flavor, but bottled works if needed.
- Butter: Adds richness and helps create the flavorful lemon butter sauce.
- Fresh Parsley: Chopped parsley adds freshness and color. Use leftovers in small batch tabbouleh.
- Seasonings: Enhance the shrimp with a blend of salt, Italian seasoning, and garlic powder. This combination brings a balanced and aromatic flavor to the dish.
How Many Shrimp in 4 Ounces?
- Jumbo (21–25 count/lb): 5–6 shrimp
- Large (26–30 count/lb): 8–9 shrimp
- Medium (31–40 count/lb): 10–11 shrimp
- Small (41–50 count/lb): 12–15 shrimp
How To Bake Shrimp
See the recipe box below for ingredient amounts and full recipe instructions.
- Preheat the oven to 400°F (200°C).
- Place shrimp in a small baking dish.
- Add lemon juice, salt, garlic powder, and Italian seasoning; toss to coat.
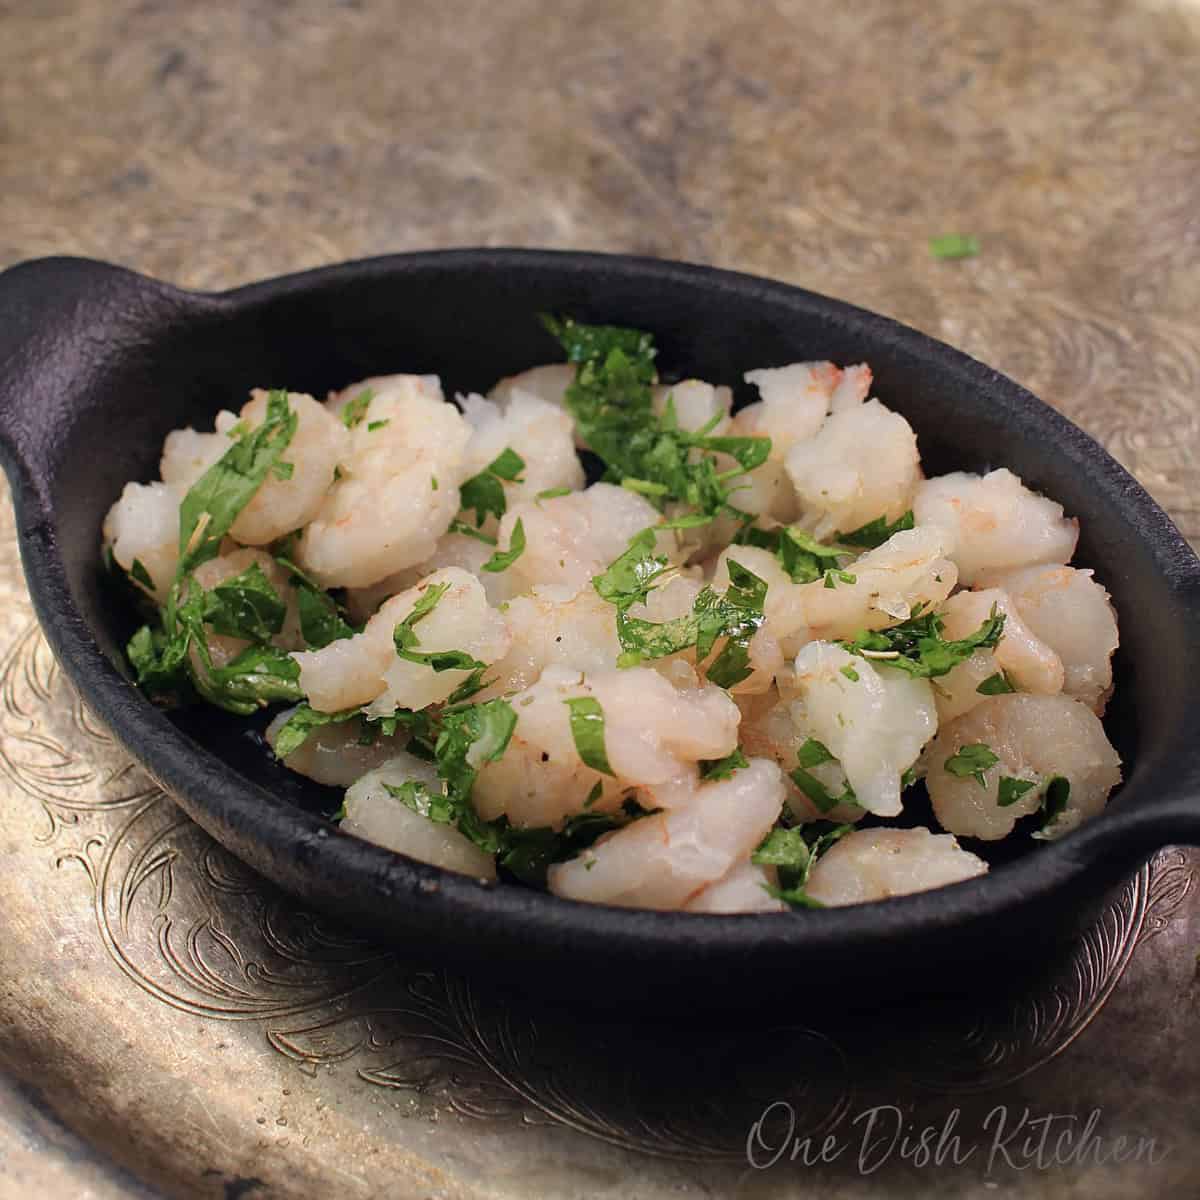
- Top with chopped parsley and dot with small pieces of butter.
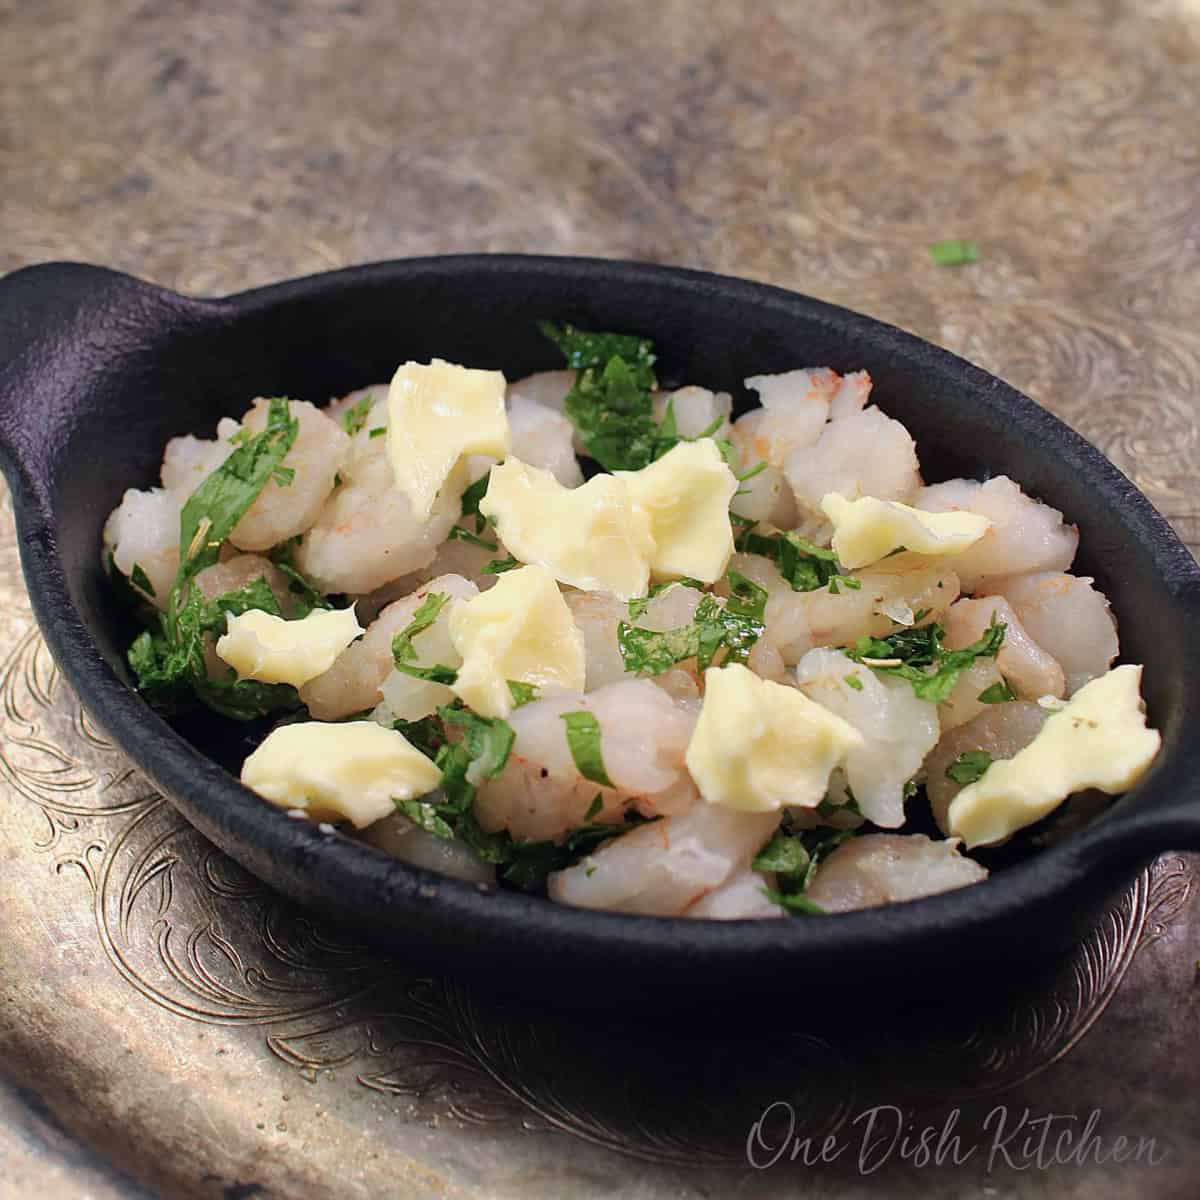
- Bake for 8 minutes, or until the shrimp are pink, firm, and fully cooked.
Expert Tips
- Use Similar-Sized Shrimp: To ensure even cooking, use shrimp that are all about the same size.
- Thawing Frozen Shrimp: If using frozen shrimp, make sure they are fully thawed and patted dry before baking.
- Overnight Method: Place shrimp in the refrigerator the night before you plan to cook.
- Quick Method (Bagged): Submerge the unopened bag in a bowl of cold water for about 30 minutes.
- Faster Method (Loose): Place shrimp directly in cold water for 10 to 15 minutes.
- Once thawed, pat shrimp dry with paper towels to remove excess moisture for better roasting.
- Baking Dish Size Matters: Use a small baking dish so the shrimp fit in a single layer. This helps them cook evenly and allows the butter-lemon sauce to distribute properly.
Frequently Asked Questions
Yes, using peeled and deveined shrimp makes them easier to eat and gives a better texture. If your shrimp aren’t already cleaned, here’s how to do it:
How to Peel and Devein Shrimp:
Remove the legs and peel off the shell.
Pinch and pull off the tail (optional).
Use a paring knife to make a shallow cut along the back.
Lift out the dark vein with the tip of the knife and discard it.
Absolutely. Just use a slightly larger baking dish and make sure the shrimp are in a single layer.
Shrimp are fully cooked when they turn pink, curl slightly, and feel firm to the touch. This usually takes about 8 minutes.
This recipe is designed for one serving, so you likely won’t have leftovers. But if you do, store the cooked shrimp in an airtight container in the refrigerator for up to 2 days. Reheat gently in the microwave or in a skillet over low heat to avoid overcooking.
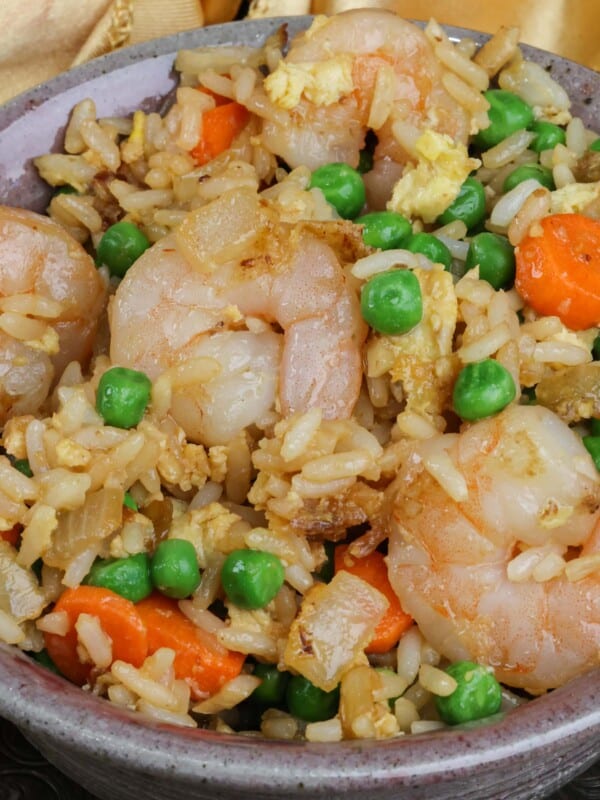
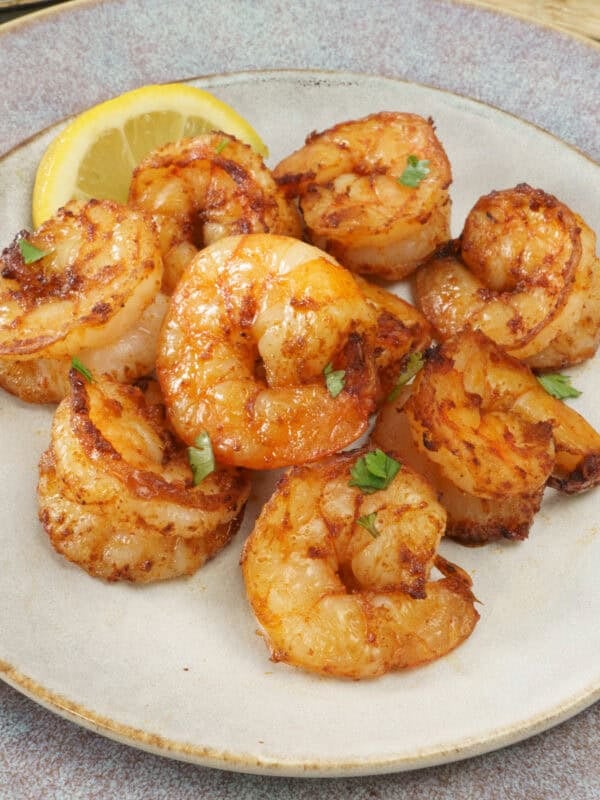
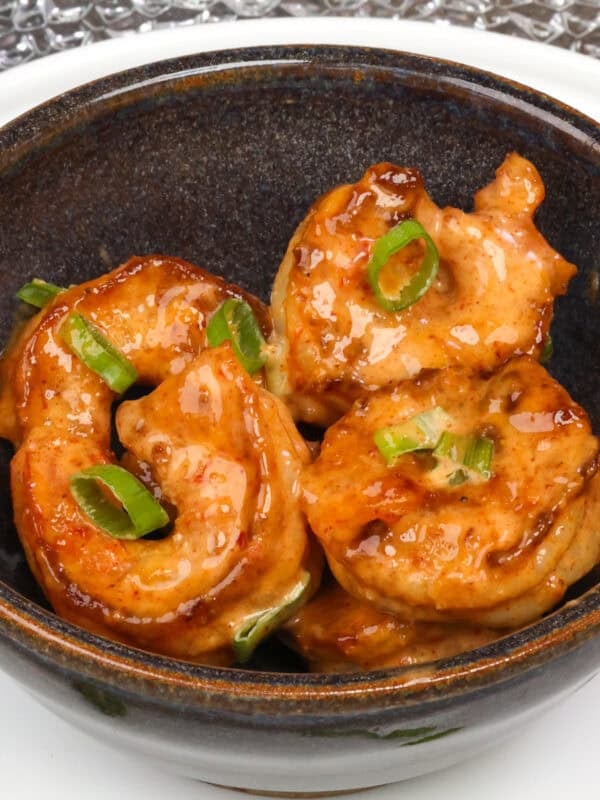
More Single Serving Shrimp Recipes
Want to expore other single serving shrimp recipes? Try these delicious ideas:
Ways To Use Leftover Ingredients
If you have any ingredients leftover from this recipe, check out our Leftover Ingredients Recipe Finder or you might like to consider using them in any of these single serving and small batch recipes:

If you’ve tried this baked shrimp or any recipe on One Dish Kitchen please let me know how you liked it by rating the recipe and telling me about it in the comment section below.
If you take a picture please tag us on Instagram (@onedishkitchen) we’d love to see!
Baked Shrimp For One
Equipment
Ingredients
- 4 ounces medium shrimp -peeled and deveined (about 10 shrimp)
- ¼ teaspoon lemon juice
- ⅛ teaspoon kosher salt
- ⅛ teaspoon garlic powder
- ⅛ teaspoon Italian seasoning
- 1 tablespoon chopped parsley
- 1 tablespoon salted butter
Instructions
- Preheat the oven to 400°F (200°C).
- Place shrimp in a small, ungreased 5×5 inch baking dish.
- Add lemon juice, salt, garlic powder, and Italian seasoning; toss to coat.
- Top with chopped parsley and dot with small pieces of butter.
- Bake for 8 minutes, or until the shrimp are pink, firm, and fully cooked.
Notes
- Use Similar-Sized Shrimp: To ensure even cooking, use shrimp that are all about the same size.
- Thawing Frozen Shrimp: If using frozen shrimp, make sure they are fully thawed and patted dry before baking.
- Baking Dish Size Matters: Use a small baking dish so the shrimp fit in a single layer. This helps them cook evenly and allows the butter-lemon sauce to distribute properly.
- Jumbo (21–25 count/lb): 5–6 shrimp
- Large (26–30 count/lb): 8–9 shrimp
- Medium (31–40 count/lb): 10–11 shrimp
- Small (41–50 count/lb): 12–15 shrimp
Nutrition
The information shown is an estimate provided by an online nutrition calculator. It should not be considered a substitute for a professional nutritionist’s advice.


Good morning. This looks delicious but I do have a question. The shrimp I keep frozen are pre-cooked. So I figure 8 minutes in the oven might overcook them? Do you have any recommendations for using the pre-cooked frozen shrimp thank you in advance.!
Hi Lisa, great question. You’re right that 8 minutes in the oven would overcook pre-cooked shrimp. The best way to use them is on the stovetop. Thaw the shrimp first, then melt the butter with the lemon juice, garlic powder, Italian seasoning, and salt in a small skillet over low heat. Add the shrimp and stir for 2 to 3 minutes, just until heated through. Sprinkle the parsley on at the end. That way you get all the flavor of the lemon butter sauce without the shrimp turning rubbery.
May be a stupid question but, can I use cooked shrimp instead of raw and if so, how,
That’s a great question — and not a stupid one at all! This recipe is written for raw shrimp so they cook evenly and stay tender in the oven. If you’re using cooked shrimp, I’d recommend warming them on the stovetop instead. Melt the butter with the seasonings in a skillet over low heat, then toss in the shrimp and stir for 2 to 3 minutes, just until heated through. This will keep them from overcooking or becoming tough.
These are fantastic and super easy. Thanks for the recipe.
Loved the easy baked shrimp…delicious!
Baked Shrimp DELISHOUS love your recipes i have tried quite a few now all good. Cheers.
I’m looking at your recipe for baked shrimp. Should the shrimp be thawed or left frozen to bake? Is that true for all of your recipes that use shrimp?
Yes, I recommend thawing the shrimp before using in this or other recipes. In The Frequently Asked Questions section above, we mention how we defrost the shrimp before using.
Fantastic dish Joanie. Cooked it in my Air Fryer grill cause the weather here in Sacramento has already hit 102 and my air fryer grill is great for baking. Served it with Butter and garlic rice. Thanks for all of your One dish meals. Love them.
Oh my gosh Joanie…I made these in my air fryer just now and they are amazing. I did for 4 minutes but everything else the same. Thank you.