This post may contain affiliate links. Please read our disclosure policy.
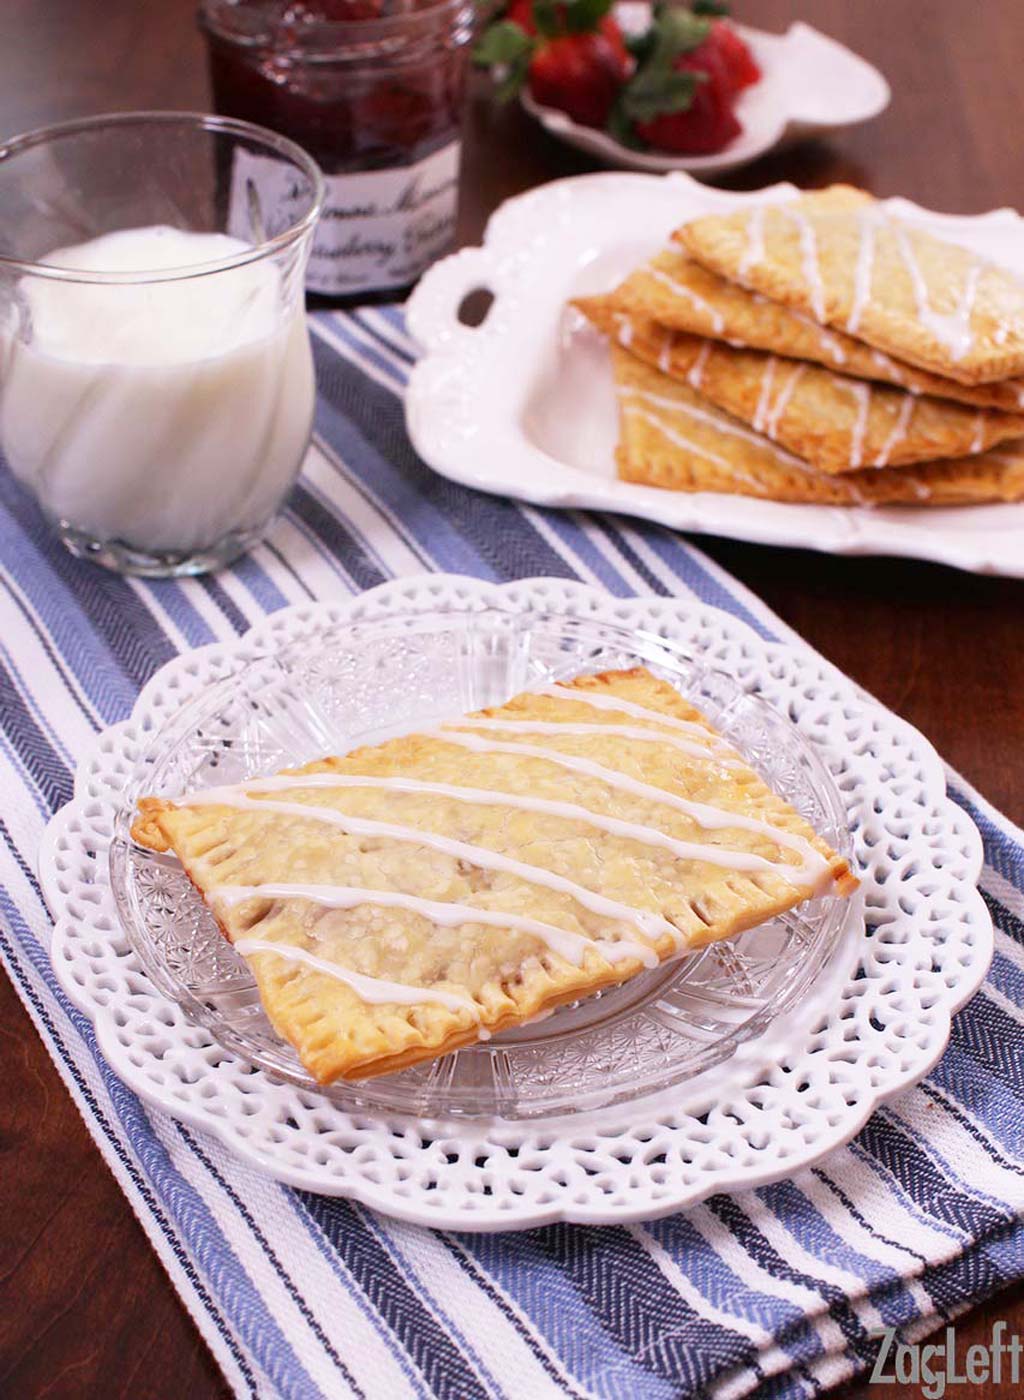
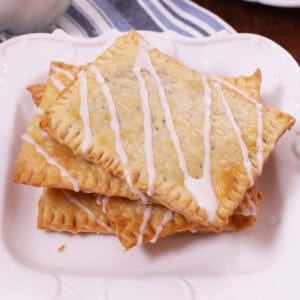
Small batch toaster pastries with refrigerated pie crust, filled with jam, Nutella, or brown sugar cinnamon. No dough to make, one package bakes 6 golden pastries in 20 minutes.
Featured Comment
“Made these one morning for my husband and he loved them. Plan to make a few different kinds and stick in the freezer for his morning Pop Tart instead of buying them in the store.”
– Kathi
Quick Look
- Prep Time: 10 minutes
- Cook Time: 20 minutes
- Total Time: 30 minutes
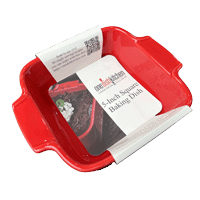
- Equipment: Rimmed baking sheet, rolling pin, parchment paper
- Cook Method: Baking
- Servings: 6 pastries
- Difficulty: Easy
- Flavor Profile: Sweet jam or chocolate hazelnut center inside a crisp pastry shell, finished with a creamy sugar glaze
This toaster pastry recipe takes 4 everyday ingredients plus a 2 ingredient frosting, and you can fill each pastry differently from the same batch.
Why You’ll Love These Homemade Toaster Pastries

I started making homemade toaster pastries years ago because my kids begged for the boxed kind, and I knew we could do better at home. I weighed making the pastry dough from scratch, but for this recipe, the convenience of refrigerated pie crust wins out. It bakes up beautifully, and it turns a fussy project into one simple enough that my kids could help.
So it became our weekend routine. I’d roll and cut the dough, and they’d spoon in the fillings, one pastry with jam, another with Nutella, each one claimed before it ever reached the oven. Because every pastry is filled individually, one batch made everyone happy.
The pastries come out of the oven golden, with warm jam bubbling at the seams, and the frosting goes on while you stand there deciding which one is yours. My kids are grown now, and I still make these.
For more small batch breakfast pastries, try my small batch cinnamon rolls, also made with refrigerator dough, or my from-scratch small batch apple cider donuts and small batch donut holes.
Ingredient Notes
Here’s what you need for this homemade toaster pastries recipe, and why each ingredient earns its place. If you have any ingredients left over, check out our Leftover Ingredients Recipe Finder.
Refrigerated pie crusts: One package holds 2 crusts, and that’s exactly what 6 pastries take, one crust for the bottoms and one for the tops. I use Pillsbury or Trader Joe’s. In the UK, shortcrust pastry from the refrigerated section works the same way.
All-purpose flour: Just a spoonful for dusting the board so the dough doesn’t stick while you roll it.
Egg: Beaten with a tablespoon of water, this does two jobs. Brushed inside, it helps the filling stick to the bottom layer as it bakes. Brushed on top, it gives the pastries their shiny, golden finish.
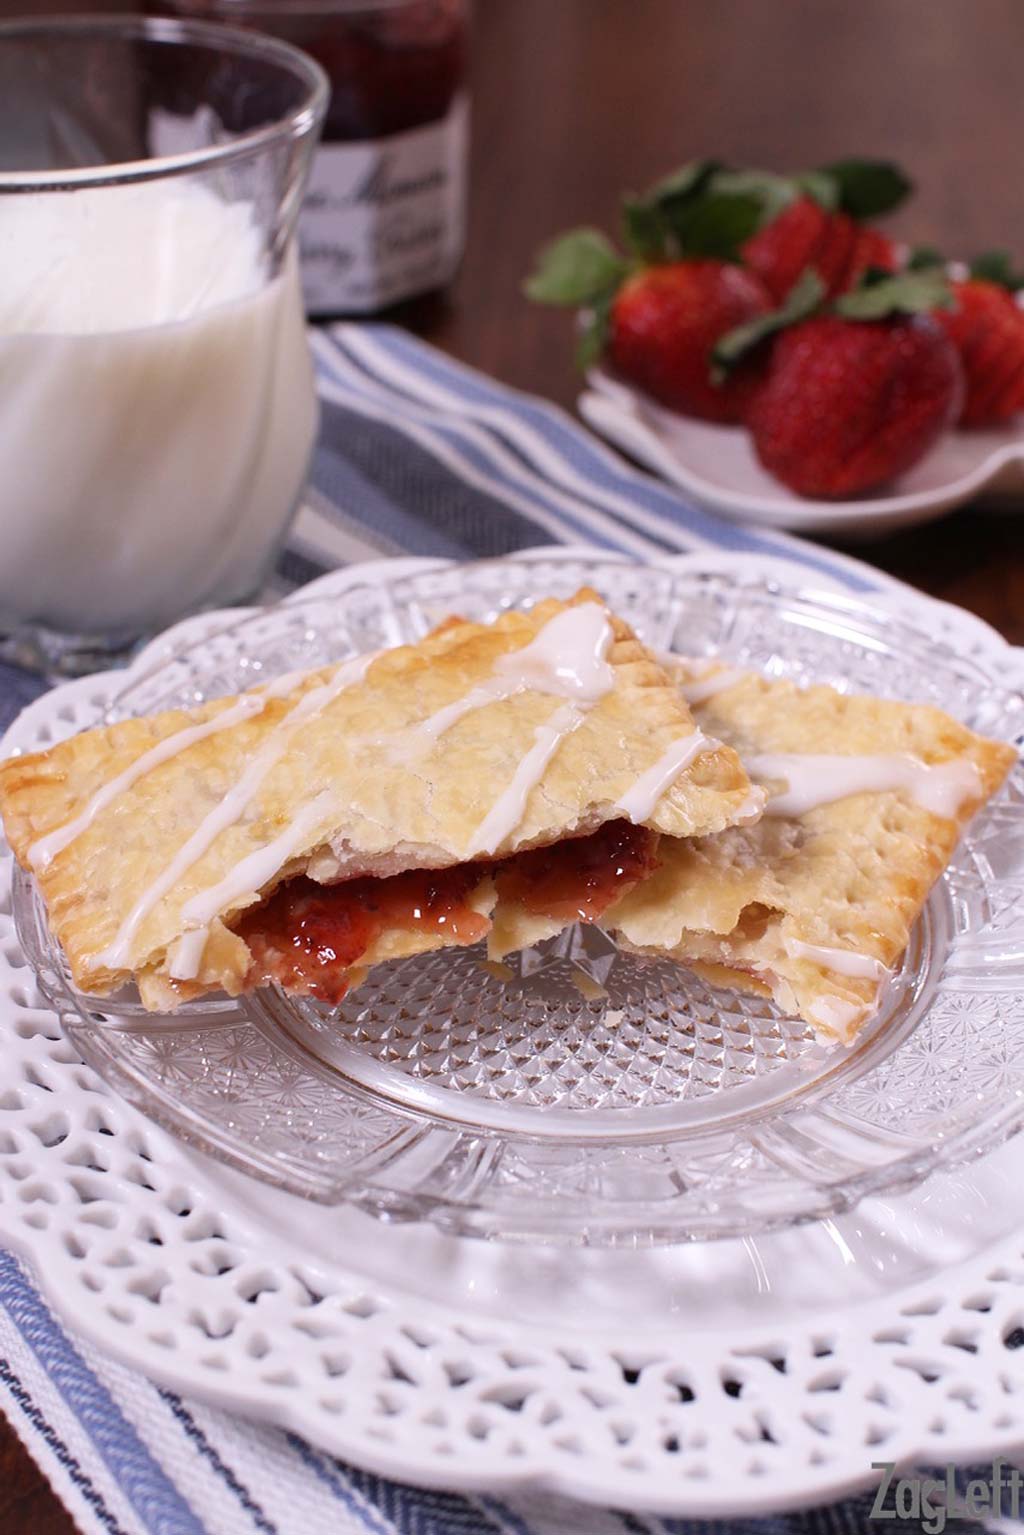
Filling: Each pastry takes 1 tablespoon, so use anything spreadable you love. I go with homemade refrigerator jam and Nutella and a small batch of lemon curd is wonderful here too.
Powdered sugar and heavy cream: Whisked together, these make the frosting. Powdered sugar dissolves smoothly into the cream, no cooking needed, and whole milk works if that’s what you have.
Recipe Variations
Since these are really pop tarts with pie crust, the dough stays the same and the flavor changes with what you put inside or on top. Here’s how to change the filling, the finish, or both.
Brown sugar cinnamon: Stir together ¼ cup brown sugar, 1 teaspoon ground cinnamon, ½ tablespoon all-purpose flour, and 1 teaspoon melted butter. Spoon 1 tablespoon into each pastry and brush the edges with egg yolk to seal. The flour keeps the sugar from turning liquid and leaking as it bakes.
Apple: Use 1 tablespoon of finely chopped apple pie filling per pastry, or the same amount of thick apple butter. Skip applesauce, which is too wet and will leak at the seams.
Lemon: Fill each pastry with 1 tablespoon of small batch lemon curd for a tart middle that holds its own against the sweet frosting.
Sprinkles: Scatter them over the frosting while it’s still wet so they stick. This is the version my kids always claimed first.
Chocolate frosting: Swap the sugar glaze for my small batch chocolate frosting and spread it over the cooled pastries with a knife. One batch covers all 6. It pairs especially well with the Nutella filling.
How To Make Toaster Pastries
These easy toaster pastries come together in 4 steps, and the photos below show you what the dough should look like along the way.
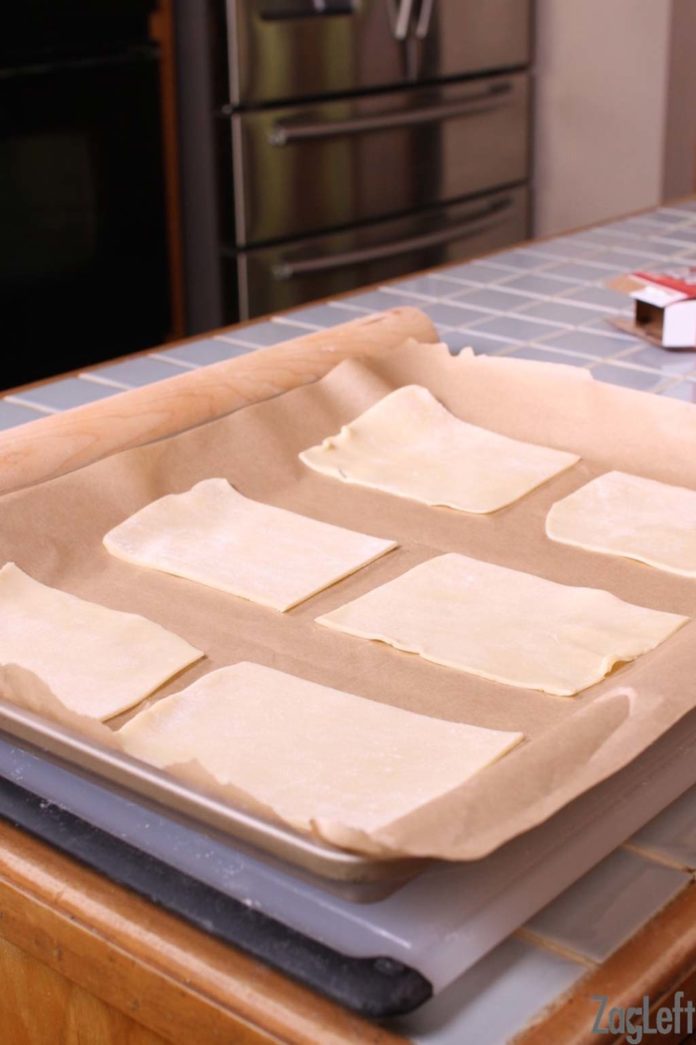
- Roll and cut the dough. Line a baking sheet with parchment paper. On a lightly floured surface, roll one pie crust into a 9×12-inch rectangle and trim the uneven edges with a sharp knife. Cut it into 6 equal rectangles, about 3×4 inches each, and move them to the baking sheet. These are the bottoms.
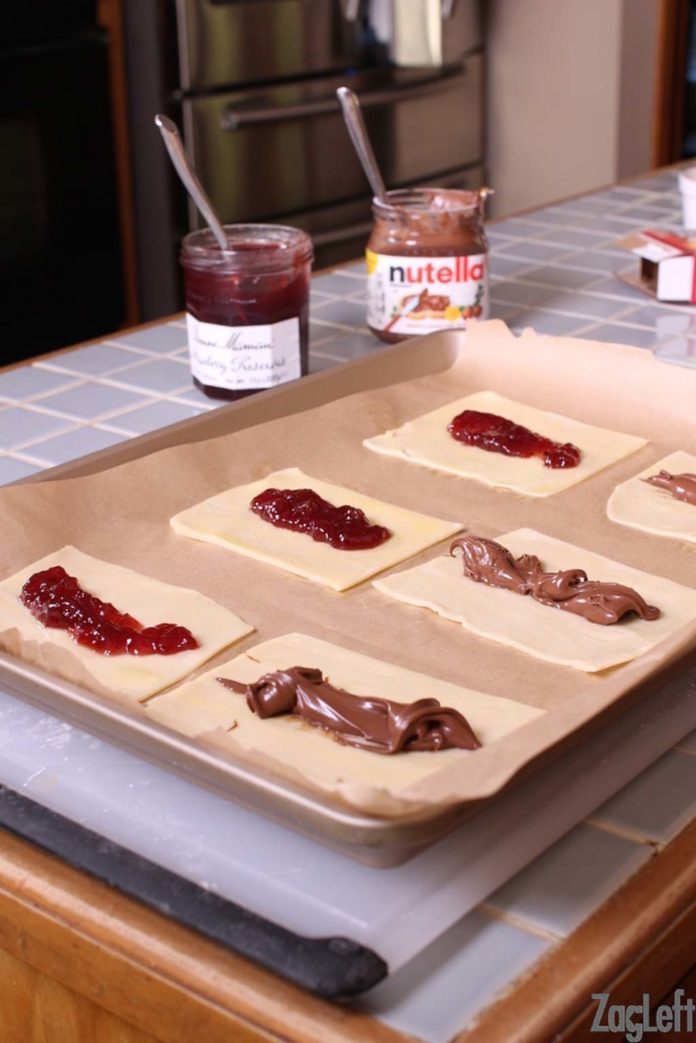
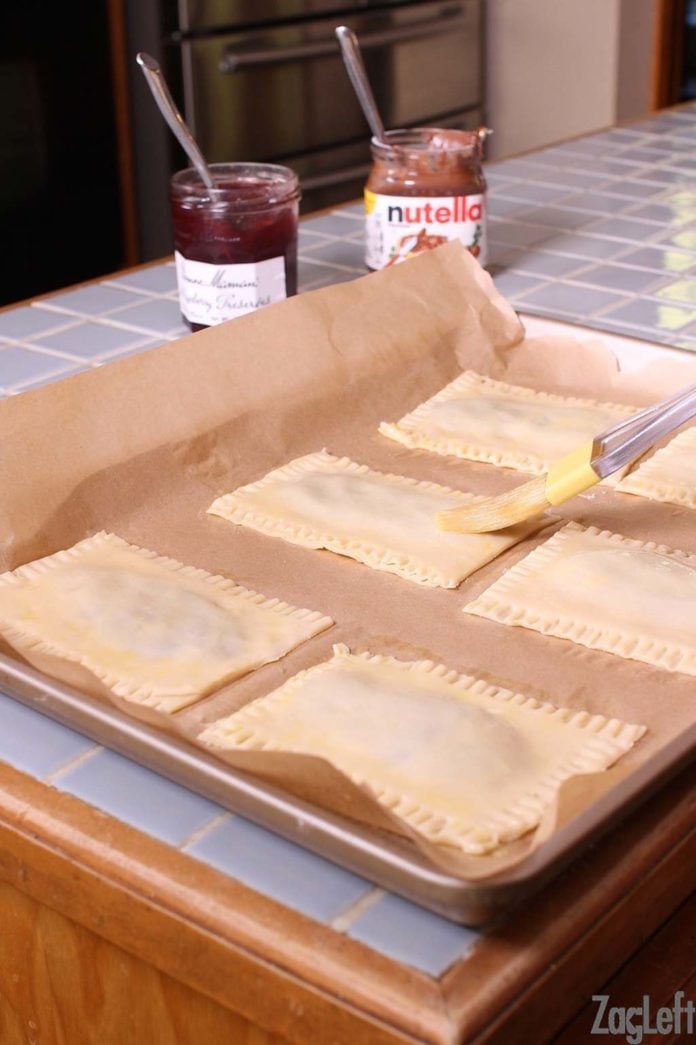
- Fill the pastries. Whisk the egg with 1 tablespoon of water. Brush a thin coat over each rectangle, all the way to the edges. Spoon 1 tablespoon of filling onto the center of each one and spread it slightly, leaving a border of bare dough on all sides.
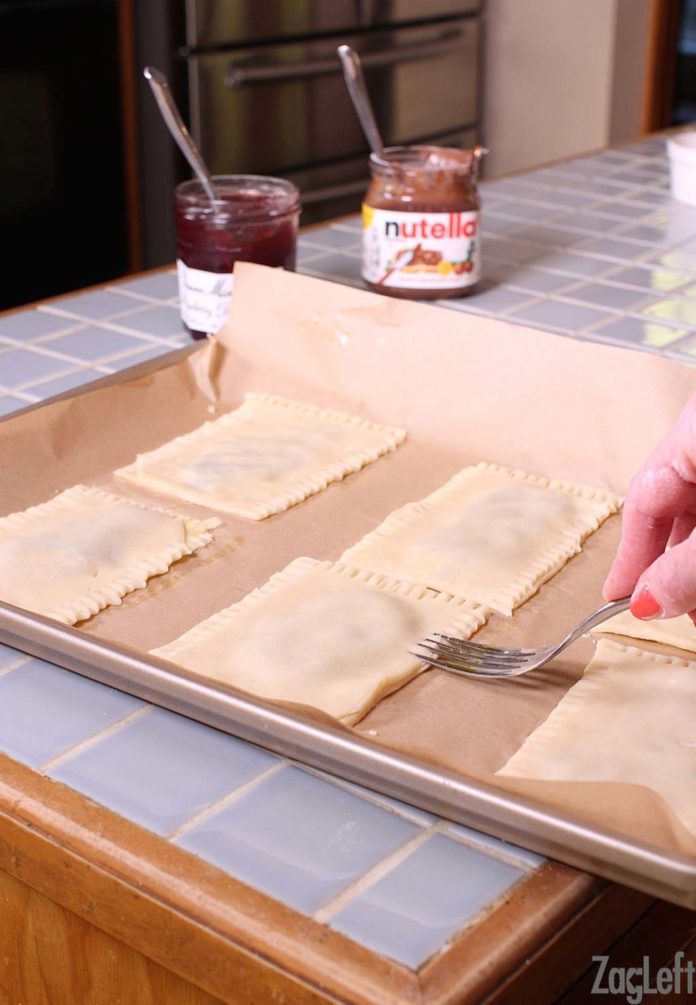
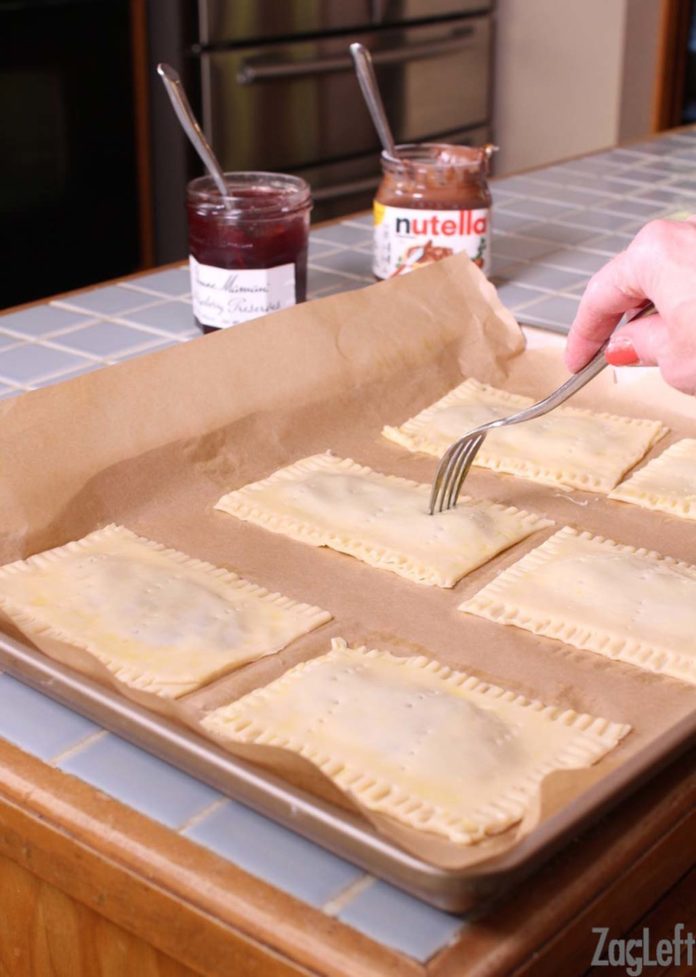
- Seal and vent. Roll and cut the second crust the same way. Lay one rectangle over each filled bottom and press the edges together with your fingers, then crimp all 4 sides with a fork so the filling stays put. Brush the tops with egg wash and prick each pastry 2 or 3 times with the fork so steam can escape.
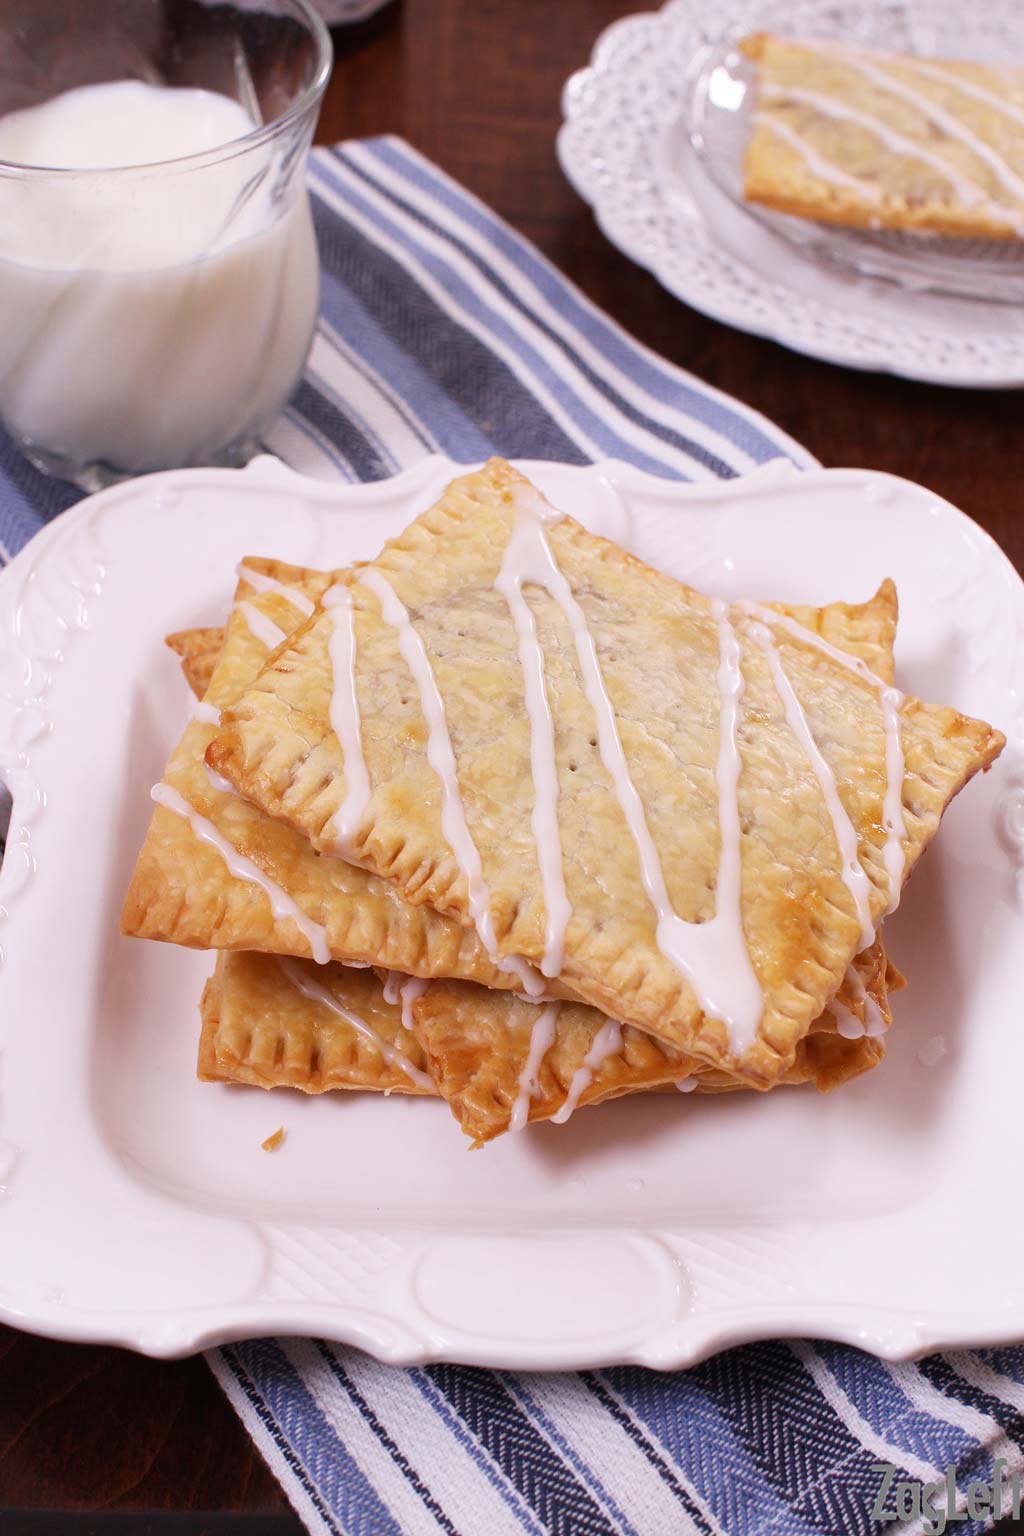
- Bake until golden. Bake at 375°F for 20 minutes, until the tops turn golden brown. Cool the pastries completely on a wire rack, then whisk the powdered sugar and cream together and drizzle the frosting over each one.
Expert Tips
Keep the filling to 1 tablespoon. It looks skimpy when you spoon it in, but more than that pushes past the seal as the pastries bake and leaks onto the pan.
Press hard when you crimp. Go around all 4 sides with the tines of a fork and really press. A loose crimp is the most common reason filling escapes.
Don’t skip the fork pricks on top. Steam builds inside as the pastries bake. Without a vent, the tops puff into pillows instead of baking flat and crisp.
Use cold pie crust. Work with the dough straight from the refrigerator. Cold dough rolls cleaner, holds its shape when you cut it, and bakes up flakier.
Cool completely before frosting. Frosting on warm pastries thins out and slides off. Give them 15 minutes on the sheet before you drizzle.
Troubleshooting
If your toaster pastry isn’t turning out quite right, here is how to fix common issues like filling that leaks out, tops that puff up, or pastries that turn out pale and underbaked.
Why is the filling leaking out of my toaster pastries?
They were overfilled or the edges weren’t sealed tight. Anything past 1 tablespoon of filling forces its way through the crimp as it bakes. Scrape a leaked pastry off the parchment while it’s still warm, and on the next batch, press the fork crimp firmly around all 4 sides.
Why did my toaster pastries puff up instead of baking flat?
Steam got trapped because the tops weren’t vented. With no way out, the steam inflates the pastry into a pillow instead of a flat toaster pastry. They’re still fine to eat, and pricking each top 2 or 3 times with a fork before baking keeps the next batch flat, and helps keep the filling in too.
Why are my toaster pastries pale and soft instead of golden?
They came out of the oven too early, or the tops were missing the egg wash. The egg wash is what browns and crisps the top layer. Bake until the tops are golden brown, the full 20 minutes at 375°F, and check that every pastry got brushed.
Frequently Asked Questions
Only if they’re unfrosted. The frosting melts in a toaster and drips onto the heating elements. Warm frosted pastries in a 350°F oven for a few minutes instead, and save the toaster for plain ones.
Yes, baked toaster pastries freeze well for up to 2 months. Freeze them unfrosted in a single layer, then transfer to a freezer bag. Warm in the oven and frost after reheating.
Yes, any double-crust pie dough recipe works. You’ll need enough dough to roll two 9×12-inch rectangles. Homemade dough should chill before rolling, so build in extra time.
Pop-Tarts is a brand name; toaster pastry is the pastry itself. Homemade pop tarts and homemade toaster pastries are the same thing: two layers of dough sealed around a sweet filling and topped with frosting.
Store them in an airtight container at room temperature for 3 days, or refrigerate for up to a week. Reheat unfrosted pastries in the toaster; frosted ones go in a 350°F oven for a few minutes to warm.
Yes, but you’ll get a toaster strudel instead. Puff pastry bakes up in flaky, shattering layers, while pie crust gives you the sturdy, tender shell of a classic toaster pastry. Both work at the same fill-seal-vent steps.
Yes, they’re good plain or brushed with egg wash and sprinkled with coarse sugar before baking. Unfrosted pastries also reheat in the toaster, which frosted ones can’t.
If you’ve tried this small batch homemade toaster pastries recipe or any recipe on One Dish Kitchen please let me know how you liked it by rating the recipe and telling me about it in the comment section below.
Also, if you take a picture please tag us on Instagram (@onedishkitchen) we’d love to see it!
Small Batch Toaster Pastries
Equipment
Ingredients
- 2 refrigerated pie crusts (from one 14-ounce package)
- 1 tablespoon all purpose flour
- 1 large egg -beaten with 1 tablespoon of water to create the egg wash
- 6 tablespoons jam or Nutella
- 1 cup powdered sugar – sifted
- 2 tablespoons heavy cream or whole milk
Instructions
- Preheat the oven to 375°F (190°C) and line a rimmed baking sheet with parchment paper.
- On a lightly floured surface, roll one pie crust into a 9×12-inch rectangle and trim the uneven edges with a sharp knife.
- Cut the rectangle into 6 equal rectangles and transfer them to the baking sheet, spaced about 2 inches apart.
- Brush each rectangle with the egg wash, all the way to the edges.
- Spoon 1 tablespoon of filling in a thin line down the center of each rectangle, leaving a border of bare dough on all sides.
- Roll the second pie crust into a 9×12-inch rectangle and cut 6 more rectangles the same size.
- Place one rectangle over each filled bottom and press the edges together with your fingers.
- Crimp all 4 sides of each pastry with the tines of a fork to seal.
- Brush the tops with the remaining egg wash and prick each pastry several times with a fork so steam can escape.
- Bake for 20 minutes, until the tops are golden brown.
- Move the pastries to a wire rack and cool completely, about 30 minutes.
- Whisk the powdered sugar and cream in a small bowl until smooth and thin enough to drizzle, adding more cream 1 teaspoon at a time if needed.
- Drizzle the frosting over the cooled pastries, or skip it and dust with powdered sugar.
Notes
Nutrition
The information shown is an estimate provided by an online nutrition calculator. It should not be considered a substitute for a professional nutritionist’s advice.

Why is the first crust brushed with the egg wash, so that it’s inside the pastry?
We apply egg wash to the inside of the pastry so that the filling adheres to the bottom layer as it bakes.
I will be trying this recipe. Which brand of refrigerator pie crusts did you use for the above recipe ? Thank you. Yours is my favorite website.
Thank you! I mostly use Pillsbury brand or Trader Joe’s brands of refrigerator pie crusts.
on the homemade toaster pastries can apple pie filling chopped up a lot be substituted?
Yes – that should work just fine.
Hi, Can I cook them in a toaster Oven and freeze the uncooked for later?
Never mind. I saw the instructions in the bottom expert tips. You can delete my comment and this one.. Thanks, Sheri
Glad you found your answer, Sheri. Thank you!
Made these one morning for my husband and he loved them. Plan to make a few different kinds and stick in the freezer for his morning Pop Tart instead of buying them in the store. Love the quantity that was made and love the taste of them as well. Thanks for a great recipe for breakfast or snack!
There’s no Pin it button for this recipe.
Hi Nicole,
Thanks for letting us know. The pin button has been fixed and should now be there.
Joanie
Gorgeous! Also? YUM
Those Pillsbury crusts are sooo much better than all refrigerated / frozen pie crusts! Love them. And these are so fun! Love how quick they are.
Wow! These are incredibly easy to make! 🙂 And I LOVE the addition of Nutella- yum!
What fun! These toaster pastries look delicious and so easy. Love them!
Thanks, Ginny. They’re so easy.
I’ll admit it. Poptarts are a HUGE weakness of mine. I can’t keep them in the house. 🙂 Love this homemade version!
Thanks, Julie. We love them too 🙂
My kids love these!
Thank you, Heather.
These sound delicious! I know the kids would love these!
I bet they would, Marye. Thank you.
These are gorgeous, and so perfect for a special occasion breakfast! I made the strawberry jam-filled and my hubby loved the Nutella! 🙂
Thank you, Faith.
Not only are these so fun to make, but eat!!! Yum!
You’re so right. Thanks, Rebecca!
So quick and simple, love them!
Thanks, Kimberly!
Mmm, *so* much better than store bought – I’d want half fruit and half chocolate or hazelnut too…
They’re so much better, thanks Kristina!