This post may contain affiliate links. Please read our disclosure policy.
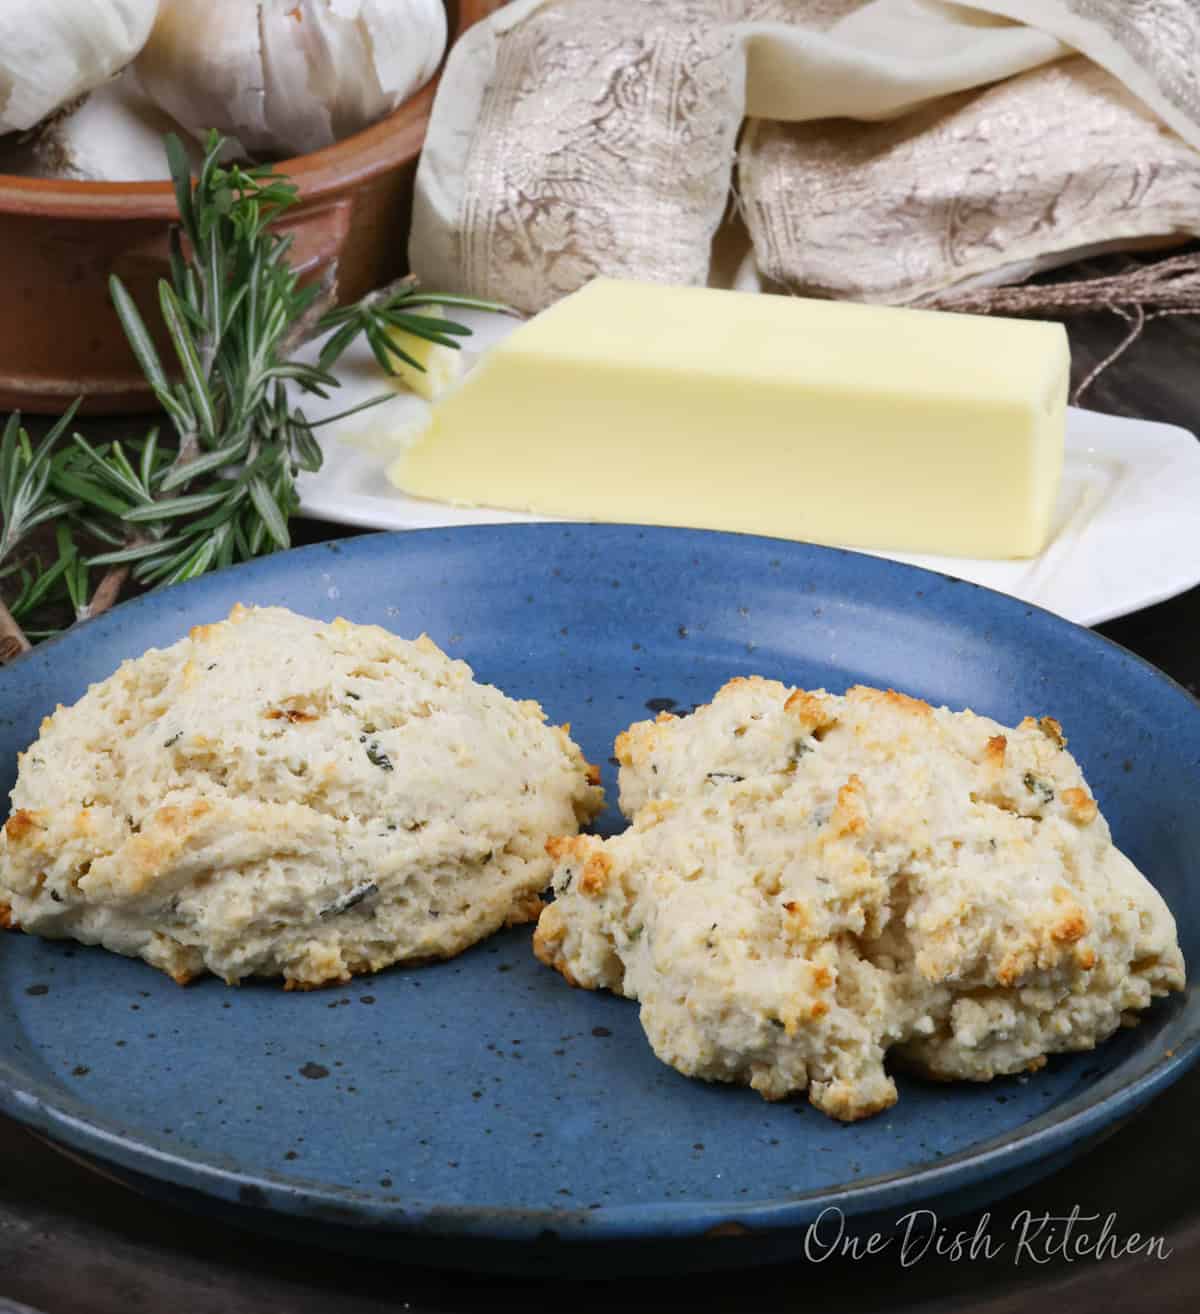
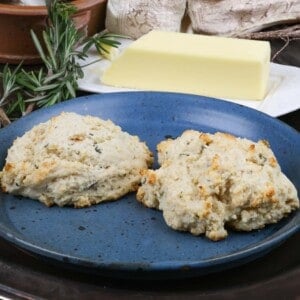
These Rosemary Garlic Buttermilk Biscuits are soft, fluffy, and packed with flavor. Made with roasted garlic and fresh rosemary, they’re a simple twist on a classic Southern biscuit and perfect alongside soups, stews, or enjoyed on their own.
Why You’ll Love This Recipe
- Small Batch: Makes 4 garlic-filled buttermilk biscuits.
- Easy to Make: No rolling or cutting, just drop the dough and bake.
- Big Flavor: Roasted garlic and rosemary take these biscuits up a notch.
I love this recipe because it takes a Southern classic and makes it even better.
These rosemary garlic buttermilk biscuits are soft, flavorful, and so easy to make – no rolling, no cutting, just scoop and bake.
The fresh garlic and rosemary add a bold, savory touch that turns simple biscuits into something really special.
If you love these rosemary garlic biscuits, be sure to try our other biscuit favorites: classic small batch drop biscuits, small batch butter swim biscuits, small batch cheddar biscuits, and a single biscuit with sausage gravy.

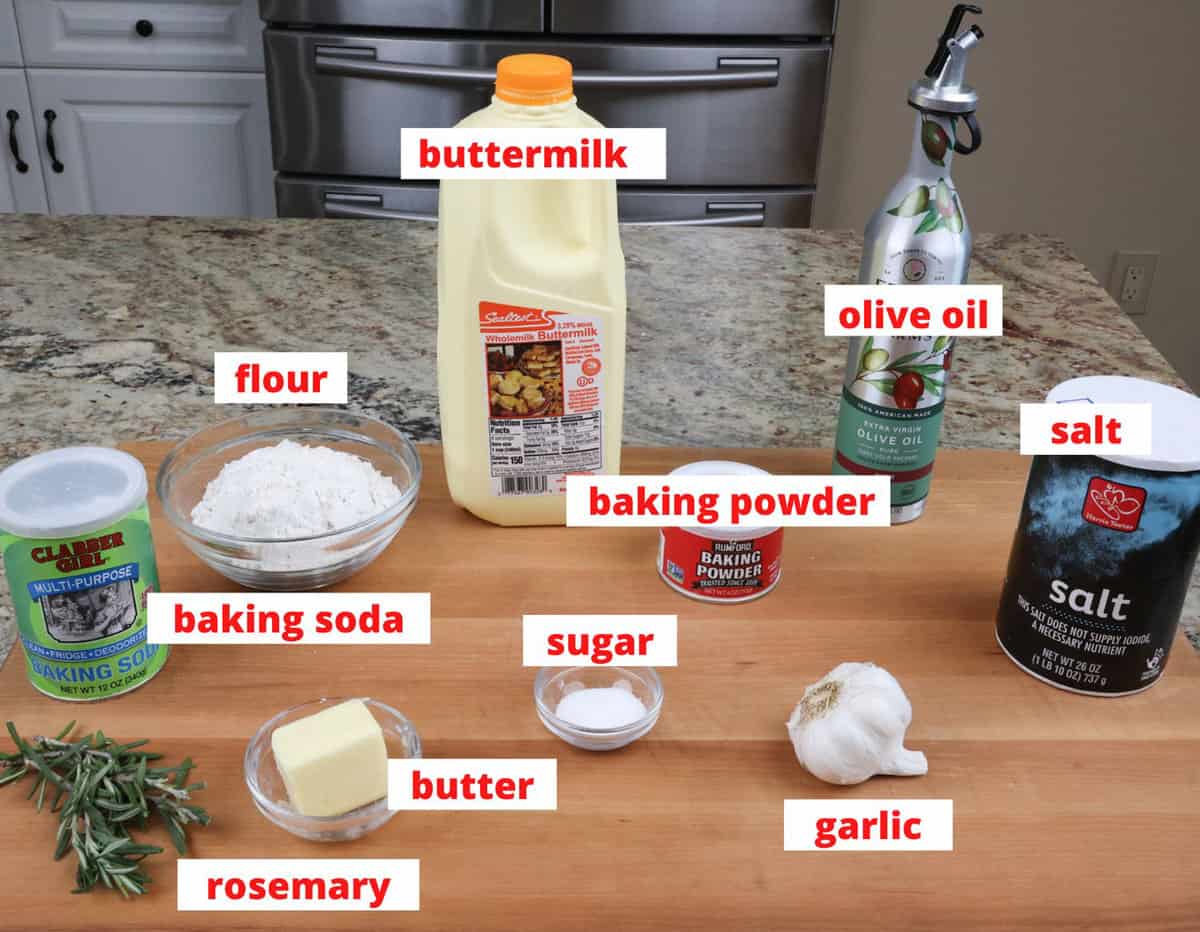
Ingredients
If you have any ingredients leftover from this savory buttermilk biscuit recipe, check out our Leftover Ingredients Recipe Finder.
- Buttermilk: Buttermilk adds tang and reacts with baking soda to help the biscuits rise. It also tenderizes the dough, creating soft, fluffy biscuits. If you don’t have buttermilk, see below for our buttermilk substitute. Got leftover buttermilk? Use it in a mini buttermilk pie or buttermilk quick bread.
- Garlic: I use 5 cloves from a small head of garlic, roasted until soft and sweet. The flavor complements the rosemary without overpowering. Garlic heads vary in size, so feel free to adjust based on your taste. Leftover roasted garlic is great spread on toast, mixed with butter or cream cheese, or stirred into mashed potatoes or puréed vegetables.
- Fresh rosemary: Use fresh rosemary if possible, it adds much more flavor than dried. If using dried, use 1/2 the amount.
See recipe card below for a full list of ingredients and measurements.
Ingredient Note: No buttermilk? Try this buttermilk substitute:
Make your own by mixing 2 teaspoons of lemon juice or white vinegar with 1/2 cup of milk. Let it sit for 10 minutes before using.
How To Make Buttermilk Biscuits With Garlic
These photos and instructions are here to help you visualize how to make these garlic and rosemary buttermilk biscuits. See the recipe box below for ingredient amounts and full recipe instructions.
- Preheat the oven to 400°F (200°C).
- Prepare the garlic: Peel away the loose outer layers of a whole head of garlic, keeping the individual cloves intact. Slice 1/4 to 1/2 inch off the top to expose the cloves.
- Roast the garlic: Place the garlic on a piece of foil, drizzle with olive oil, and wrap it tightly. Set on a baking sheet and roast for 30 to 40 minutes, until the cloves are soft. Let cool.

- Make the biscuit dough: In a large bowl, whisk together the flour, baking powder, baking soda, sugar, and salt. Add the cold, cubed butter and use your fingers or a pastry blender to work it into the flour until it looks like coarse sand.
- Add rosemary: Stir in the chopped rosemary.

- Add the roasted garlic: Squeeze the roasted garlic cloves out of their skins into a small bowl. Stir in the buttermilk, then pour the mixture into the flour mixture and gently stir to combine.

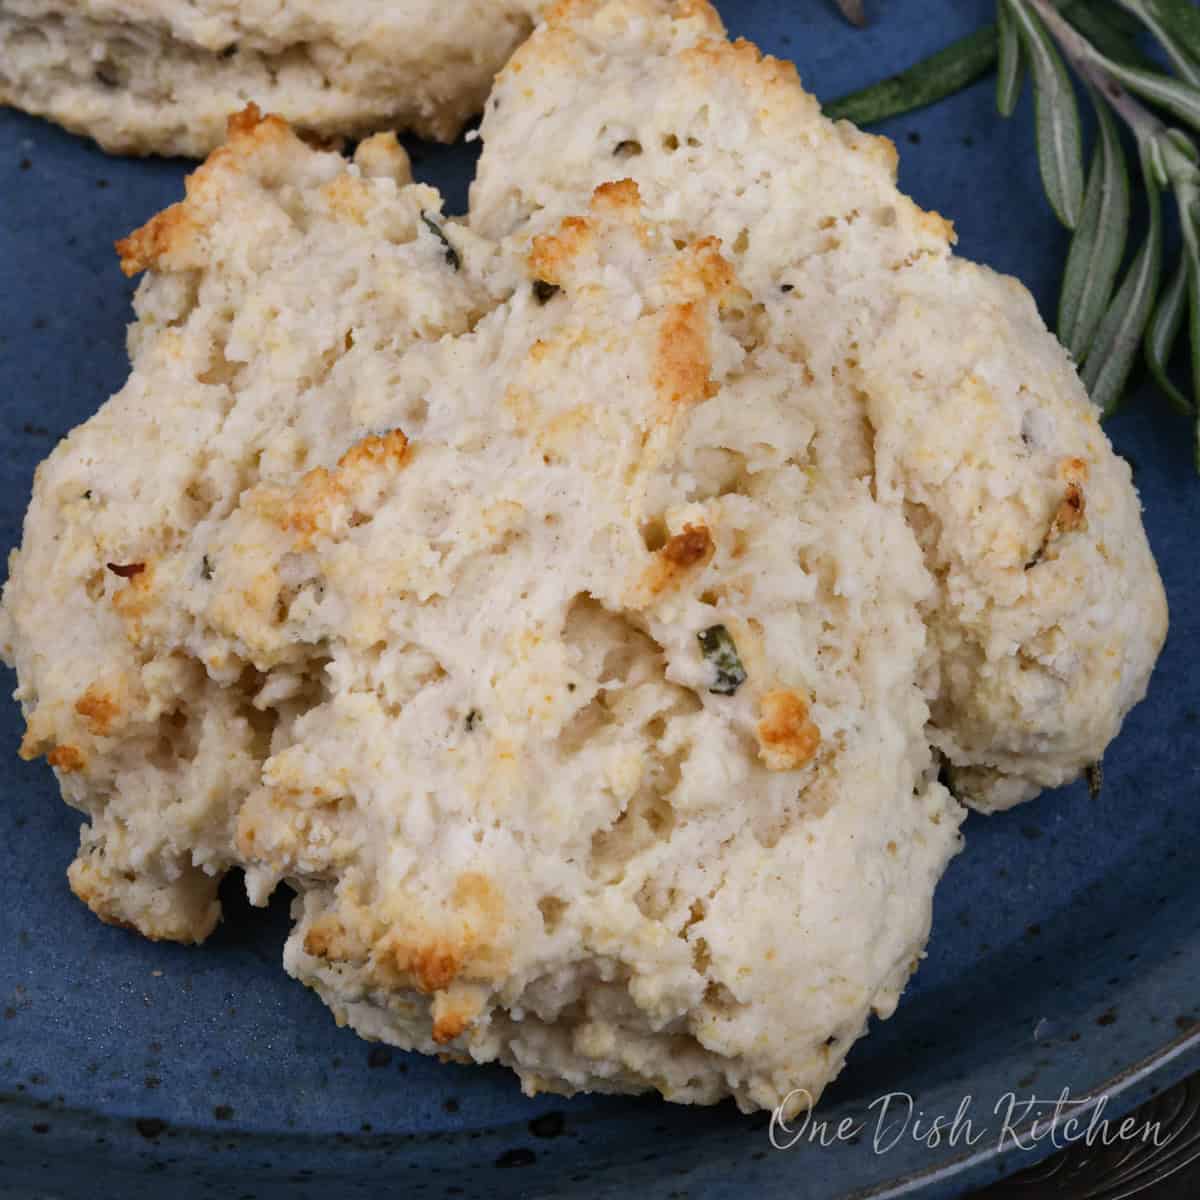
7. Bake the biscuits: Drop spoonfuls of dough onto a parchment-lined baking sheet. Bake for 10 to 12 minutes, until golden brown.
Expert Tips
- Read the Recipe First: Review the full recipe and Ingredient Notes before starting. You’ll find helpful details to ensure your biscuits turn out well.
- Measure Flour Correctly: Spoon the flour into a dry measuring cup and level it off with a knife. Don’t scoop directly from the container, this packs in too much flour.
- Use Cold Butter: Cold butter creates steam as it melts, which helps form flaky layers.
- Don’t Overmix: Stir the dough just until combined. Overmixing can make the biscuits dense.
Ways To Serve Garlic Biscuits
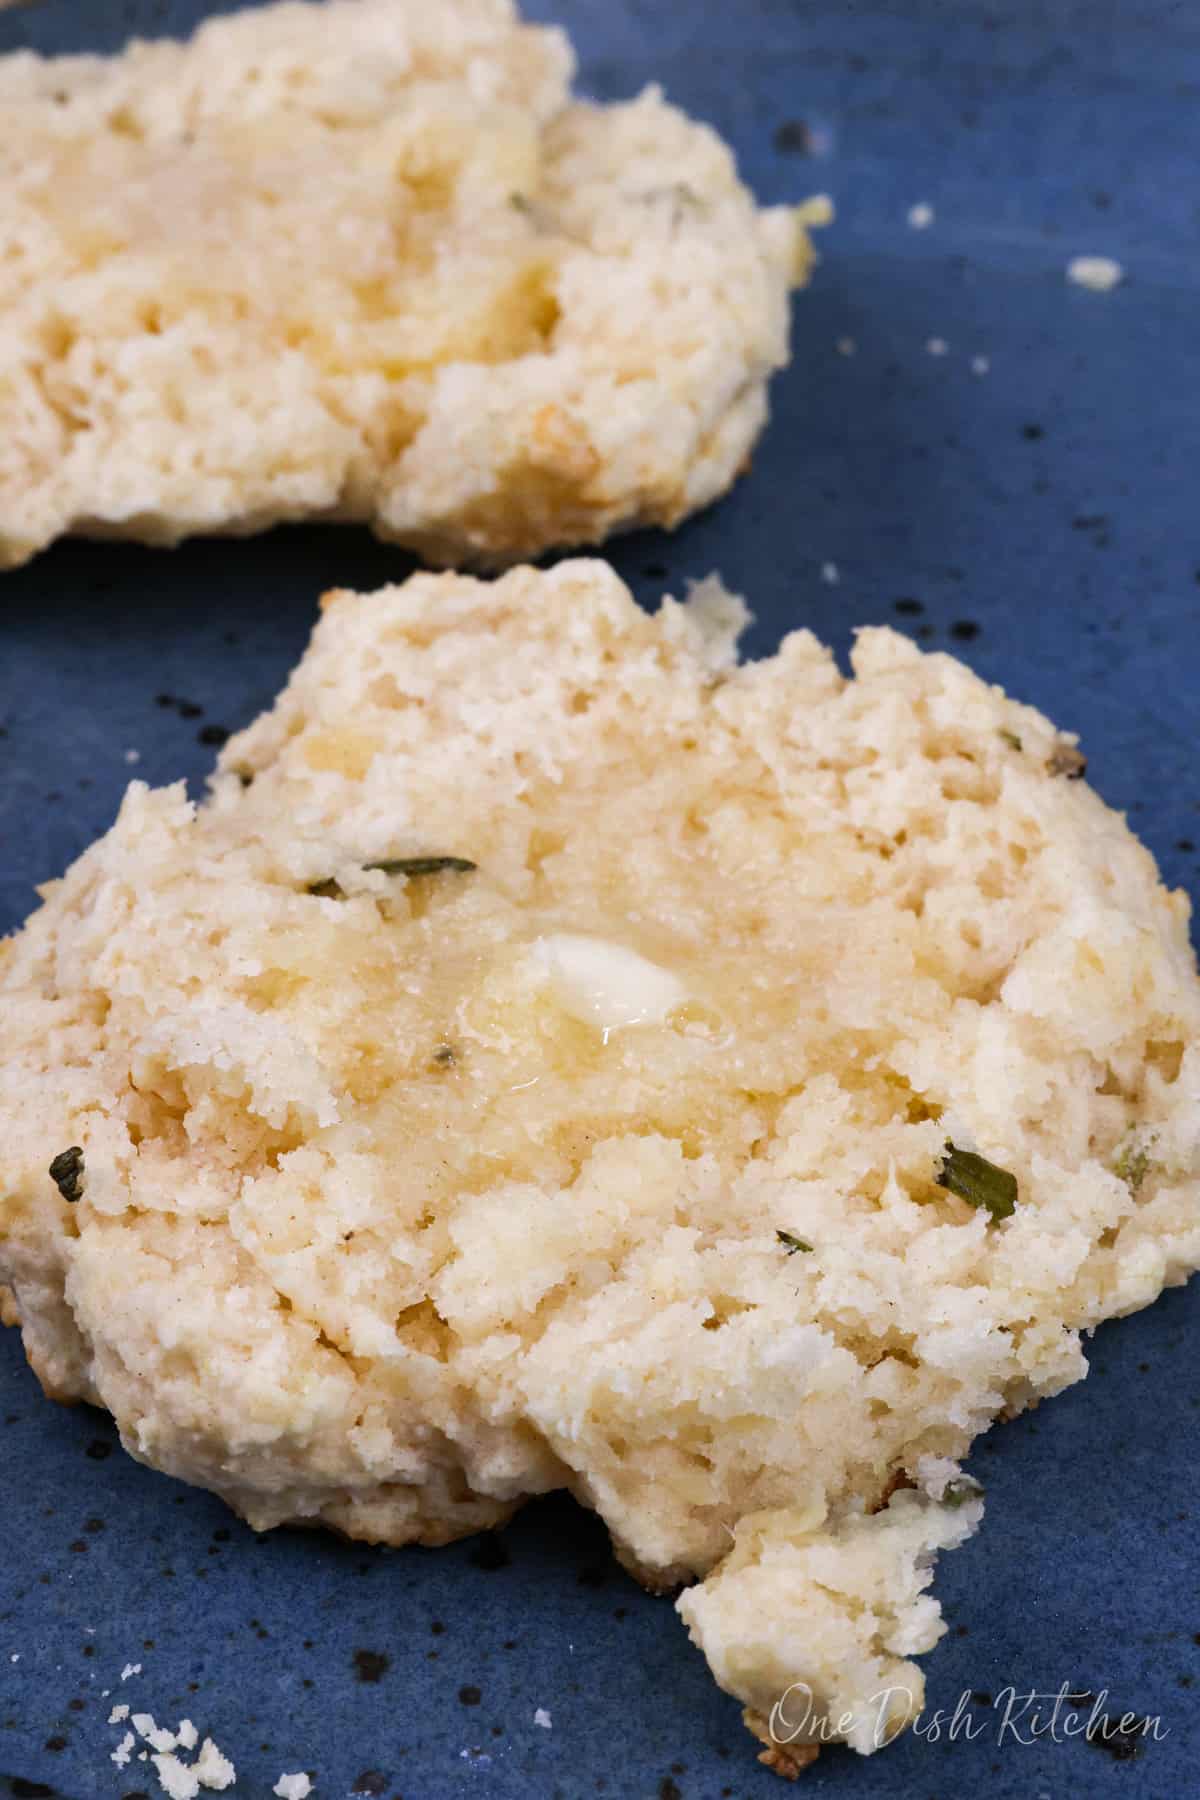
- Enjoy on their own, warm from the oven.
- Pair with beef stew for one or tortellini soup for one.
- Serve with tomato soup for one or a small chicken and rice casserole.
- Use as a base for a savory single serving eggs benedict.
Frequently Asked Questions
Store cooled biscuits in an airtight container at room temperature for up to 2 days or refrigerate for up to 4 days.
Yes. Freeze baked and cooled biscuits in a freezer-safe bag for up to 2 months. Reheat in the microwave or in a 300°F oven for 10-12 minutes.
The dough is best baked right after mixing. If needed, you can roast the garlic ahead and refrigerate it for up to 3 days.
Ways To Use Leftover Ingredients
If you have any ingredients leftover from this recipe, check out our Leftover Ingredients Recipe Finder or you might like to consider using them in any of these single serving and small batch recipes:
If you’ve tried this easy garlic buttermilk biscuit recipe or any recipe on One Dish Kitchen please let me know how you liked it by rating the recipe and telling me about it in the comment section below.
Also, if you take a picture please tag us on Instagram (@onedishkitchen) we’d love to see it!
Small Batch Buttermilk Biscuits With Garlic
Equipment
Ingredients
- 1 small head of garlic
- ¼ teaspoon olive oil
- 1 cup all-purpose flour
- 1 teaspoon baking powder
- ¼ teaspoon baking soda
- 1 teaspoon sugar
- ½ teaspoon salt
- 3 tablespoons salted butter -cold and cut into ¼ inch pieces
- 1 ½ teaspoons chopped rosemary
- ½ cup buttermilk
Instructions
- Preheat the oven to 400°F (200°C).
- Prepare the garlic: Peel away the loose outer layers of a whole head of garlic, keeping the individual cloves intact. Slice 1/4 to 1/2 inch off the top to expose the cloves.
- Roast the garlic: Place the garlic on a piece of foil, drizzle with olive oil, and wrap it tightly. Set on a baking sheet and roast for 30 to 40 minutes, until the cloves are soft. Let cool.
- Make the biscuit dough: In a large bowl, whisk together the flour, baking powder, baking soda, sugar, and salt. Add the cold, cubed butter and use your fingers or a pastry blender to work it into the flour until it looks like coarse sand.
- Add rosemary: Stir in the chopped rosemary.
- Add the roasted garlic: Squeeze the roasted garlic cloves out of their skins into a small bowl. Stir in the buttermilk, then pour the mixture into the flour mixture and gently stir to combine.
- Bake the biscuits: Drop spoonfuls of dough onto a parchment-lined baking sheet. Bake for 10 to 12 minutes, until golden brown.
Notes
- Read the Recipe First: Review the full recipe and Ingredient Notes before starting. You’ll find helpful details to ensure your biscuits turn out well.
- Measure Flour Correctly: Spoon the flour into a dry measuring cup and level it off with a knife. Don’t scoop directly from the container—this packs in too much flour.
- Use Cold Butter: Cold butter creates steam as it melts, which helps form flaky layers.
- Don’t Overmix: Stir the dough just until combined. Overmixing can make the biscuits dense.
Nutrition
The information shown is an estimate provided by an online nutrition calculator. It should not be considered a substitute for a professional nutritionist’s advice.


Looks delicious, but do you chop up the 5 roasted garlic cloves or leave them whole? Seems like you need to do something with them otherwise someone might get a big chunk of garlic or two in their biscuit.
I do not chop the roasted cloves of garlic, I just add them in whole. Roasted garlic is so buttery and soft and has an almost sweet taste and so I love ending up with chunks of roasted garlic in every bite. I often find that when I mix the garlic in with the other ingredients, the soft garlic sometimes tends to break apart. In the end, it’s up to you. Feel free to chop them before adding them to the biscuit dough if you prefer.
Do you mash the cooked garlic cloves or leave them whole?
I leave them whole. After roasting, the cloves are very soft so they break apart on their own slightly when mixed with the other ingredients. Getting pieces of the roasted garlic in each bite of the biscuit is my favorite part.
the garlic, buttermilk biscuits calls for olive oil. I am alergic to fruit, which is why I have to learn how my makes stuff that is automatically purchased at the store, like ketchup, mayo, mustard, salad dressing. you’d be shocked the foods that have fruit, asorbic or citrus acid, anything sorced from fruit
yes. olive oil is a fruit. can’t use coconut oil either. nothing fruit. can i use {and cringe to say this} seed oil? {so so bad for your health}.
appreciate you help. this is turing out be a huge challange, and I dont want to feel deprived, or I will fail. So….I have to learn to make stuff myself, not just cakes and breads.
appreciate your help.
I completely understand the challenge of avoiding fruit-based ingredients, and I admire your dedication to making things from scratch! For roasting the garlic, you can use melted butter instead of olive oil—it will add a nice richness and work just fine. If butter isn’t an option, another neutral fat like ghee or even beef tallow could also work. I hope this helps, and I’d love to hear how your biscuits turn out!
Good recipe.
Thank you so much!