This post may contain affiliate links. Please read our disclosure policy.
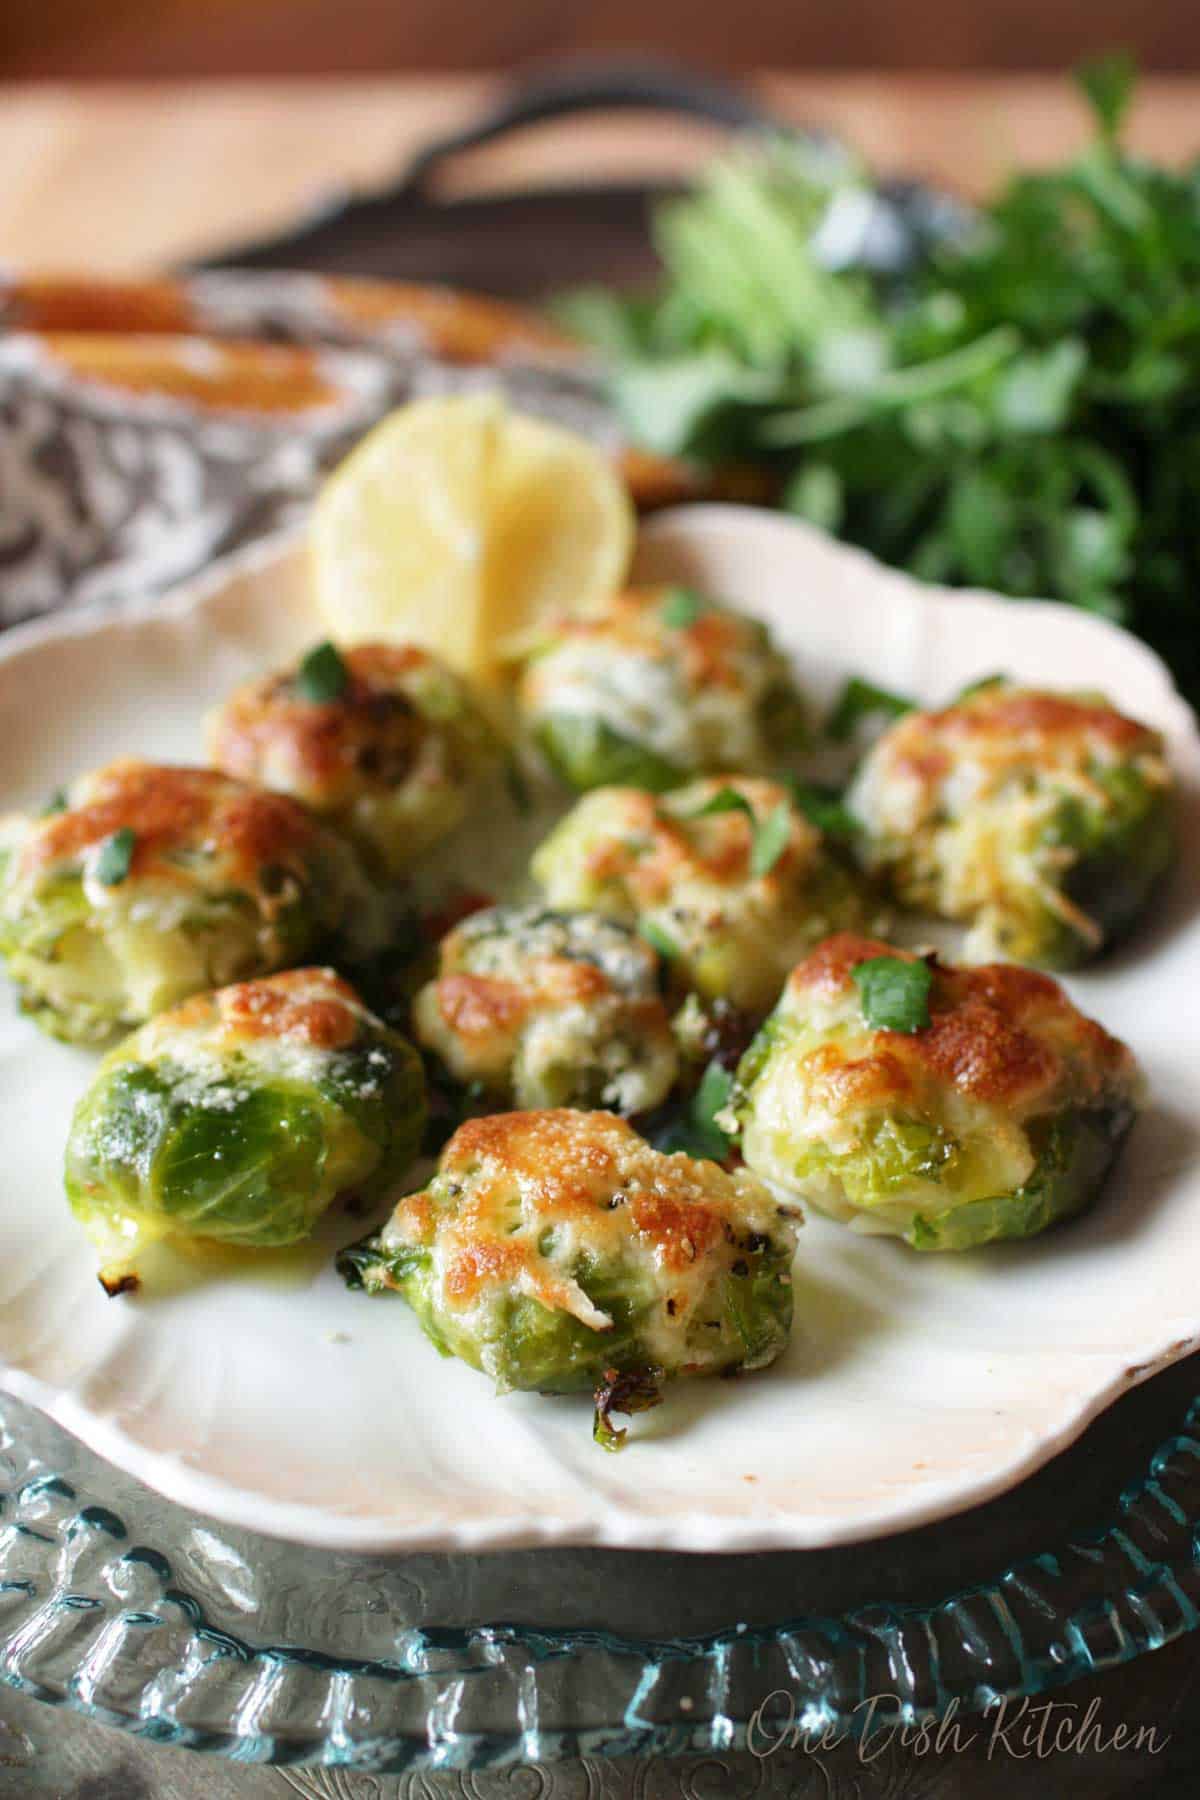
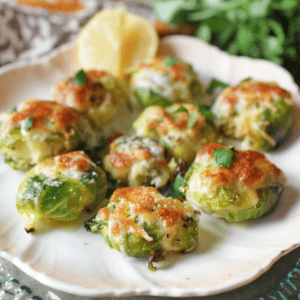
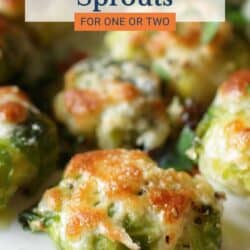
Crispy garlic Parmesan smashed Brussels sprouts roasted on a sheet pan until golden brown with tender centers and crisp edges. This small batch recipe is ready in about 30 minutes and makes the perfect single serving side dish for one.
Featured Comment
“These were so delicious! There were no leftovers. Every recipe that I have tried of yours has been 5 stars.”
– Debbie
Why You’ll Love This Recipe
- Crispy Garlic Parmesan Flavor: These smashed Brussels sprouts roast until golden brown with crisp edges, tender centers, and plenty of garlic and Parmesan.
- Small Batch and Perfectly Portioned: Made as a single serving, this recipe gives you just the right amount without extra leftovers.
- Easy Oven Roasted Side Dish: Simple steps and basic ingredients turn Brussels sprouts into a flavorful side in about 30 minutes.
- Sheet Pan Friendly: Everything bakes on one pan for even browning and crisp texture.
- Customizable: Add bacon, balsamic glaze, or a little heat to make them your own.
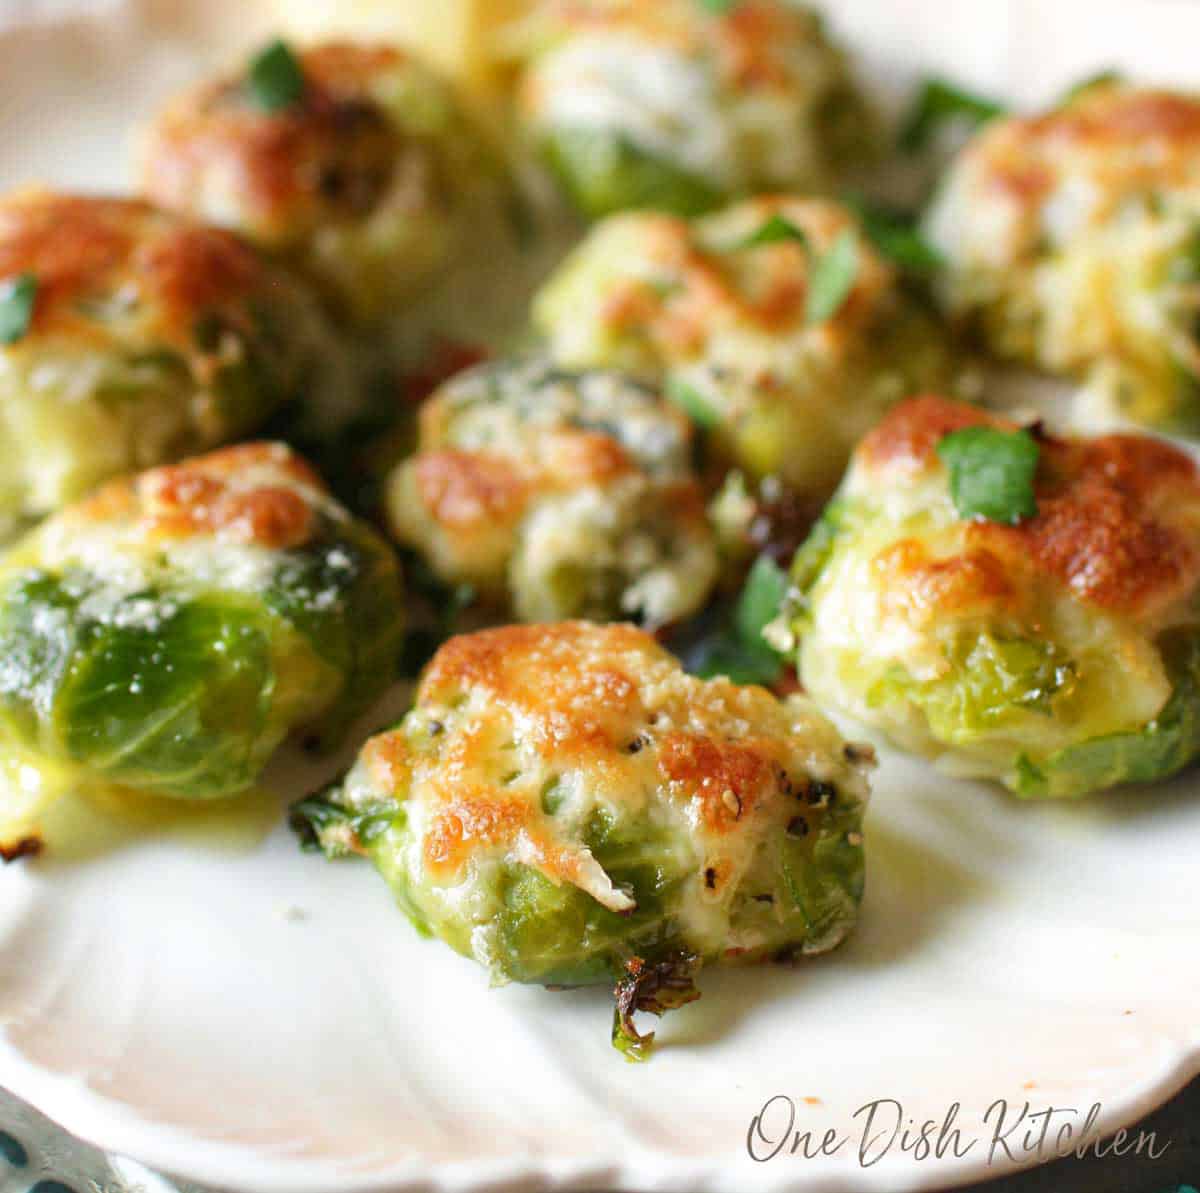
When these smashed Brussels sprouts come out of the oven, the edges are deeply golden and crisp, almost like little chips, while the centers stay soft and tender. The roasted garlic turns mellow and slightly sweet, and the Parmesan forms a thin, salty crust on top.
I love making them when I want a vegetable that feels hearty, flavorful, and truly worth sitting down for.
Smashed Brussels sprouts go well with so many of our single serving meals. Serve them with a mini meatloaf, lemon garlic chicken, steak and potatoes, or a single serving of chicken nuggets for a delicious combination.

Ingredients
If you have any ingredients leftover from this crispy smashed Brussels sprouts recipe, check out our Leftover Ingredients Recipe Finder.
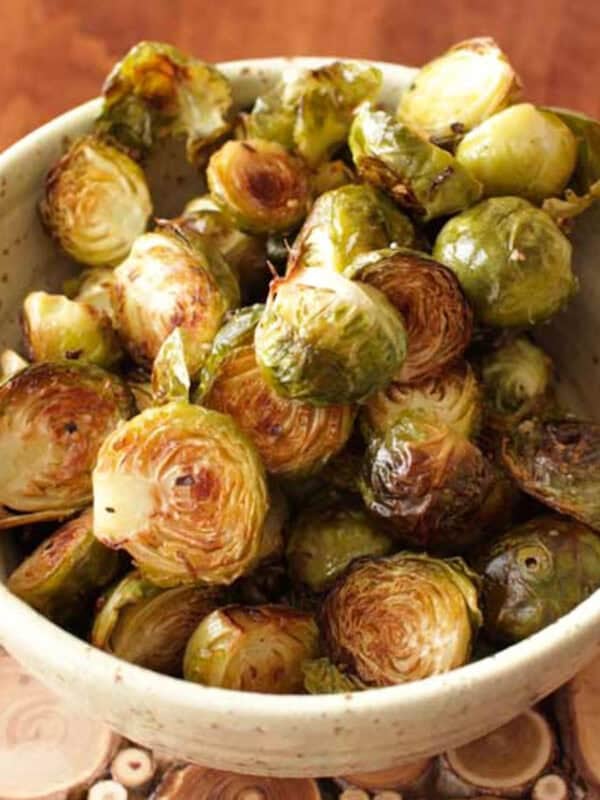
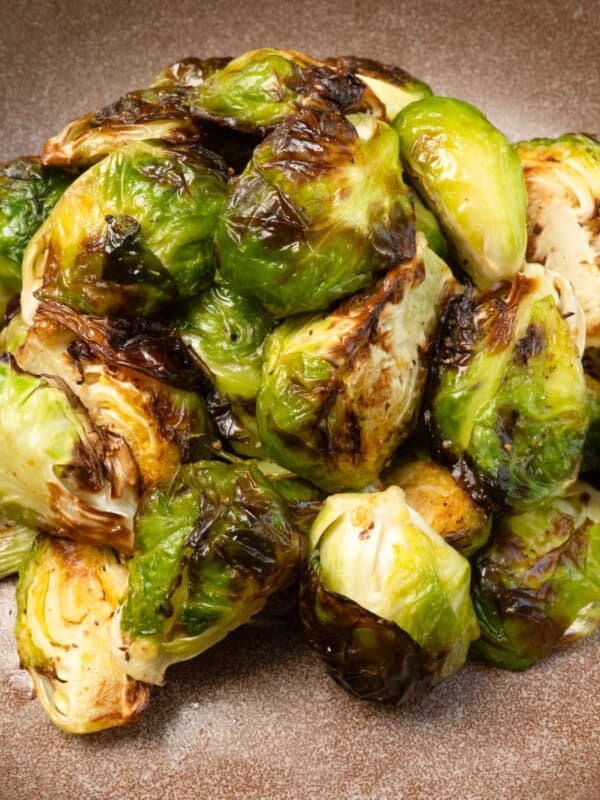
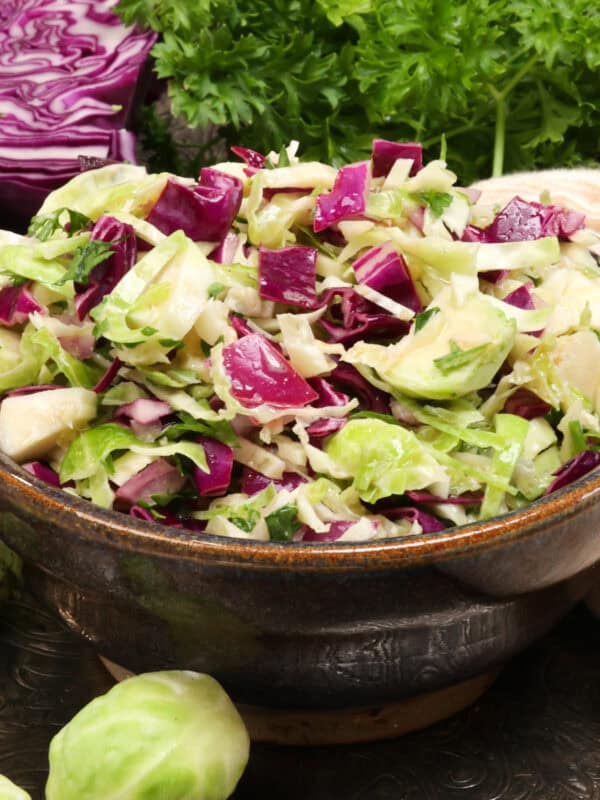
- Brussels Sprouts: This recipe uses 1/4 pound of Brussels sprouts, the perfect amount for a small batch. Roasting makes them crispy on the outside and tender inside. If you have extras, try our small Brussels sprouts salad or our small batch air fryer Brussels sprouts recipes.
- Olive Oil: I use extra virgin olive oil for its rich flavor, but a lighter olive oil works too.
- Garlic: Freshly minced garlic adds great flavor to every bite.
- Salt and Pepper: Simple seasonings that bring out the best in the sprouts.
- Cheese: A mix of shredded mozzarella and grated Parmesan for a cheesy, flavorful finish.
Tip: How to Store and Freeze Brussels Sprouts
Got extra Brussels sprouts? Here’s how to keep them fresh:
Freeze: Blanch first—boil for 8–10 minutes, then transfer to ice water. Drain, dry, and freeze on a baking sheet for an hour. Once frozen, move to a freezer bag or container, label with the date, and store for up to a year.
Refrigerate: Store fresh Brussels sprouts in the fridge for up to 10 days. Trim the ends, remove yellow leaves, rinse in cold water, and pat dry before storing.
Recipe Variations
These small batch garlic Parmesan smashed Brussels sprouts are easy to customize with simple additions.
- Crispy Cheddar Smashed Brussels Sprouts: Sprinkle shredded sharp cheddar over the sprouts during the last 5 minutes of baking.
- Spicy Smashed Brussels Sprouts: Add a pinch of crushed red pepper flakes before roasting or drizzle with a small amount of hot honey after baking.
- Balsamic Glazed Smashed Brussels Sprouts: Drizzle with a small amount of balsamic glaze after roasting for a slightly sweet and tangy finish.
How To Make Smashed Brussels Sprouts
These step-by-step photos show how to make this small batch smashed Brussels sprouts recipe. For exact ingredient amounts and complete instructions, see the recipe box below.
- Blanch the Brussels Sprouts: Bring a small pot of salted water to a boil. Add the Brussels sprouts and cook for 8 to 10 minutes, until bright green and fork tender. Transfer immediately to a bowl of ice water to stop the cooking. Drain well, pat completely dry, and place on a baking sheet.
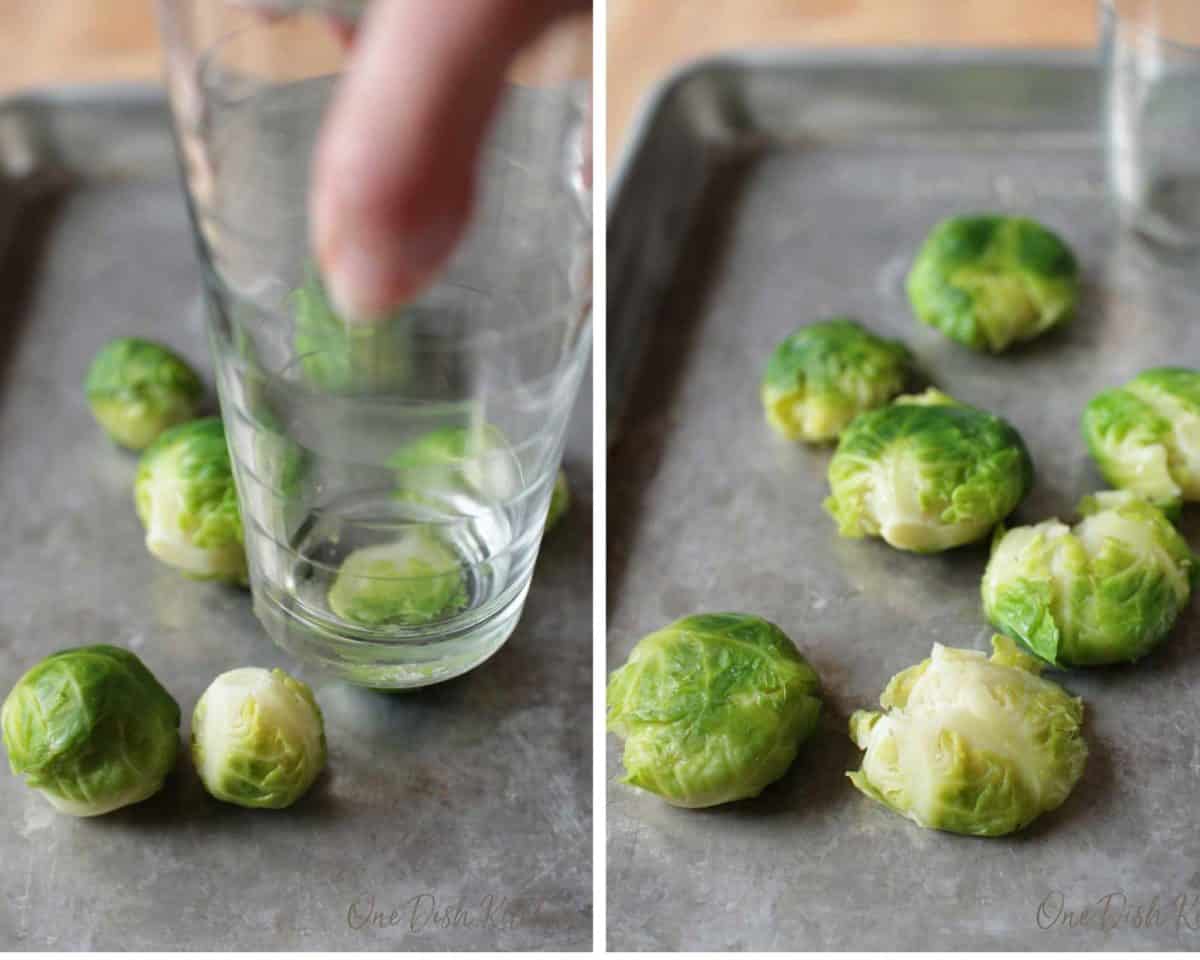
- Smash the Brussels Sprouts: Arrange the sprouts spaced apart on the sheet pan. Use the bottom of a sturdy glass to gently press each one flat into a disc.
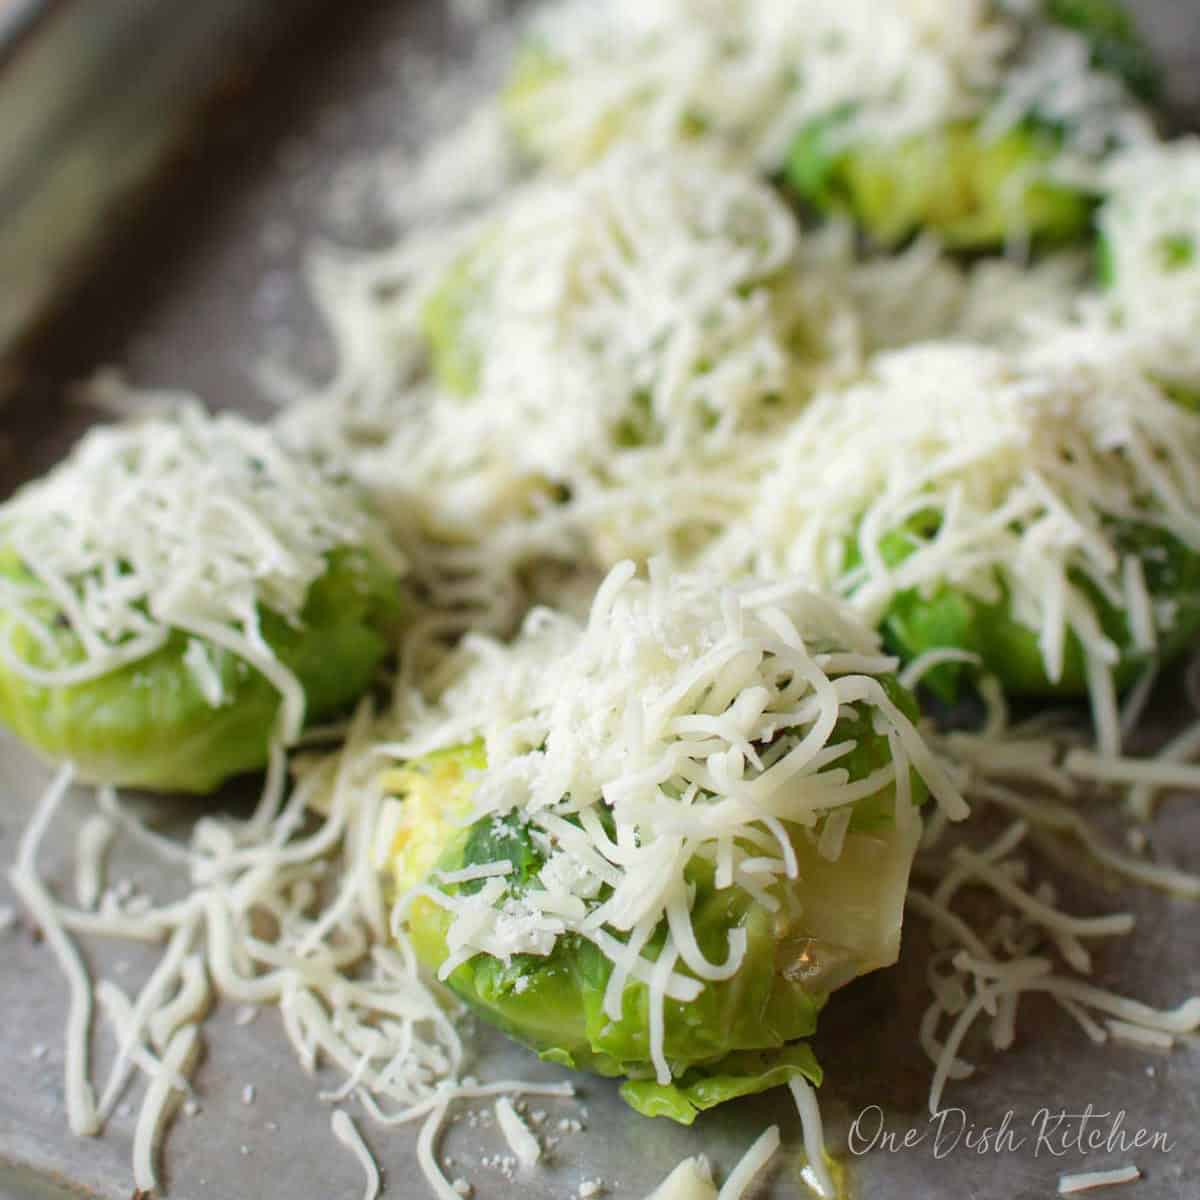
3. Season and Add Cheese: Drizzle the sprouts with olive oil. Sprinkle with minced garlic, salt, and black pepper. Top evenly with shredded mozzarella and grated Parmesan.
4. Bake: Roast for 10 to 15 minutes, until the edges are deep golden brown and crisp and the cheese is lightly browned.
Expert Tips
- Use Small to Medium Brussels Sprouts: Smaller sprouts are easier to flatten and crisp better around the edges.
- Dry Them Thoroughly: After blanching, pat the sprouts completely dry. Any moisture will create steam and prevent crispy edges.
- Don’t Overcook When Boiling: Cook just until fork tender. Over-boiled sprouts will fall apart when smashed.
- Leave Space on the Sheet Pan: Arrange the sprouts in a single layer with space between them. Crowding leads to steaming instead of roasting.
- Smash Gently: Press slowly with the bottom of a sturdy glass so the sprouts flatten without breaking apart.
- Watch the Cheese: If you want crisp edges with golden cheese, bake uncovered and check during the last few minutes to prevent over-browning.
Frequently Asked Questions
Dry the Brussels sprouts completely after boiling, space them apart on the sheet pan, and roast at a high temperature until the edges turn deep golden brown and crisp.
Yes. Boil them until fork tender so they flatten easily without breaking apart. This step ensures tender centers and crisp edges after roasting.
They may be too wet or overcrowded. Pat them dry after boiling and leave space between each sprout so they roast instead of steam.
Fresh Brussels sprouts give the best texture. Frozen sprouts contain more moisture and may not crisp as well, even after drying.
Ways To Use Leftover Ingredients
If you have any ingredients leftover from this recipe, check out our Leftover Ingredients Recipe Finder or you might like to consider using them in any of these single serving and small batch recipes:
If you’ve made this small batch smashed Brussels sprouts recipe or any recipe from One Dish Kitchen, let me know what you think! Rate the recipe and share your thoughts in the comments below.
If you take a picture please tag us on Instagram (@onedishkitchen) we’d love to see!
Small Batch Smashed Brussels Sprouts
Equipment
Ingredients
- ¼ pounds Brussels sprouts -cleaned and trimmed
- 1 tablespoon olive oil
- 1 peeled garlic clove -minced
- ¼ teaspoon kosher salt -divided
- ⅛ teaspoon coarsely ground black pepper
- ¼ cup shredded mozzarella cheese
- 1 teaspoon grated Parmesan cheese
Instructions
- Heat the oven to 425°F (220°C). Fill a bowl with ice water and set it aside.
- Bring a medium pot of water to a boil. Add ⅛ teaspoon of salt and the Brussels sprouts. Cook for 8 to 10 minutes, until bright green and fork tender.
- Transfer the Brussels sprouts to the ice water and let them sit for 3 minutes. Drain well and pat completely dry.
- Place the sprouts on a baking sheet, leaving space between each one. Press each sprout flat with the bottom of a sturdy glass. Drizzle with olive oil, then sprinkle with minced garlic, the remaining ⅛ teaspoon salt, black pepper, mozzarella, and Parmesan.
- Bake for 10 to 15 minutes, until the bottoms are deep golden brown and the cheese is melted and lightly browned.
- Enjoy warm while the edges are crisp.
Notes
- Use Small to Medium Brussels Sprouts: Smaller sprouts are easier to flatten and crisp better around the edges.
- Dry Them Thoroughly: After blanching, pat the sprouts completely dry. Any moisture will create steam and prevent crispy edges.
- Don’t Overcook When Boiling: Cook just until fork tender. Over-boiled sprouts will fall apart when smashed.
- Leave Space on the Sheet Pan: Arrange the sprouts in a single layer with space between them. Crowding leads to steaming instead of roasting.
- Smash Gently: Press slowly with the bottom of a sturdy glass so the sprouts flatten without breaking apart.
- Watch the Cheese: If you want crisp edges with golden cheese, bake uncovered and check during the last few minutes to prevent over-browning.
Nutrition
The information shown is an estimate provided by an online nutrition calculator. It should not be considered a substitute for a professional nutritionist’s advice.


I fried a strip of bacon and used rendered fat to coat sprouts instead of oil and crumbled bacon and used as garnish. YUM!