This post may contain affiliate links. Please read our disclosure policy.
This small batch paneer recipe shows you how to make fresh, mild Indian cheese at home with just whole milk, lemon juice, and salt. Quick, simple, and perfect for adding to curries, salads, or enjoying as a snack.

Why You’ll Love This Recipe
- Simple Ingredients: Made with just whole milk, lemon juice, and salt.
- No Fancy Tools: You only need a pot, a spoon, and cheesecloth.
- Versatile: Great for curries, snacks, or pan-frying.
- Fresh and Healthy: Homemade paneer is free from additives and preservatives.
What I love most about this small batch paneer is how simple and satisfying it is to make from scratch.
Paneer is a fresh, mild cheese that holds its shape when heated, making it perfect for all kinds of dishes. Unlike other cheeses, it comes together quickly without any special cultures or long aging, so you can enjoy fresh paneer in no time.
If you’ve never tried paneer before, you’re in for a treat. Its soft, creamy texture pairs beautifully with bold spices, adding a mellow, milky balance to rich curries or bright marinades.
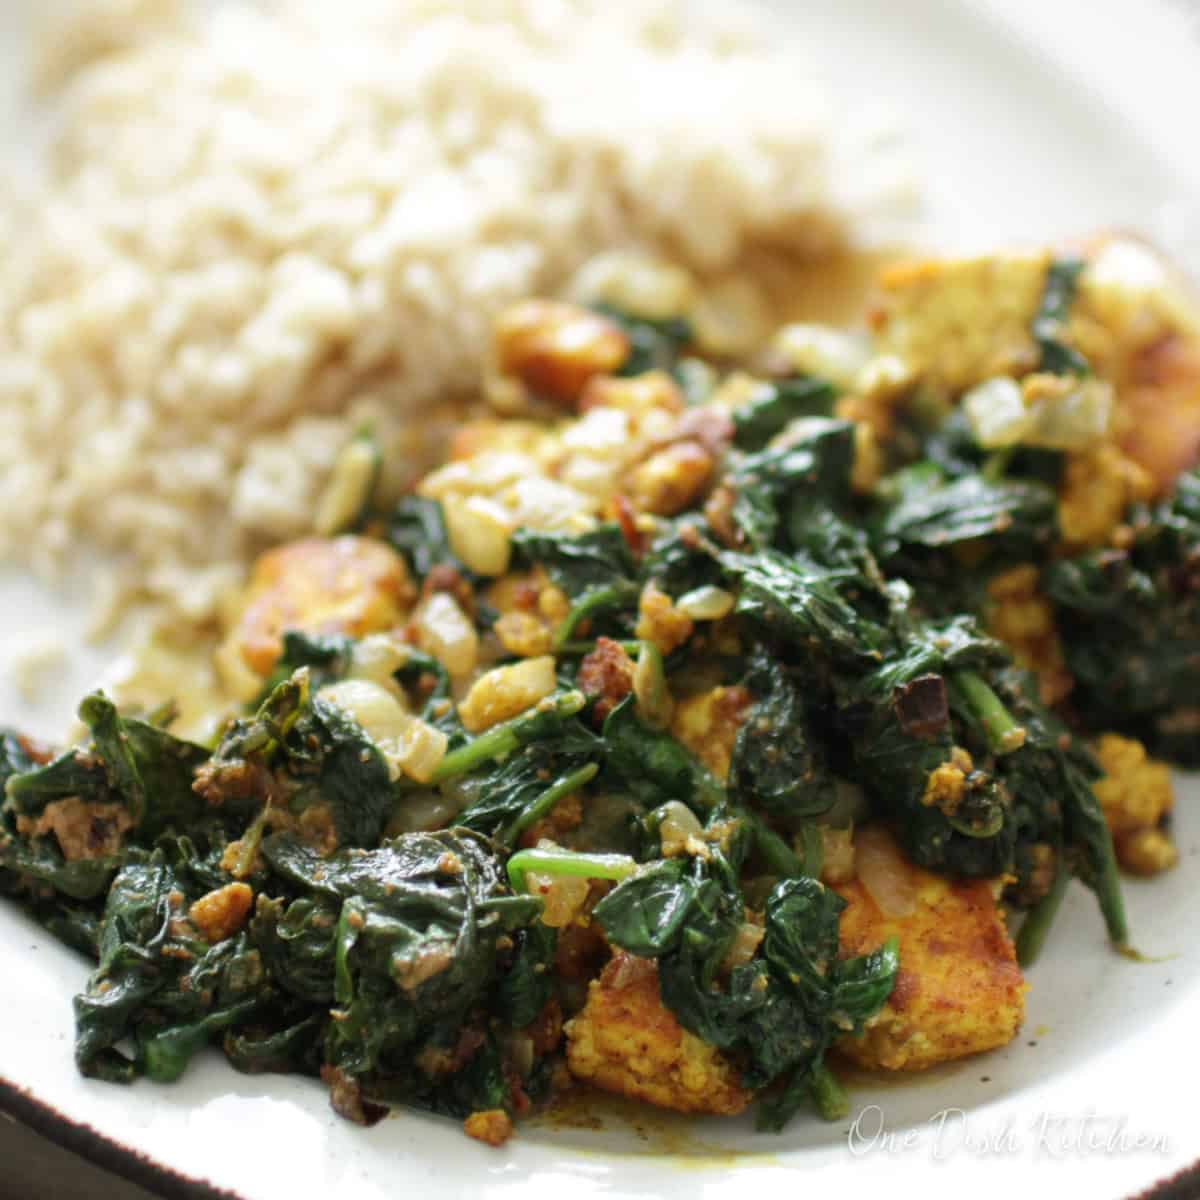
I think there’s something special about transforming just a few everyday ingredients into a fresh, homemade cheese you can use right away. Enjoy making your own homemade paneer and discovering its versatility. Try it in our flavorful Saag Paneer For One, add it to salads, or enjoy it as a tasty snack. I hope you’ll give this a try; it’s one of those simple pleasures that feels so rewarding.

Ingredients
If you have any ingredients leftover from this easy paneer recipe, check out our Leftover Ingredients Recipe Finder.
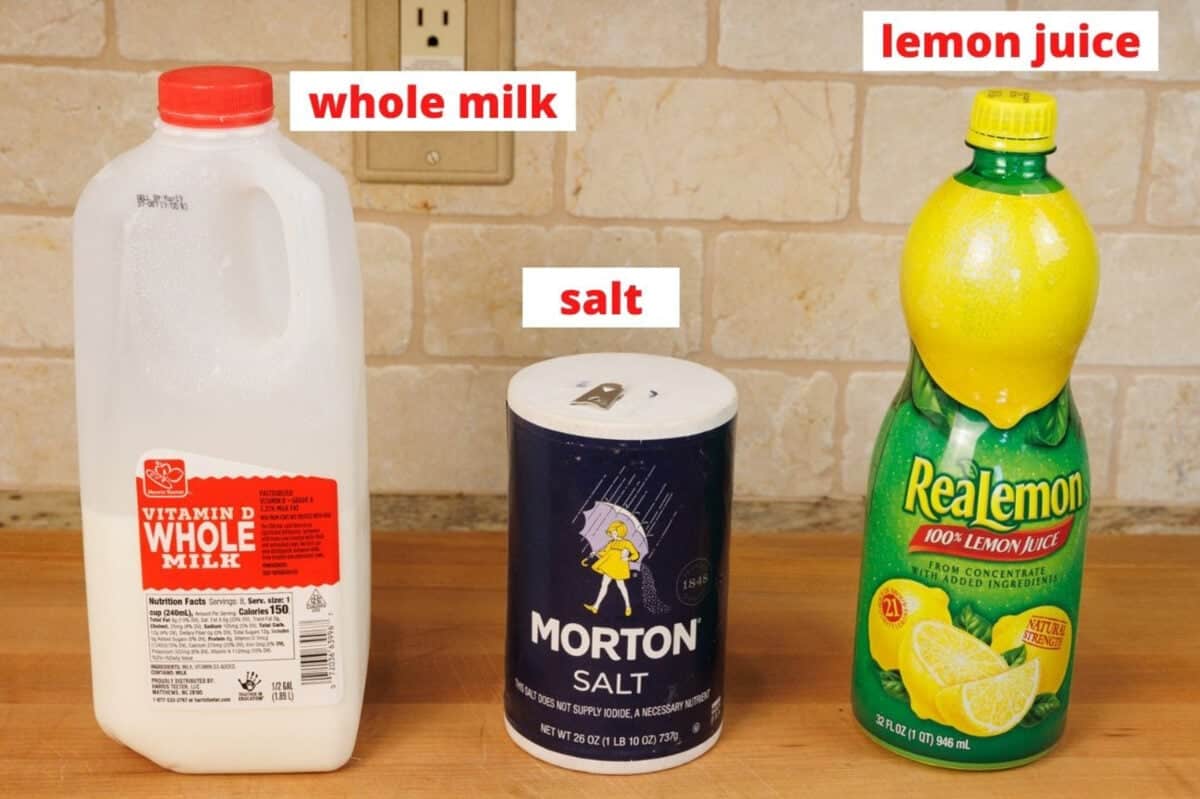
- Whole Milk: Provides the fat needed for the milk to separate into curds and whey. Avoid using skim or nonfat milk, which will not work for making paneer.
- Lemon Juice: The acid that causes the milk to separate into curds and whey.
- Salt: Adds flavor to the finished paneer.
How To Make Paneer (Fresh Indian Cheese)
These step-by-step photos and instructions help you visualize how to make a small batch of paneer. See the recipe box below for ingredient amounts and full recipe instructions.
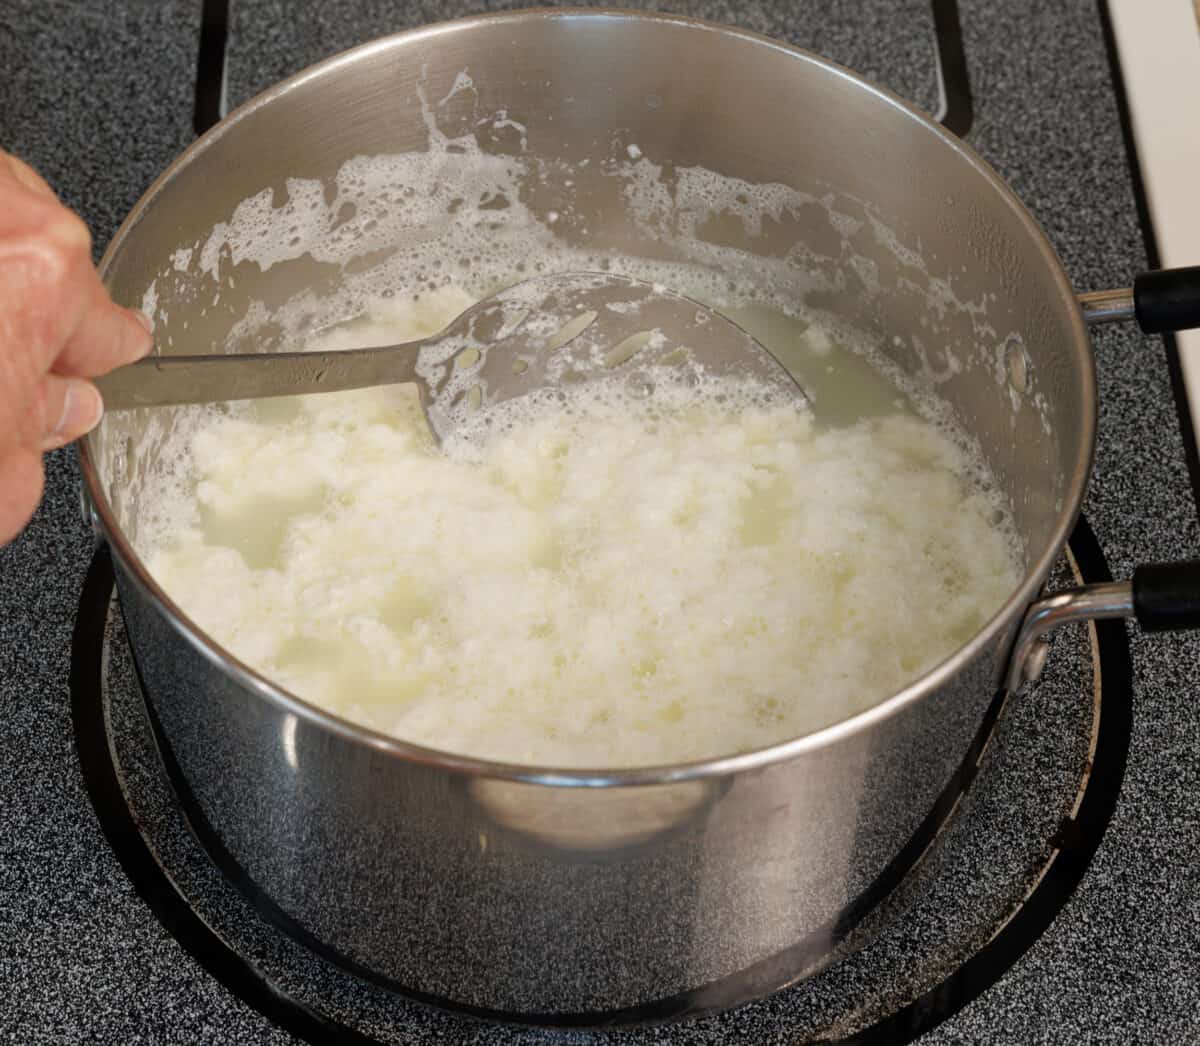
- Pour the milk into a 2-quart saucepan and heat over medium, stirring often to prevent scorching.

- When the milk begins to bubble, add the lemon juice and reduce the heat to low. You’ll see the milk separate almost right away into white curds (the solids) and a yellowish liquid called whey. Gently stir to help the curds come together. Let it heat for 5 more minutes so the separation is complete. If the milk hasn’t fully separated, add another teaspoon of lemon juice.
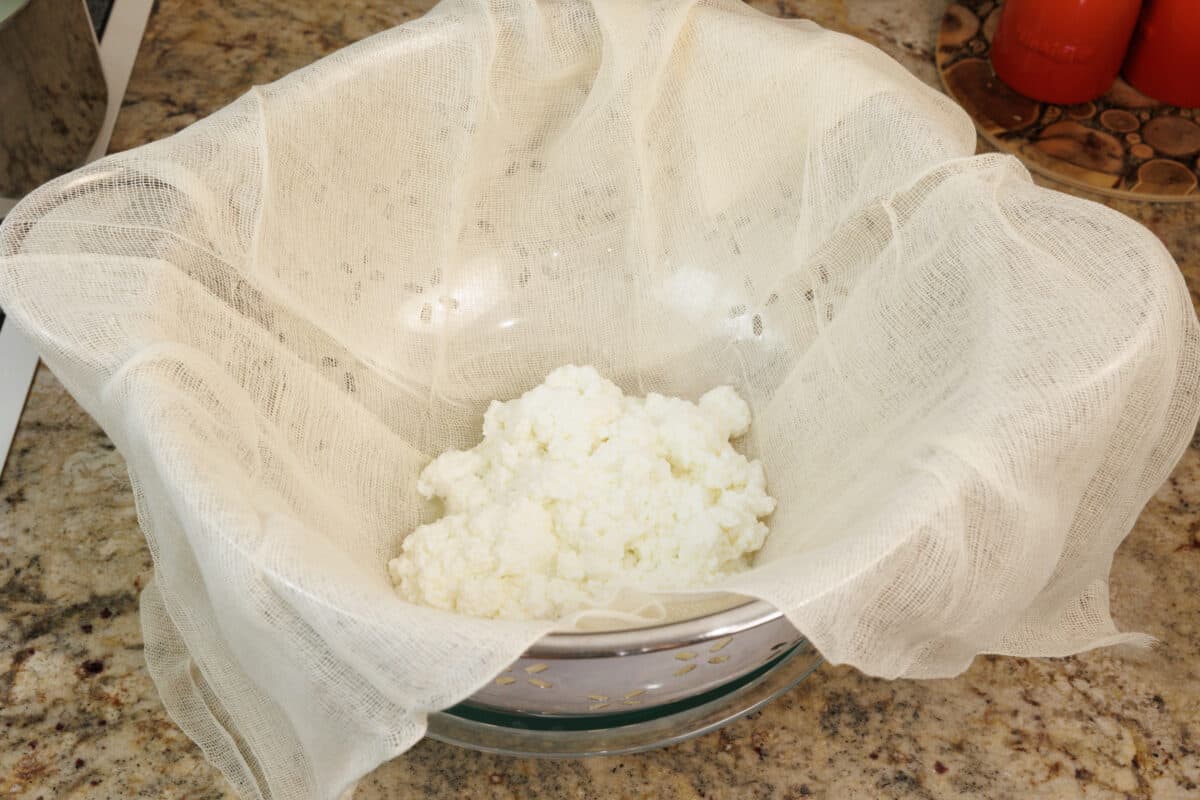
- Line a strainer or colander with cheesecloth (a loose-woven cotton fabric used in cheese-making, available at most kitchen stores or online) and place it over a bowl. Carefully pour in the curds, letting the whey drain into the bowl. Rinse the curds gently with cool water to remove any lemon flavor.
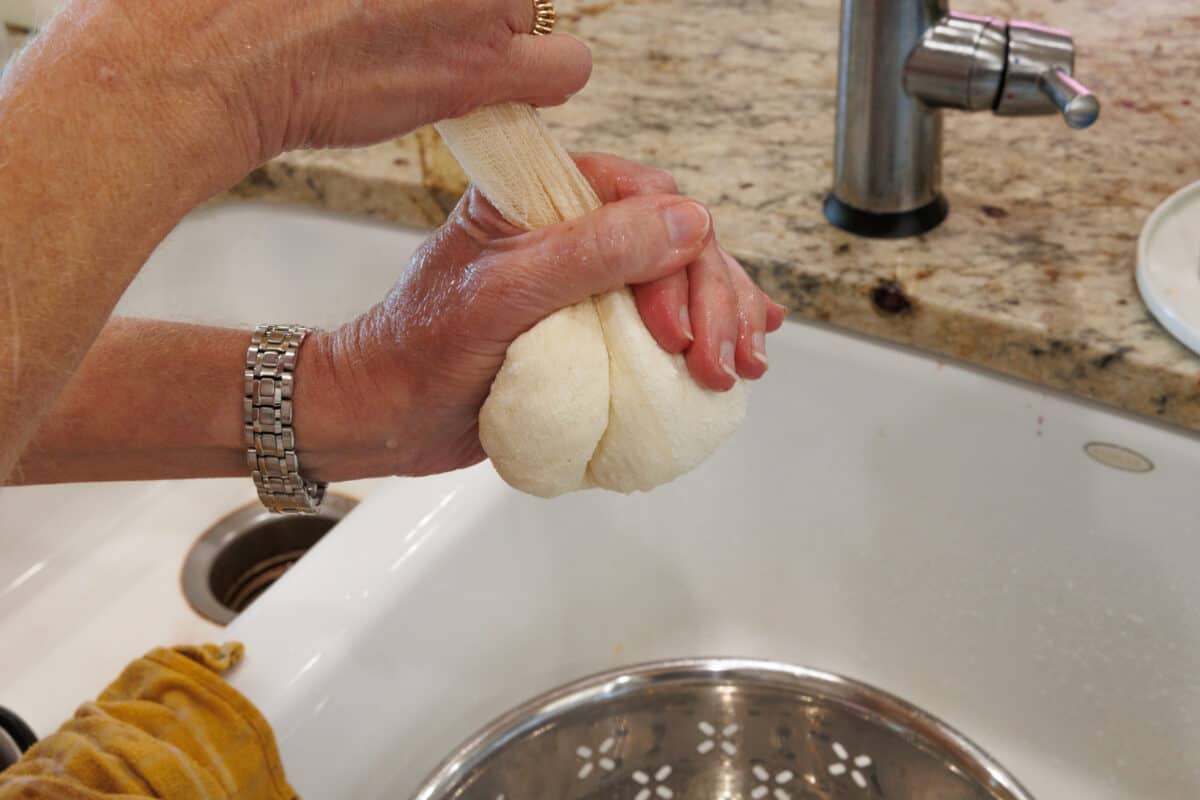
- Gather the cheesecloth around the curds and gently squeeze out excess liquid.
- Unwrap, sprinkle with salt, and stir to combine.
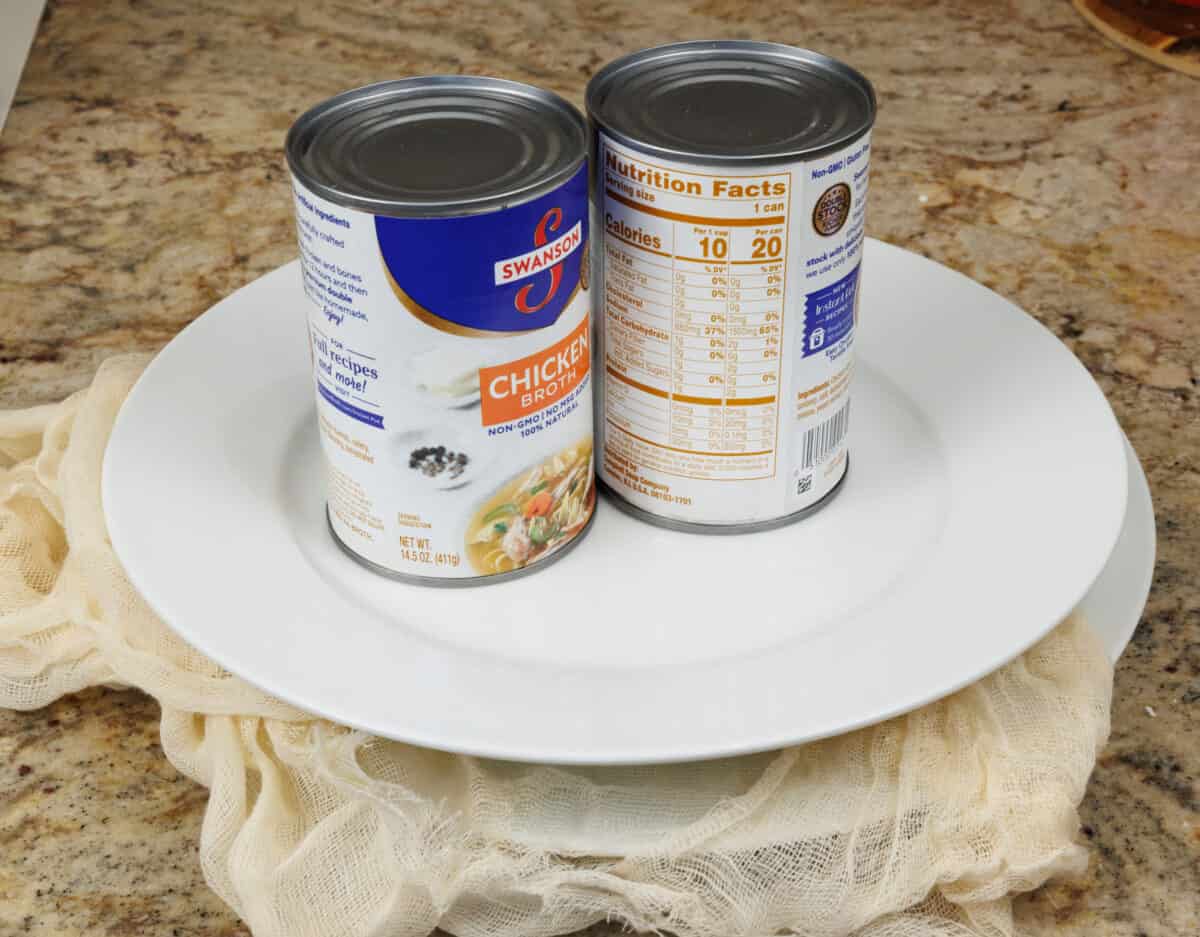
- Wrap the curds again in the cheesecloth, place on a plate, and shape into a disc. Top with another plate and weigh it down with something heavy, like canned goods.
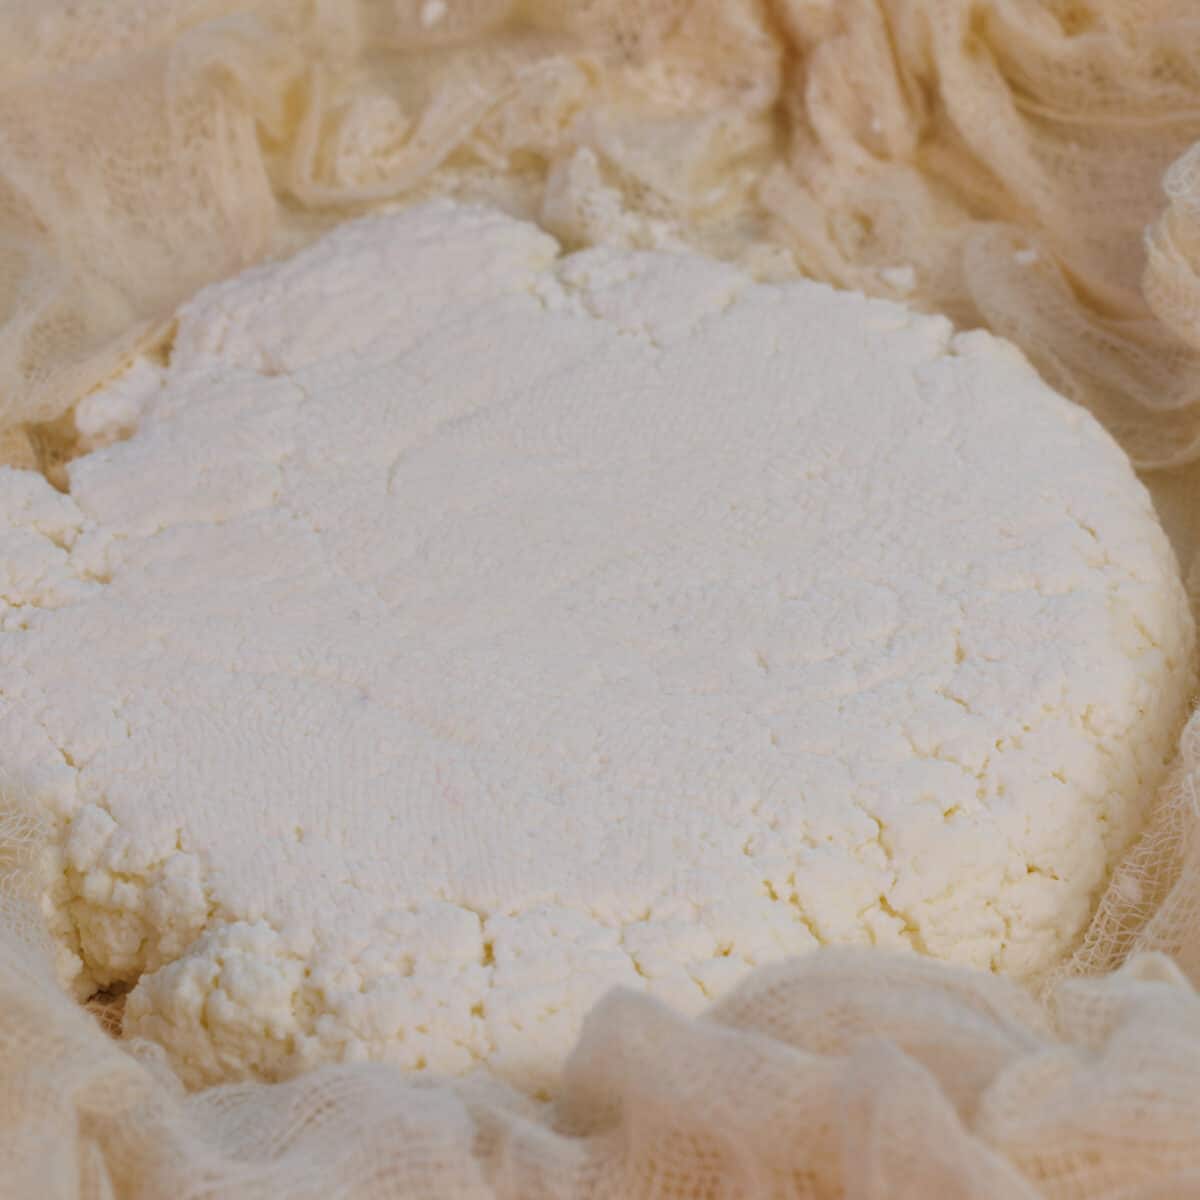
- Refrigerate for 1 hour to firm up.
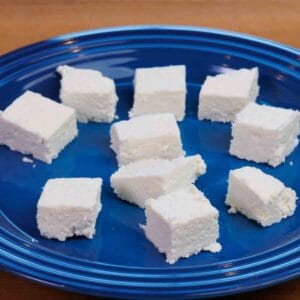
- Unwrap, cut into cubes, and use as needed. Store wrapped in plastic in an airtight container in the fridge for up to 5 days.
Expert Tips
- Read First: Go through the entire recipe, including the Ingredient Notes and process photos, before starting. This will help you understand each step and set you up for success.
- Use Whole Milk: Full-fat whole milk is best for paneer. Skim or low-fat milk will not provide enough fat for the curds to form properly.
- Control the Heat: Once the milk begins to curdle after adding lemon juice, immediately lower the heat to low. Boiling too long can affect the texture of the curds.
Cooking Paneer Tips
- Add to Curries: Cut paneer into cubes or slices and heat it through in your favorite sauce. It will soak up flavor while keeping its shape.
- Pan-Fry:
- Marinate: Mix 1/4 teaspoon ground turmeric, 1/8 teaspoon cayenne pepper, 1/4 teaspoon kosher salt, 1/4 teaspoon ground cinnamon, and 1/2 to 1 tablespoon olive oil. Gently toss paneer cubes in this mixture and let sit for 20 minutes.
- Cook: Heat 1/2 tablespoon olive oil in a medium skillet over medium-high heat. Add the marinated paneer with any leftover marinade and cook for 2–3 minutes on one side. Flip and cook another 2 minutes until golden and crisp outside, soft inside.
Frequently Asked Questions
Store it in the refrigerator, wrapped in plastic or in an airtight container, for up to 5 days.
Yes, you can freeze it for up to 2 months, but the texture may become slightly crumbly after thawing.
Check that you used whole milk and enough acid (lemon juice). If needed, add another teaspoon of lemon juice and heat gently to encourage separation.
They are similar, but paneer is pressed and firm, while cottage cheese remains loose and creamy.
Absolutely. Simply double or triple the ingredients while following the same method and use a larger pot.
Ways To Use Leftover Ingredients
If you have any ingredients leftover from this recipe, check out our Leftover Ingredients Recipe Finder or you might like to consider using them in any of these single serving and small batch recipes:

RELATED: Comfort Food Recipes For One
If you’ve tried this homemade paneer recipe or any recipe on One Dish Kitchen please let me know how you liked it by rating the recipe and telling me about it in the comment section below.
Did you get a picture? If so, please tag us on Instagram (@onedishkitchen) we’d love to see it!
Small Batch Paneer
Equipment
Ingredients
- 4 cups whole milk
- 2 tablespoons lemon juice
- ⅛ teaspoon salt (optional)
Instructions
- Pour the milk into a 2-quart saucepan and heat over medium, stirring often to keep it from scorching.
- When the milk begins to bubble, add the lemon juice and reduce the heat to low. You’ll see the milk separate almost right away into white curds (the solids) and a yellowish liquid called whey. Gently stir to help the curds come together. Let it heat for 5 more minutes so the separation is complete. If the milk hasn’t fully separated, add another teaspoon of lemon juice.
- Line a strainer or colander with cheesecloth and place it over a bowl. Carefully pour in the curds, letting the whey drain into the bowl. Rinse the curds gently with cool water to remove any lemon flavor.
- Gather the cheesecloth around the curds and gently squeeze out excess liquid.
- Unwrap, sprinkle with salt, and stir to combine.
- Wrap the curds again in the cheesecloth, place on a plate, and shape into a disc. Top with another plate and weigh it down with something heavy, like canned goods.
- Refrigerate for 1 hour to firm up.
- Unwrap, cut into cubes, and use as needed. Store wrapped in plastic in an airtight container in the fridge for up to 5 days.
Notes
- Make the Marinade: In a small bowl, mix 1/4 teaspoon ground turmeric, 1/8 teaspoon cayenne pepper, 1/4 teaspoon kosher salt, and 1/4 teaspoon ground cinnamon with 1/2 to 1 tablespoon olive oil. Gently toss the paneer cubes in this mixture.
- Marinate: Let the paneer sit for about 20 minutes to absorb the flavors.
- Cook: Heat 1/2 tablespoon olive oil in a medium skillet over medium-high heat. Add the marinated paneer and spoon any leftover marinade on top. Cook for 2–3 minutes on one side, then flip and cook for 2 more minutes until browned.
Nutrition
The information shown is an estimate provided by an online nutrition calculator. It should not be considered a substitute for a professional nutritionist’s advice.


Omg, I had paneer for the first time last month and fell in love! My husband was told of this authentic Indian restaurant and I was floored at how wonderful the food was. I have always wanted to make my own cheese so we will see if I get around to this!
I hope you get around to trying it Kacey. It’s super easy.
I love making ricotta, and this paneer is just so easy too.
I’ve never made ricotta but from what I’ve learned, the process is the same.
Delicious!
I love The Clay Pit and always look forward to eating there.
I have never had paneer, but it looks delicious. I will give it a try.
Great Amy! I’d love to hear how it turned out for you.
i’ve always wanted to try this! maybe i can us GF flour??
You don’t need flour, Lindsay. Just milk and lemon juice 🙂
Love that you made paneer. My husband is from India and I have yet to make it. I’ve done ricotta and it looks very similar. Can’t wait to see your recipe for Saag Paneer. That is my absolute favorite Indian dish.
From what I learned, the recipe/technique is very similar to ricotta. I think Saag Paneer is probably one of my favorite Indian dishes too, Christie 🙂
Wow! It really is easy peasy to make!
I can’t wait to post the recipe for Saag Paneer – it’s so easy and delicious. It doesn’t always happen that I research a recipe quickly but with this one, I was really curious.
I’ve never had paneer, but really want to try making it.
It’s super easy, Christine 🙂
I’m going to have to try this!
I hope you get to try it, Pam. Thanks for stopping by.
I had never tried to make paneer until now. Love it.
I’m so glad you’re going to give it a try, Lily. It’s so easy to make. I’d love to hear how it went for you.